
Safety First
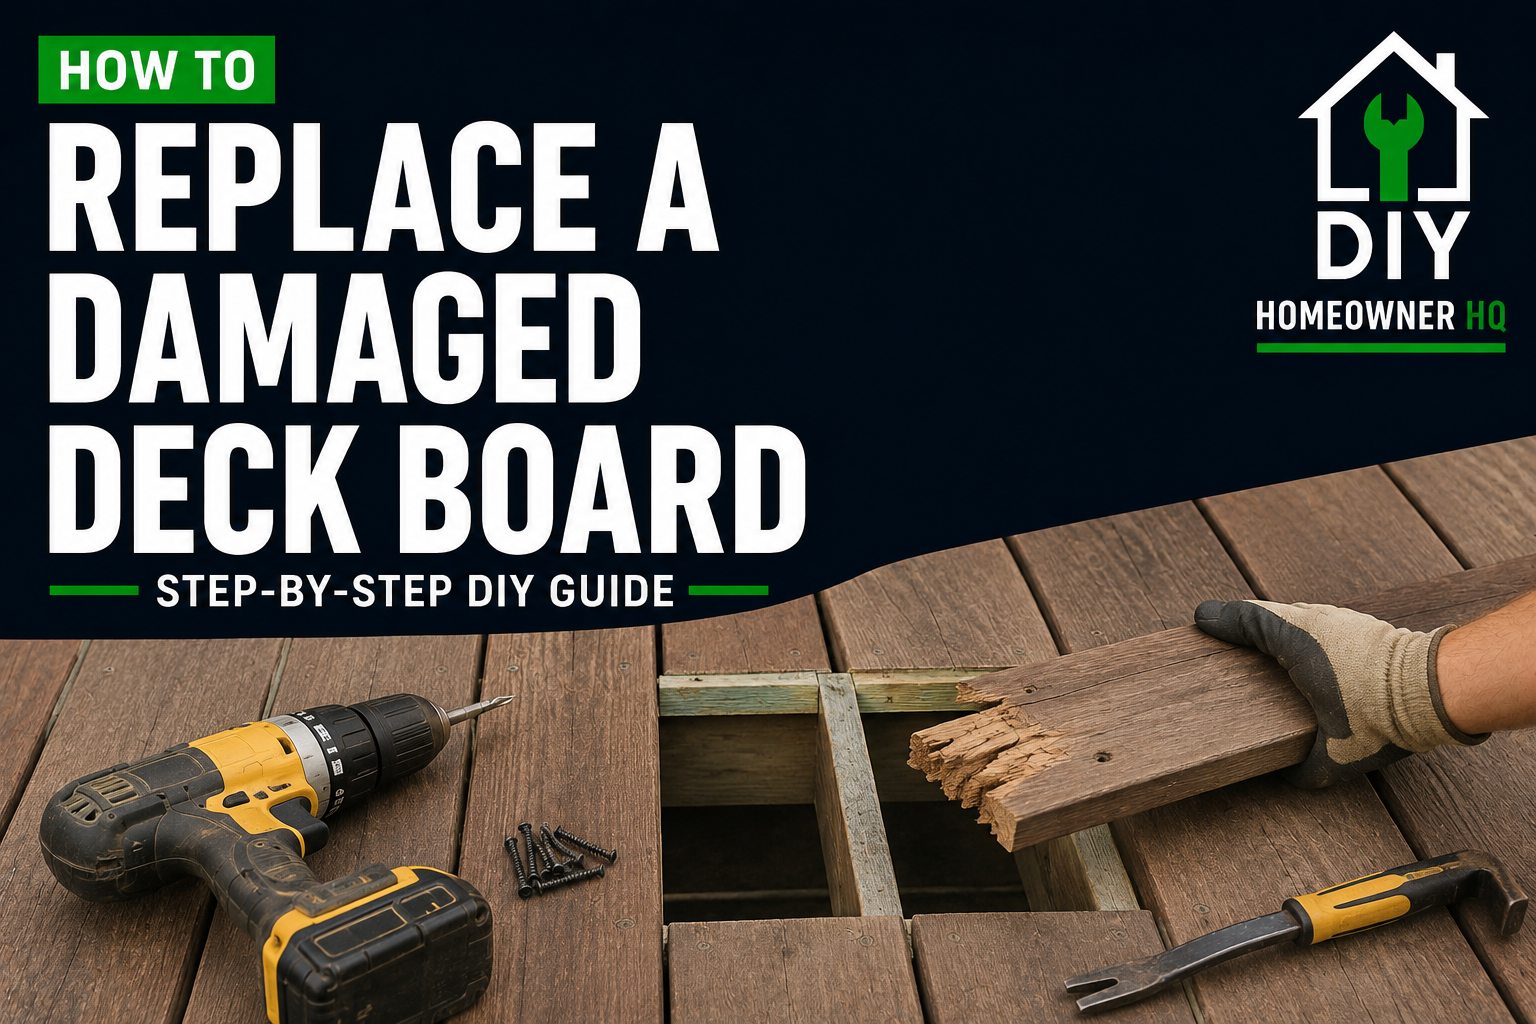
Wear eye protection and work gloves when removing a damaged deck board. Old boards can splinter easily, and rusted screws or nails may break or leave sharp edges behind.
Before cutting or prying anything, inspect underneath the deck board. Make sure you know where the joists, electrical wiring, lighting cables, gas lines, or other utilities are located. Set your saw depth so the blade cuts only through the deck board, not into the joists underneath.
Once the damaged board is removed, don’t leave the opening unattended. The exposed gap is a serious trip and fall hazard, especially for children or pets.
If you uncover rotted joists, beams, posts, widespread decay, or other structural damage, stop. Replacing the surface board won’t fix compromised framing underneath.
Time
1-2 Hours
Difficulty
Moderate
Cost
$20-$60
🧰 Tools & Materials
Tools
- Drill/driver
- Pry bar
- Hammer
- Tape measure
- Pencil
- Circular saw or oscillating multi-tool, depending on the repair
- Speed square
- Drill bits
- Sawhorses, if needed
- Eye protection
- Hearing protection
- Work gloves
Materials
- Replacement deck board matching the existing size and material
- Exterior-rated deck screws
- Exterior wood preservative for freshly cut pressure-treated lumber, if appropriate
- Replacement hidden fasteners or clips for composite decking, if required
- Scrap lumber for temporary blocking, if needed
Before buying the replacement board, measure the existing decking carefully. A board that looks like a standard size may have changed slightly through drying, wear, or manufacturing differences.
Signs It’s Time to Replace a Deck Board
A loose or wobbly deck board can sometimes be refastened, but replacement is usually the better option when the board itself is damaged.
Common signs include:
- The wood feels soft or rotten.
- The board has a deep crack or split.
- One end is badly deteriorated.
- Large splinters have broken away.
- Fasteners no longer hold securely.
- The board has severe warping or cupping.
- Insect damage has weakened the wood.
- A previous repair has failed.
- The board flexes noticeably under normal weight.
- Composite decking is cracked or structurally damaged.
If several neighboring boards show the same damage, inspect the deck more broadly before replacing only one.
Before You Buy
Identify your decking material.
Common types include:
- Pressure-treated lumber
- Cedar
- Redwood
- Composite decking
- PVC decking
Then measure the existing board:
- Width
- Thickness
- Length
If you’re replacing wood decking, also look at the grain, color, and edge profile.
New pressure-treated lumber will often look noticeably different from an older weathered deck. That’s normal. The color usually becomes less noticeable as the new board dries and weathers.
For composite decking, matching can be more difficult because colors and product lines change over time.
If possible, identify the manufacturer and product line before purchasing the replacement.
Also check how the board is fastened.
You may have:
- Face screws
- Nails
- Hidden clips
- Plugged fasteners
- Manufacturer-specific hardware
Buy compatible replacement fasteners instead of assuming ordinary deck screws will work with every decking system.
Before You Start
Clear the repair area completely.
Remove furniture, planters, grills, or anything else nearby.
Inspect the damaged board from above and underneath if you have access.
Look at:
- The joists underneath
- Neighboring deck boards
- Fasteners
- Blocking
- Electrical wiring
- Low-voltage lighting wires
- Gas lines or other utilities
Most importantly, make sure the damage is limited to the board.
If the joist underneath is soft, cracked, or badly deteriorated, replacing the surface board won’t solve the real problem.
If you’re using a circular saw, set the blade depth carefully.
The blade should cut through the deck board without cutting deeply into the joist underneath.
Step 1: Identify Where the Board Crosses the Joists
Look at the existing fasteners in the damaged board.
They usually reveal where the joists run underneath.
Fasteners in neighboring boards can also help you follow the joist line.
Mark the center of each joist the damaged board crosses.
If you can see underneath the deck, confirm the locations directly.
What You Should See: The fasteners should generally form straight lines across the deck where each joist runs underneath.
If Yours Looks Different: If the fastener pattern seems inconsistent, don’t assume every screw hit framing correctly. Verify the joist locations before cutting.
💡 Pro Tip: Take a quick picture of the fastener pattern before removing anything. It gives you an easy reference when installing the replacement board.
Step 2: Remove the Existing Fasteners
If the damaged board is held with screws, back them out with your drill/driver.
Work along the entire board.
If the screws are rusted or stripped, you may need:
- Locking pliers
- A screw extractor
- An oscillating multi-tool
- Another appropriate removal method
If the screw head is damaged and won’t back out normally, see how to remove a stripped screw for additional removal methods.
For nailed decking, use a pry bar or cat’s paw to carefully work the nails loose.
Protect neighboring boards while prying.
What You Should See: The board should become noticeably freer once all accessible fasteners are removed.
If Yours Looks Different: If the board still feels firmly attached, inspect for hidden fasteners, broken screws, or nails you may have missed.
Step 3: Decide Whether the Board Can Be Removed Whole
If the damaged board is near the edge of the deck and all fasteners are accessible, you may be able to lift the entire board out.
If the board is trapped tightly between neighboring boards or runs underneath a railing post, removing it whole may be difficult.
In that situation, cutting the damaged board into smaller sections can make removal much easier.
Don’t start cutting until you’ve identified the joists underneath.
What You Should See: You should have a clear removal plan that won’t damage the neighboring boards or structural framing.
Step 4: Cut the Damaged Board if Necessary
If the board won’t come out whole, mark your cut locations.
Whenever possible, make cuts so the remaining or replacement ends will be properly supported by framing.
Set the circular saw blade only deep enough to cut through the deck board while avoiding the joist underneath.
Make the straight portion of the cut carefully.
A circular saw can’t always reach all the way to neighboring boards. An oscillating multi-tool or hand saw can finish the final portion.
What You Should See: The damaged board should be divided into manageable sections without major cuts into the joists.
If Yours Looks Different: If you can’t confidently see or locate the framing underneath, don’t make a blind deep cut. Use a more controlled cutting method.
Step 5: Pry Out the Damaged Board
Slide a pry bar under one section of the board.
Lift gradually.
Move along the board instead of forcing everything upward from one point.
Be especially careful near neighboring boards that you plan to keep.
Rotten wood may break apart as you lift it.
Remove each piece until the damaged board is completely gone.
Watch for protruding screws and nails.
What You Should See: The opening should expose the supporting joists underneath without damaging the surrounding decking.
If Yours Looks Different: If a hidden fastener is preventing the board from lifting, stop and locate it rather than using more force.
Step 6: Remove Remaining Fasteners and Debris
Inspect the exposed joists.
Remove:
- Broken screws
- Nails
- Wood fragments
- Dirt buildup
- Leaves or other debris
You don’t want the replacement board sitting on top of an old screw head or chunk of wood.
Run your hand carefully over the top of the joist while wearing gloves.
The surface should be reasonably clear and flat.
What You Should See: The top of each joist should provide a clean surface for the replacement board.
Step 7: Inspect the Joists for Damage
This is one of the most important parts of the repair.
With the board removed, you have a clear view of framing that’s normally hidden.
Look for:
- Rot
- Soft wood
- Deep cracks
- Splitting
- Insect damage
- Water staining
- Failed fastener holes
- Improper previous repairs
Use an awl or screwdriver to gently probe questionable wood.
Sound framing should resist light pressure.
If the tool easily sinks into soft or crumbling wood, stop.
The joist may need to be repaired before a new deck board is installed.
What You Should See: The supporting joists should be solid enough to securely hold new fasteners.
If Yours Looks Different: Minor surface weathering isn’t the same as structural rot. Pay attention to softness, crumbling wood, deep cracks, or widespread deterioration.
Step 8: Measure the Replacement Board
Measure the opening rather than simply copying the length written on the old board.
Measure carefully from the intended end positions.
If the replacement board needs to fit between two existing pieces, allow the normal spacing required for your decking system.
Transfer the measurement to the new board.
Use a square to mark a straight cut line.
What You Should See: The replacement piece should match the existing board dimensions and fit the opening without being forced into place.
💡 Pro Tip: Measure twice and cut once really matters here. Cutting a replacement board even 1/4 inch too short can leave an obvious gap that’s difficult to hide.
Step 9: Cut the New Board to Length
Support the replacement board securely.
Put on eye and hearing protection.
Cut along your marked line using the appropriate saw.
Keep the cut square so the board ends sit cleanly.
For pressure-treated lumber, treat freshly cut ends if the lumber manufacturer or local practice calls for it.
Allow any preservative to dry as directed before installation.
What You Should See: The replacement board should have clean, square ends without major splintering.
Step 10: Test Fit the Replacement Board
Place the board into the opening without fastening it yet.
Check:
- Length
- Width
- Board spacing
- Height compared with neighboring boards
- Support at every joist
- End support
The replacement board should sit naturally on the joists.
Don’t force an oversized board between neighboring pieces.
What You Should See: The board should sit flat and align reasonably well with the surrounding decking.
If Yours Looks Different: If the replacement sits noticeably higher than the surrounding boards, the existing decking may have worn down or the new material may be a slightly different thickness. Double-check that you bought the correct size.
Step 11: Add Blocking if an End Needs Support
Every cut end of the replacement board needs proper support.
If your repair required cutting a board between joists and one end doesn’t land on adequate framing, you may need to add blocking.
Secure an appropriate piece of exterior-rated framing lumber beside the existing joist or between framing members so the new board has solid material underneath the fastening location.
The blocking should be structurally secure before the deck board is installed.
What You Should See: Every end of the replacement board should rest on solid framing with enough room for proper fastening.
If Yours Looks Different: Don’t leave the end of a deck board floating between joists. It can flex, split, or loosen quickly.
Step 12: Position the Replacement Board
Place the new board into its final position.
Check the spacing along both sides.
Wood deck boards need appropriate gaps for drainage and seasonal movement.
Existing decks aren’t always perfectly uniform, so match the surrounding spacing as closely as practical while still allowing water to drain.
For composite decking, follow the manufacturer’s required spacing.
What You Should See: The replacement board should sit straight, flat, and evenly spaced from the neighboring boards.
Step 13: Drill Pilot Holes if Needed
Pilot holes can help prevent splitting, especially near the ends of wood deck boards.
Mark the fastener locations over the joists.
Keep the screws far enough from the edge and end to avoid splitting.
Drill straight down into the board.
Don’t drill unnecessarily deep into the framing.
What You Should See: The pilot holes should line up with solid joist material underneath.
If Yours Looks Different: If you’re installing composite decking with hidden fasteners, skip face-drilling unless the manufacturer specifically calls for it.
Step 14: Fasten the New Board
Drive exterior-rated deck screws through the board and into the joists.
Use the existing deck as a guide for fastener placement.
Drive each screw straight.
The screw head should sit flush or slightly below the surface as appropriate for the decking and fastener design.
Don’t bury the screw deeply.
Overdriving can crush the wood fibers and create places where water collects.
What You Should See: The replacement board should pull firmly against every supporting joist without splitting or lifting.
If Yours Looks Different: If a screw spins instead of tightening, stop. You may have missed the joist or the framing may be damaged.
Step 15: Check the Finished Repair
Walk over the new board carefully.
Press down at each joist location.
Check for:
- Movement
- Rocking
- Squeaking
- Raised fasteners
- Uneven board height
- Excessive gaps
The board may look lighter or newer than the surrounding decking.
That’s expected with many wood decks.
What You Should See: The replacement board should feel as solid as the boards around it and remain securely fastened under normal foot traffic.
Step 16: Inspect the Surrounding Deck
Before putting your tools away, check the nearby boards and framing.
Look for:
- Loose fasteners
- Soft boards
- Splintering
- Rot
- Raised nails
- Loose railings
- Additional damaged boards
If the board you replaced failed because of age or moisture exposure, neighboring boards may not be far behind.
Catching them early can prevent a larger repair later.
🛑 Common Mistakes to Avoid
- Replacing the board without inspecting the joists underneath
- Cutting into the joist with a circular saw
- Leaving an open hole in the deck unattended
- Buying a replacement board without measuring the thickness and width
- Using interior screws outdoors
- Fastening a new board into rotten framing
- Leaving a cut end unsupported
- Forcing an oversized replacement board into the opening
- Installing wood boards without appropriate spacing
- Overdriving deck screws
- Driving fasteners too close to the board ends
- Face-screwing composite decking without checking the manufacturer’s requirements
- Assuming several damaged boards are all isolated problems
Troubleshooting
Problem: The replacement board is thicker than the old boards.
First verify that you purchased the correct size.
Older decking can lose some thickness through weathering and wear, so a small difference may occur even with the correct nominal size.
A significant difference usually means the replacement material isn’t a proper match.
Problem: The new board won’t fit between the existing boards.
Recheck your measurements.
Wood can swell with moisture, and existing board spacing may be irregular.
Don’t hammer an oversized board into the opening. Correct the fit first.
Problem: The joist underneath is soft.
Stop the repair.
A new board needs solid framing underneath it. The joist may require repair or replacement before the decking can be safely installed.
Problem: One end of the board doesn’t land on a joist.
Add proper blocking or another structural support rather than leaving the end unsupported.
Problem: The screws keep spinning.
The screw may have missed the joist or the framing may be stripped or damaged.
Remove the fastener and determine what’s underneath before trying again.
Problem: The new board sits higher than the rest of the deck.
Verify the replacement thickness.
If the material is correct, the surrounding boards may have worn or weathered substantially. A small difference may become less noticeable over time, but a large height difference can become a trip hazard.
Problem: The replacement board is a completely different color.
New wood often looks much lighter than weathered decking.
Allow it time to dry and weather before deciding whether you need to stain or refinish the area.
❓ FAQs
Can I replace just one deck board?
Yes. If the surrounding decking and framing are in good condition, replacing one damaged board is a common and practical repair.
How do I know when a deck board should be replaced instead of repaired?
Replace the board when it is rotten, badly split, structurally weakened, severely warped, or no longer able to hold fasteners securely.
Do I need to remove the entire board?
Not always. A damaged section can sometimes be cut out and replaced if both ends of the new piece are properly supported by framing or added blocking.
What screws should I use for deck boards?
Use exterior-rated decking fasteners appropriate for your decking material and framing. Pressure-treated lumber and composite decking can have specific compatibility requirements.
Should I leave gaps between deck boards?
Yes. Proper spacing allows drainage and accommodates movement. The correct gap depends on the decking material, moisture content, and manufacturer requirements.
Can I replace a pressure-treated board with composite decking?
Usually not as a simple one-board substitution. Composite decking can have different thicknesses, fastening systems, framing requirements, and expansion characteristics. Match the existing deck system whenever possible.
Why did my deck board rot in only one spot?
Localized rot can occur where water repeatedly collects, leaves or debris trap moisture, fasteners allow water penetration, or framing underneath stays wet.
Investigate why the area remained damp before installing the new board.
How long does a replacement deck board take to match the old deck?
New pressure-treated lumber may take months to dry and weather toward the appearance of older boards. Staining or refinishing the deck later can help create a more consistent appearance.
📞 When to Call a Professional
Consider calling a deck contractor, carpenter, or qualified professional if:
- You discover rotten joists or beams.
- Multiple deck boards are soft or deteriorated.
- The framing moves under normal foot traffic.
- Posts or structural connections appear damaged.
- The deck is elevated and you’re unsure whether the framing is safe.
- A railing is loose along with the damaged decking.
- The board surrounds or supports a railing post.
- Significant insect damage is present.
- The damage appears to be caused by a larger drainage or structural problem.
- You’re uncomfortable cutting decking around hidden framing or utilities.
Replacing one damaged board is a manageable homeowner project when the structure underneath is sound. The most important part isn’t making the new board look perfect—it’s making sure the framing supporting it is still solid and the new board is properly secured.