
Safety First
Before drilling into the wall, check for electrical wiring and plumbing that may run behind the mounting area. Be especially careful near outlets, switches, bathrooms, and kitchens.
Whenever possible, secure the floating shelf bracket directly into wall studs or solid blocking. If studs aren’t available where the bracket needs to go, use wall anchors specifically rated for your wall type and the expected load. Never assume a basic plastic drywall anchor can safely support a heavily loaded shelf.
Wear eye protection when drilling, and don’t place heavy or valuable objects on the shelf until you’ve confirmed the bracket and shelf are firmly secured.
Time
45-90 Minutes
Difficulty
Easy-Moderate
Cost
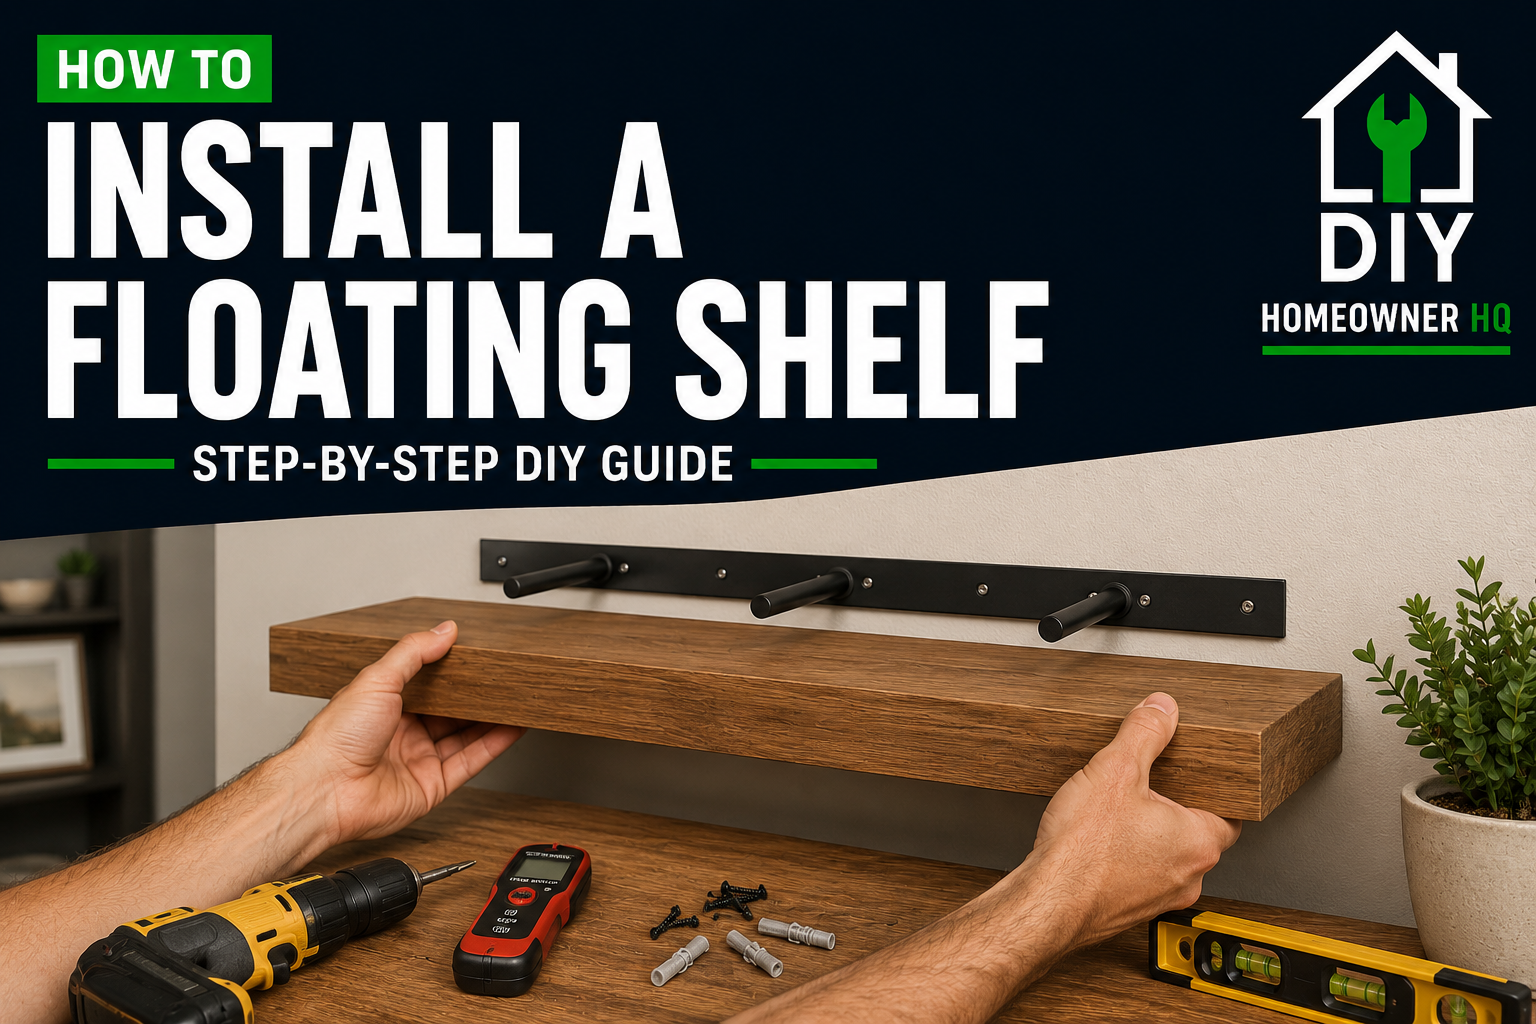
$25-$75
🧰 Tools & Materials
Tools
- Tape measure
- Pencil
- Level
- Stud finder
- Drill/driver
- Drill bits
- Screwdriver
- Tape or painter’s tape
- Eye protection
Materials
- Floating shelf
- Floating shelf mounting bracket
- Manufacturer-provided screws and hardware
- Appropriate wall anchors, if needed
- Wood screws or structural screws appropriate for the bracket and wall construction, if required
Most floating shelves come with their own mounting bracket and hardware. Check the manufacturer’s instructions before replacing any included fasteners or adding different anchors.
Signs a Floating Shelf Is a Good Fit
A floating shelf works well when you want useful storage or display space without visible brackets underneath.
Common places to install one include:
- Above a desk
- In a living room
- Above a toilet
- In an entryway
- In a bedroom
- In a kitchen
- Between cabinets
- On an otherwise empty wall
Before installing one, think about what you plan to put on it.
A shelf holding a few framed pictures is very different from one holding heavy books, dishes, or appliances.
The shelf, bracket, fasteners, wall construction, and mounting location all affect how much weight the finished shelf can safely support.
Before You Buy
Measure the wall where you want the shelf.
Check:
- Available width
- Shelf depth
- Shelf thickness
- Location of nearby doors and windows
- Clearance above furniture
- Location of outlets and switches
- Where the wall studs are located
Then check the shelf manufacturer’s mounting requirements and weight rating.
Some floating shelf brackets have multiple mounting holes that make it relatively easy to hit studs.
Others have fixed mounting locations.
If the shelf can’t be positioned where its bracket can attach adequately to the wall, you may need a different shelf, appropriate anchors, or another mounting solution.
Don’t choose anchors based only on the number printed on the package. The actual capacity of the installation depends on the wall material, bracket design, fastener placement, installation quality, and how the shelf is loaded.
Before You Start
Decide exactly where you want the shelf before drilling anything.
Use painter’s tape to temporarily mark the shelf’s approximate width and height on the wall.
Step back and look at it from across the room.
Check that the shelf won’t interfere with:
- Doors
- Windows
- Light switches
- Outlets
- Cabinet doors
- Furniture
- Walkways
Also consider what’s inside the wall.
Electrical wiring and plumbing can run through wall cavities. Be especially cautious when drilling near outlets, switches, kitchens, bathrooms, or other areas where utilities are likely to be present.
If you have any reason to suspect plumbing or wiring behind the mounting location, don’t blindly drill deeper or use longer screws.
Step 1: Decide the Shelf Height
Measure from the floor, nearby furniture, countertop, or another reference point to establish the shelf height.
Make a light pencil mark.
Don’t rely only on a measurement from the ceiling. Ceilings aren’t always perfectly level.
If you’re installing multiple shelves, decide their spacing before installing the first one.
Use painter’s tape to visualize the layout if you’re unsure.
What You Should See: The proposed shelf location should look balanced with the surrounding wall, furniture, and other features.
If Yours Looks Different: If the shelf looks oddly high or low even though your measurement seems correct, trust the overall layout rather than forcing a predetermined measurement.
💡 Pro Tip: Put the items you plan to display on a table and measure their height before choosing shelf spacing. This prevents installing beautiful shelves that don’t actually fit what you wanted to put on them.
Step 2: Locate the Wall Studs
Use a stud finder to scan the mounting area.
Move slowly across the wall and mark both edges of each detected stud.
The center between those marks should approximate the center of the stud.
Repeat the scan from the opposite direction to confirm it.
Don’t immediately drill based on one quick pass.
Look for additional clues such as:
- Electrical outlets that may be attached to a stud
- Consistent stud spacing
- Existing fastener locations
- Other known framing locations
What You Should See: You should have clearly marked likely stud locations across the area where the shelf bracket will sit.
If Yours Looks Different: Stud finders can struggle with textured walls, unusual wall construction, plaster, tile, or multiple layers of material. Don’t keep drilling exploratory holes if you’re unsure what’s behind the wall.
Step 3: Position the Mounting Bracket
Hold the mounting bracket against the wall at your desired height.
Place a level on the bracket.
Adjust it until the bubble is centered.
Check whether any of the bracket mounting holes line up with the studs you marked.
If the bracket allows several mounting positions, prioritize secure attachment to framing wherever possible.
Once the bracket is level and positioned correctly, mark the mounting holes with a pencil.
What You Should See: The bracket should be level, centered where you want the shelf, and positioned so the strongest available mounting points can be used.
If Yours Looks Different: Some floating shelves use individual mounting rods instead of one long bracket. Follow the same principle: establish a level reference line and carefully mark every mounting location before drilling.
Step 4: Confirm the Hole Locations Before Drilling
Remove the bracket and look at your marks.
This is your last easy opportunity to catch a mistake.
Check:
- Shelf height
- Shelf position
- Level
- Stud locations
- Distance between mounting holes
- Nearby outlets or switches
Hold the bracket against the wall one more time if anything looks questionable.
For stud-mounted locations, choose a drill bit appropriate for creating a pilot hole for the fastener you’re using.
For anchor locations, use the hole size specified by the anchor manufacturer.
Do not assume every mounting hole gets drilled the same size.
What You Should See: Every marked hole should have a clear purpose—either fastening into framing or accepting an appropriate wall anchor.
Step 5: Drill the Pilot Holes
Put on eye protection.
Hold the drill straight and begin drilling slowly.
For a location that should contain a stud, you may feel the drill pass through the drywall and then begin cutting into solid wood.
Stop once you’ve drilled to the depth required for the fastener.
Don’t continue drilling unnecessarily deep.
What You Should See: At a stud location, the bit should encounter solid resistance after passing through the drywall.
If Yours Looks Different: If you expected a stud but the bit suddenly enters an empty cavity, stop. Recheck the stud location instead of installing a screw and hoping it catches something.
💡 Pro Tip: Place a small piece of painter’s tape on the drill bit to mark your intended drilling depth. It gives you a simple visual reminder of when to stop.
Step 6: Install Wall Anchors Where Required
If your mounting system requires anchors at locations without studs, install the correct type for your wall and shelf.
Different anchors work differently.
Some screw directly into drywall.
Others require a predrilled hole.
Toggle-style anchors expand or open behind the wall.
Follow the anchor manufacturer’s installation instructions carefully.
The anchor should sit properly against the wall without spinning, crushing the drywall, or pulling loose.
What You Should See: Each anchor should feel firmly seated and ready to accept its mounting screw.
If Yours Looks Different: If an anchor spins freely or tears out the drywall, don’t reuse the damaged hole and expect it to hold. Move the mounting point if the bracket allows it or repair the wall and use a more appropriate mounting method.
Step 7: Attach the Bracket to the Wall
Position the bracket over the pilot holes and anchors.
Start the screws by hand or with the drill set to a low speed.
Don’t fully tighten one screw immediately.
Install the remaining screws loosely first so the bracket can still shift slightly.
Place the level on top of the bracket and make any final adjustments.
Then tighten the fasteners gradually.
The bracket should pull firmly against the wall without bending or crushing the drywall.
What You Should See: The bracket should sit flat, remain level, and feel solid when you push or pull on it.
If Yours Looks Different: If tightening one screw pulls the bracket out of level, loosen it slightly, reposition the bracket, and retighten the fasteners gradually.
Step 8: Test the Bracket Before Installing the Shelf
Before hiding everything behind the shelf, test the mounting bracket.
Grab it firmly and apply controlled pressure:
- Downward
- Upward
- Toward you
- Side to side
You’re not trying to rip it off the wall.
You’re checking for obvious movement, loose anchors, or fasteners that aren’t properly engaged.
Watch the wall around each mounting point.
What You Should See: The bracket should remain solid against the wall without visible movement at the fasteners.
If the bracket moves, stop and correct the mounting problem now. If you’re troubleshooting an existing installation, see how to fix a loose floating shelf.
Once the shelf is installed, those fasteners may be much harder to access.
Step 9: Slide the Shelf Onto the Bracket
Most floating shelves slide over rods or supports extending from the mounting bracket.
Carefully align the holes or channels inside the shelf with the bracket supports.
Slide the shelf toward the wall evenly.
Don’t force one side while the other side is misaligned.
Depending on the shelf design, the fit may be intentionally snug.
Push until the back of the shelf sits against or very close to the wall as designed.
What You Should See: The shelf should slide fully onto the bracket and sit evenly against the wall.
If Yours Looks Different: If the shelf stops halfway, remove it and check the alignment. Forcing it can damage the shelf, bend the bracket rods, or enlarge the mounting holes.
Step 10: Secure the Shelf to the Bracket
Many floating shelves have small screws underneath that lock the shelf onto the hidden bracket.
Install these according to the manufacturer’s instructions.
These screws help prevent the shelf from sliding forward off the bracket.
Don’t overtighten them.
If your shelf uses another locking system, make sure it’s completely engaged before placing anything on the shelf.
What You Should See: The shelf should no longer slide forward when you gently pull on it.
Step 11: Check the Shelf for Level
Place your level on top of the installed shelf.
Check it from left to right.
Then turn the level and check from front to back.
A shelf can be perfectly level across its width but still tilt downward away from the wall.
If the front edge noticeably droops, don’t immediately start adding weight.
Check:
- Whether the bracket is tight
- Whether the shelf is fully seated
- Whether the bracket itself is bent
- Whether the wall is uneven
- Whether the mounting hardware has shifted
What You Should See: The shelf should appear level and sit firmly against the wall without noticeable downward tilt.
If Yours Looks Different: A tiny gap behind part of the shelf can happen on an uneven wall. A large gap or obvious downward slope usually means something needs to be corrected.
Step 12: Load the Shelf Gradually
Don’t finish the installation by immediately stacking the heaviest objects you own on it.
Start with lighter items.
Watch the shelf as you add weight.
Look for:
- Sagging
- Bracket movement
- Anchors pulling away from the wall
- A growing gap behind the shelf
- Unusual creaking
- The front edge beginning to tilt downward
Keep the load within the manufacturer’s rated limits and remember that mounting conditions can affect the real-world capacity.
What You Should See: The shelf should remain level and stable as normal decorative or storage items are added.
💡 Pro Tip: Place heavier objects closer to the wall instead of at the very front edge of the shelf. Weight farther from the wall creates more leverage on the mounting system.
🛑 Common Mistakes to Avoid
- Installing the shelf without checking for studs first
- Assuming every wall anchor can support the same amount of weight
- Using basic plastic drywall anchors for a heavily loaded shelf
- Drilling near outlets or switches without considering hidden wiring
- Using unnecessarily long screws
- Trusting one quick stud-finder reading
- Forgetting to level the bracket before drilling
- Fully tightening one bracket screw before installing the others
- Installing the shelf before testing the bracket
- Forcing the shelf onto misaligned mounting rods
- Forgetting the locking screws underneath the shelf
- Loading the shelf heavily immediately after installation
- Exceeding the manufacturer’s weight rating
Troubleshooting
Problem: The shelf tilts downward away from the wall.
First check whether the bracket itself is level from front to back and securely mounted.
Make sure the shelf is fully seated onto the bracket.
If the mounting points are moving in the drywall, the problem needs to be corrected before the shelf is loaded.
Problem: My stud finder says there’s a stud, but the drill doesn’t hit wood.
Stop drilling.
Recheck the location from both directions and consider whether the stud finder may be detecting another object inside the wall.
Don’t keep making holes until you eventually find something solid.
Problem: One of the anchors spins when I tighten the screw.
The anchor isn’t properly gripping the wall.
Remove it and determine whether the hole has become oversized or the anchor is inappropriate for the wall material.
Don’t rely on a spinning anchor to support the shelf.
Problem: The bracket is level, but the shelf isn’t.
Check that the shelf is completely seated on every mounting rod or support.
Also inspect the shelf itself. Some inexpensive shelves can be slightly warped.
Problem: There’s a gap between the back of the shelf and the wall.
Make sure the shelf is pushed completely onto the bracket.
If it is, the wall may not be perfectly flat.
A very small uneven gap may be cosmetic, but a large gap can indicate that the shelf or bracket isn’t properly installed.
Problem: The shelf feels solid until I put weight on it.
Remove the weight.
The fasteners, anchors, bracket, or shelf may not be adequate for the load.
Don’t keep adding weight to “see what happens.”
Problem: I can’t position the shelf where it will hit enough studs.
Check the manufacturer’s mounting requirements.
Depending on the shelf and expected load, you may be able to combine stud attachment with appropriately rated anchors. For heavier loads, choosing a shelf or bracket with more flexible mounting locations may be the better solution.
❓ FAQs
Do floating shelves need to be installed into studs?
Not every floating shelf requires every fastener to enter a stud, but fastening the bracket securely into framing whenever possible generally provides the strongest installation. Follow the shelf manufacturer’s mounting requirements.
Can I install a floating shelf using only drywall anchors?
Some lightweight shelves can be installed with properly selected anchors if the manufacturer allows it. The appropriate anchor depends on the wall construction, shelf design, and expected load.
How much weight can a floating shelf hold?
There’s no universal number. Capacity depends on the shelf, bracket, fasteners, wall material, stud attachment, installation quality, shelf depth, and where the weight is positioned. Use the manufacturer’s rating as your starting point.
How do I know if I hit a stud?
After the drill bit passes through drywall, you should typically feel continued resistance as it enters wood. If the bit suddenly enters an empty cavity, you may have missed the stud.
Why is my floating shelf leaning forward?
Common causes include a loose bracket, weak anchors, an improperly seated shelf, a bent mounting bracket, an uneven wall, or too much weight.
Can I install a floating shelf above an outlet?
You can, but electrical wiring may run vertically or horizontally from the electrical box depending on how the home was wired. Use extra caution when choosing drilling locations and don’t blindly drill deeply above or beside electrical devices.
Can I install floating shelves on plaster walls?
Yes, but plaster and lath walls require different considerations than standard drywall. Stud detection can also be more difficult. Make sure the mounting method and fasteners are appropriate for your particular wall construction.
📞 When to Call a Professional
Consider calling a carpenter, handyman, or qualified contractor if:
- You’re unsure what’s behind the wall where you need to drill.
- The wall is made from an unfamiliar material.
- You suspect plumbing or electrical wiring is directly behind the mounting area.
- The shelf will support unusually heavy objects.
- The drywall is damaged or crumbling around the mounting points.
- You can’t find adequate structural support for the bracket.
- The shelf remains loose or tilts even after reinstalling the mounting hardware.
- You’re mounting a heavy shelf above a bed, crib, sofa, or another area where failure could cause an injury.
A floating shelf may look simple, but the hidden bracket is doing all the work. Take the extra time to make sure the bracket is properly positioned and securely fastened before loading the shelf.