
Safety First
Wear safety glasses when drilling or using a screw extractor. Keep the drill straight and use slow, steady pressure to avoid breaking the bit or damaging the surrounding material.
Time
10-30 Minutes
Difficulty
Easy
Cost
$5-$20
🔧 Tools
- Screwdriver
- Drill/driver
- Locking Pliers
- Rubber band
- Screw extractor, if needed
📦 Materials
- Replacement screw
- Penetrating oil, if needed
🔎 Signs a Screw Is Stripped
- The driver bit spins without turning the screw
- The screw head is rounded or damaged
- The bit repeatedly slips out of the screw head
🛒 Before You Buy
Try the simplest methods first. Many stripped screws can be removed without buying a screw extractor.
If you do need an extractor, choose one designed for the size of screw you’re removing.
🧰 Before You Start
Clean debris from the screw head and make sure you’re using the correct size and type of driver bit. A bit that’s too small can make the stripping worse.
Step 1: Try a Fresh Driver Bit
Press the correct bit firmly into the screw and turn slowly.
Sometimes switching to a new, sharp bit provides enough grip to remove it.
What You Should See: The screw should begin backing out without the bit slipping.
Step 2: Try the Rubber Band Method
Place a wide rubber band over the screw head and press the driver bit firmly into it.
Turn slowly while maintaining downward pressure. The rubber can help the bit grip a mildly stripped screw.
💡 Pro Tip: This works best when the screw head still has some usable grooves.
Step 3: Grab the Screw With Pliers
If the screw head sticks above the surface, grip it firmly with locking pliers.
Turn counterclockwise until the screw comes free.
If Yours Looks Different: If the screw is flush with the surface, move on to a screw extractor.
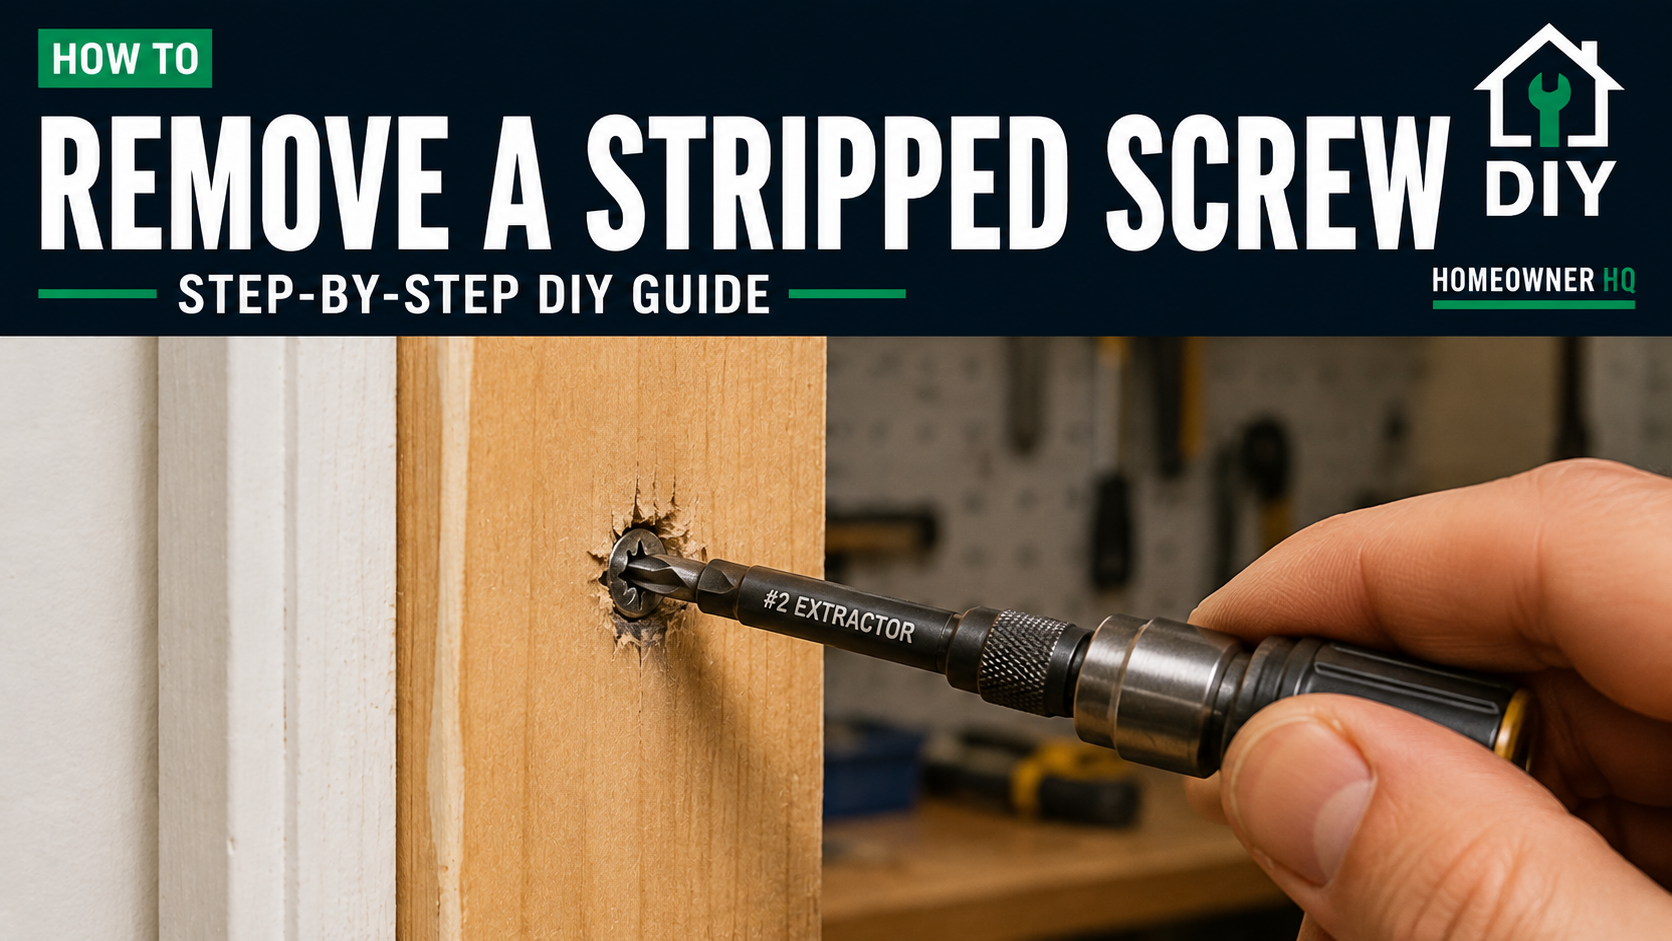
Step 4: Use a Screw Extractor
Choose an extractor sized for the damaged screw and follow the instructions included with your extractor set.
Some extractor kits require you to drill a small recess into the center of the screw head before using the extractor end. Others combine the steps differently, so follow the directions for your specific tool.
Keep the drill straight and work at low speed. Once the extractor bites into the screw, it should begin turning the screw counterclockwise.
What You Should See: The extractor should grip the damaged screw and slowly back it out of the material.
Step 5: Replace the Screw
Inspect the hole and surrounding material for damage.
Install a new screw of the correct size. If the hole itself is stripped, repair the hole before installing the replacement.
🚫 Common Mistakes to Avoid
- Using the wrong driver bit
- Running the drill at high speed
- Continuing after the bit repeatedly slips
- Applying excessive pressure with an extractor
- Reusing the damaged screw
❓ Frequently Asked Questions
Can you remove a stripped screw without an extractor?
Yes. A fresh bit, rubber band, or locking pliers can often remove mildly stripped screws.
What if the screw head is completely rounded?
A screw extractor is usually the easiest next step.
Why do screws strip?
Using the wrong bit, driving at an angle, overtightening, or using too much drill speed are common causes.
👷 When to Call a Professional
Consider getting help if the screw is broken below the surface, an extractor breaks inside it, or removing it risks damaging an expensive fixture or finished surface.