
Safety First
Wear safety glasses when scraping, sanding, or cutting damaged baseboard. Small pieces of wood, MDF, old paint, or filler can break loose unexpectedly.
If you’re repairing older painted trim and your home was built before 1978, avoid sanding or disturbing the paint until you’ve considered the possibility of lead-based paint.
Be careful with utility knives, chisels, and other sharp tools. Always cut away from your hands and body.
If the damage was caused by water, make sure the source of the moisture has been fixed before repairing the baseboard. Soft, swollen, or crumbling material may need to be replaced instead of patched.
Time
1-3 Hours
Difficulty
Easy
Cost
$10-$40
🧰 Tools & Materials
Tools
- Putty knife
- Utility knife
- Fine-grit sanding sponge or 120- to 220-grit sandpaper
- Small pry bar or chisel, if needed
- Caulk gun
- Paintbrush
- Vacuum or shop vacuum
Materials
- Wood filler or paintable wood repair filler
- Paintable acrylic latex caulk
- Matching trim paint
- Primer
- Painter’s tape
- Clean rag
Signs Your Baseboards Can Be Repaired
You usually don’t need to replace an entire piece of baseboard because of minor damage.
Common repairable problems include:
- Small dents and gouges
- Nail holes
- Chipped edges
- Scratches
- Small sections of missing material
- Cracked caulk along the top edge
- Minor gaps at joints
Damage from furniture, vacuum cleaners, pets, toys, and everyday wear can often be repaired with filler, sanding, and paint.
However, swollen, crumbling, severely cracked, or rotten baseboard usually needs to be replaced rather than patched.
Before You Start
Take a close look at what caused the damage.
If the baseboard was damaged by an impact, you can usually repair it immediately.
If you see swelling, discoloration, softness, or crumbling material, investigate for water damage before doing anything else. Repairing the surface without fixing the moisture problem will only hide it temporarily.
Also determine whether your baseboard is solid wood or MDF. MDF is common in newer homes and can swell significantly when it gets wet.
For a painted baseboard, you don’t need to make the filler perfectly match the existing material. Your goal is to rebuild the original shape of the trim so the repair disappears after sanding, priming, and painting.
Step 1: Remove Loose or Damaged Material
Use a utility knife, putty knife, or small chisel to carefully remove loose paint, splintered wood, or crumbling material from the damaged area.
Don’t dig aggressively into solid material. You’re simply creating a clean, stable surface for the repair.
Run your fingers carefully around the damaged area and make sure nothing loose remains.
What You Should See: A solid repair area without loose paint, splinters, or crumbling material.
If Yours Looks Different: If the damage keeps breaking apart as you work, especially on MDF, the material may be too badly damaged to patch reliably. Replacing that section of baseboard may be the better option.
Step 2: Clean the Area
Vacuum away dust and debris.
Wipe the area with a slightly damp rag if necessary, then allow it to dry completely before applying filler.
Filler bonds much better to a clean, dry surface than it does to dust or loose paint.
💡 Pro Tip: Painter’s tape on the floor directly below the repair can keep filler and paint off hardwood, laminate, or tile.
Step 3: Apply the First Layer of Filler
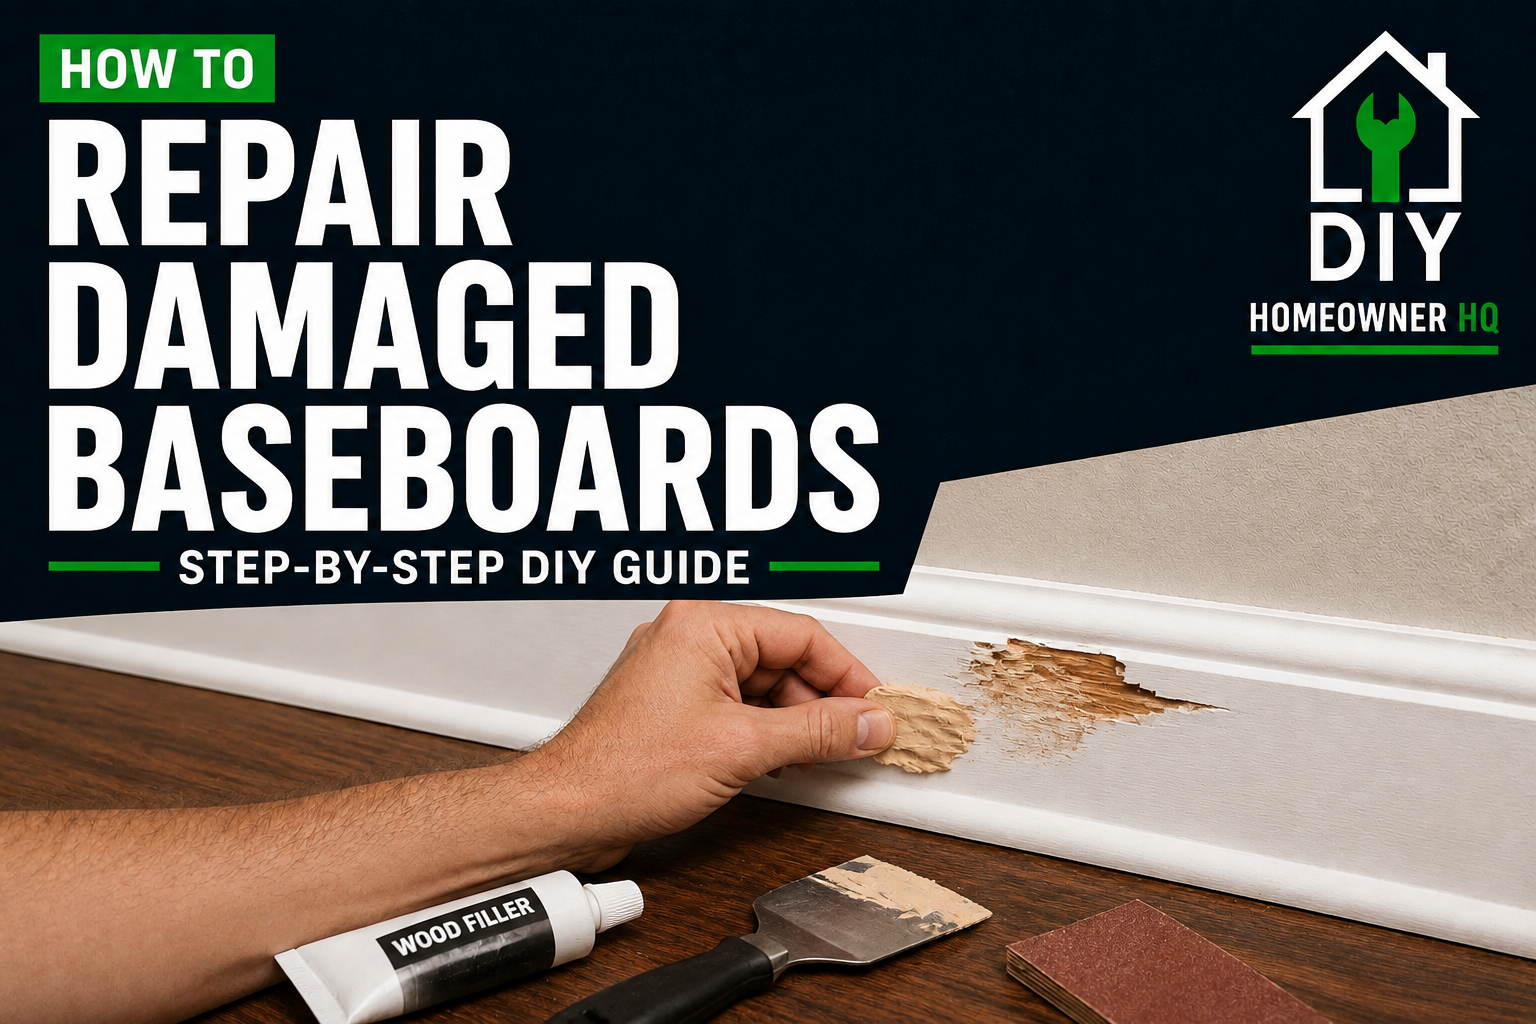
Use a putty knife to press wood filler firmly into the damaged area.
For shallow dents and scratches, one application may be enough.
For deeper gouges or missing chunks, don’t try to rebuild everything with one giant glob of filler. Apply a reasonable first layer and allow it to dry according to the manufacturer’s instructions.
Slightly overfill shallow repairs because filler can shrink as it dries.
What You Should See: The damaged area should be completely filled, with the filler extending slightly beyond the finished surface of the baseboard.
If Yours Looks Different: If the filler won’t stay in a deep repair, build the area back up in multiple thinner applications instead of trying to fill the entire cavity at once.
Step 4: Rebuild Damaged Edges or Profiles
If a corner or decorative edge has been chipped away, use additional filler to recreate the missing shape.
Apply the filler with your putty knife and roughly form the original profile while it’s workable.
Don’t worry about making it perfect yet. It’s usually easier to refine the shape after the filler hardens.
For larger repairs, you may need two or more applications, allowing each layer to dry before adding the next.
What You Should See: The damaged portion should begin matching the general shape and height of the surrounding baseboard.
If Yours Looks Different: If a large section of the decorative profile is missing, patching it may become more difficult than replacing the damaged section.
Step 5: Let the Filler Dry Completely
Allow the repair to dry for the full amount of time recommended on the filler.
Don’t rush this step.
Filler that feels dry on the surface can still be soft underneath, especially when repairing a deep gouge.
Trying to sand too early can pull the filler out of the repair and force you to start over.
Step 6: Sand the Repair Smooth
Once the filler is completely dry, sand the repaired area until it blends into the surrounding baseboard.
Start with approximately 120- to 150-grit sandpaper if you need to remove a noticeable amount of excess filler.
Finish with 180- to 220-grit sandpaper for a smoother surface before painting.
Run your fingers across the repair periodically. Your hand will often detect a ridge or low spot that is difficult to see.
What You Should See: The repaired area should feel smooth and transition naturally into the original baseboard.
If Yours Looks Different: If you can still feel a depression, stop sanding and apply another thin coat of filler. Let it dry and sand again.
💡 Pro Tip: Don’t oversand the surrounding baseboard while trying to perfect the patch. Focus primarily on the filler and feather the edges into the existing surface.
Step 7: Repair Any Gaps With Caulk
Inspect the top of the baseboard where it meets the wall and any nearby joints. If you’re dealing with more than a small caulk separation, see how to fix gaps in baseboards before finishing the repair.
If the impact cracked or separated the existing caulk, remove loose material and apply a thin bead of paintable acrylic latex caulk.
Smooth the bead with a damp finger or caulk-finishing tool.
Don’t use wood filler for the flexible joint between the baseboard and wall. Caulk is better suited for areas that may experience slight movement.
Step 8: Prime the Repaired Area
Remove all sanding dust and apply primer over the exposed filler and any bare wood or MDF.
Primer helps prevent the repaired area from absorbing paint differently from the surrounding trim.
Allow the primer to dry completely.
What You Should See: The repair may still be slightly visible because the colors don’t match yet, but the surface itself should look smooth and continuous.
If Yours Looks Different: If the repair becomes obvious after priming because of a ridge, dip, or rough spot, lightly sand it again and correct the surface before painting.
Step 9: Paint the Baseboard
Apply matching trim paint over the repaired area.
Use thin coats rather than trying to cover everything with one heavy coat.
Depending on the paint color and finish, you may need two coats.
Feather the new paint slightly beyond the repair so you don’t leave a noticeable hard edge.
For the cleanest appearance, especially if the existing paint has faded or the repair is large, you may want to paint the entire section of baseboard from one corner or joint to the next.
Step 10: Inspect the Finished Repair
Allow the paint to dry and look at the baseboard from several angles.
Run your hand lightly across the repaired area.
A good repair should blend into the surrounding baseboard without an obvious bump, depression, or rough edge.
If you can still see the repair, determine whether the problem is the paint or the surface underneath it.
A visible ridge or depression usually means the area needs another round of filling and sanding—not another heavy coat of paint.
🛑 Common Mistakes to Avoid
- Applying filler over loose material. Remove anything unstable first or the repair may break loose later.
- Using one thick layer for a deep repair. Multiple thinner applications usually dry and hold better.
- Sanding before the filler is completely dry. This can tear the repair apart.
- Skipping primer. Filler can absorb paint differently and leave a visible dull spot.
- Using caulk to repair dents or missing chunks. Caulk stays flexible and isn’t intended to rebuild the face of the baseboard.
- Using wood filler along the wall joint. Use paintable caulk where the baseboard meets the wall.
- Ignoring water damage. Swollen or deteriorating trim won’t be permanently fixed by covering it with filler.
- Trying to save severely damaged baseboard. Sometimes replacing the damaged section is faster and produces a better result.
Troubleshooting
Problem: The filler keeps cracking or falling out.
Remove the loose filler and check that the underlying material is solid, clean, and dry. Deep repairs may need to be rebuilt in several layers.
Problem: I can still see the dent after sanding.
You’ve probably sanded the filler flush with the lowest part of the damaged area rather than the original face of the baseboard. Apply another thin coat, let it dry, and sand again.
Problem: The repaired area looks different after painting.
The filler may not have been primed, or the surrounding paint may have faded over time. Prime exposed filler and consider painting the entire baseboard section for a more consistent finish.
Problem: My MDF baseboard is swollen.
Minor surface damage may be repairable, but badly swollen MDF rarely returns to its original shape. If the material is soft, expanded, or crumbling, replacement is usually the better repair.
Problem: There’s a gap between the baseboard and wall.
For a small stationary gap, use paintable acrylic latex caulk rather than wood filler. Large or uneven gaps may indicate that the baseboard has pulled away from the wall and needs to be resecured first.
❓ FAQs
Can you repair baseboards without replacing them?
Yes. Dents, scratches, nail holes, chips, and many small gouges can usually be repaired with filler, sanding, primer, and paint.
What should I use to fill damaged baseboards?
For painted wood or MDF baseboards, a paintable wood repair filler is a good choice for most dents, gouges, and chipped areas.
Can you repair chewed baseboards?
Often, yes. Small areas damaged by pets can usually be rebuilt with filler. Extensive damage or a badly destroyed decorative profile may be easier to fix by replacing that section.
Can swollen MDF baseboards be repaired?
Very minor damage sometimes can be stabilized and refinished, but severely swollen or crumbling MDF should generally be replaced. Make sure the moisture source is corrected first.
Do I need to prime wood filler before painting?
Yes. Priming helps seal the repair and gives the finish paint a more consistent appearance.
Should I repair or replace damaged baseboard?
Repair it when the damage is localized and the surrounding material is solid. Replacement makes more sense when the baseboard is rotten, badly swollen, extensively broken, or damaged across a long section.
📞 When to Call a Professional
Baseboard repair is usually a beginner-friendly project, but professional help may make sense if:
- The damage extends through a large amount of custom or detailed trim
- You discover significant water damage behind the baseboard
- The wall or flooring behind the trim is also damaged
- You suspect mold or an ongoing moisture problem
- Matching an existing custom baseboard profile requires specialized millwork
For ordinary dents, chips, scratches, and small missing sections, this is usually a repair most homeowners can handle themselves.