
Safety First
Check for hidden wiring and plumbing before drilling, and wear safety glasses. A stud finder alone cannot confirm that a drilling location is clear. Stop if you encounter a metal protective plate—do not drill through it.
Fasten the rack into wood studs whenever possible. Where studs do not align, use anchors approved for your wall material and the rack’s mounting system. Follow the manufacturer’s installation instructions and weight limits; do not assume the weight ratings of individual anchors simply add together.
Keep hooks clear of door swings and walkways. Never allow children to climb or hang from the rack.
Time
30-60 Minutes
Difficulty
Easy
Cost
$25-$80
🧰 Tools & Materials
Tools
- Stud finder
- Level
- Tape measure and pencil
- Drill and appropriate bits
- Screwdriver
- Safety glasses
- Stepladder if needed
Materials
- Wall-mounted coat rack
- Mounting screws specified for the rack and wall construction
- Wall anchors approved for the wall material and mounting system, if needed
- Manufacturer-supplied mounting template or brackets, if included
🔎 Signs It’s Time to Install a Coat Rack
- Coats and bags regularly end up on chairs or the floor.
- Your entryway needs accessible everyday storage.
- Freestanding coat storage takes up too much room.
- Individual hooks are loose or poorly positioned.
- Children need hooks at a height they can reach.
If an existing rack is pulling away from the wall, unload it before removing or repairing it.
🛒 Before You Buy
Measure the available space. Check the rack’s width and how far its hooks project. Allow room for hanging coats without blocking switches, doorways, or walkways.
Check the mounting method. Racks may use exposed screws, concealed keyhole slots, or a separate mounting bracket. Choose hardware compatible with that design.
Match the rack to the intended load. Winter coats and loaded backpacks weigh more than light jackets. Follow the rack’s total and individual-hook limits, along with its mounting requirements.
Identify your wall construction. This guide focuses on drywall over wood studs. Plaster, masonry, and metal-stud walls need hardware and drilling methods appropriate to those materials.
Check the supplied anchors. Included hardware is not necessarily suitable for every wall. Confirm that it is approved for your wall thickness and intended use.
💡 Pro Tip: Compare the rack’s mounting-hole spacing with your stud locations before purchasing. A rack that lines up with framing can simplify installation.
📋 Before You Start
Choose a height that the intended users can comfortably reach. Hold a coat against the proposed position to check that it clears a bench, shoes, or the floor.
Open nearby doors fully and check whether their handles or edges could hit the hooks.
Read the rack’s instructions before marking holes. For concealed mounts, the mounting points may sit below the rack’s top edge.
Check for concealed utilities before drilling. Nearby outlets, switches, and plumbing fixtures are clues, but utilities can also run elsewhere. Do not assume that finding a stud proves the drilling path is clear.
For a project that combines storage with a display surface, see How to Install a Floating Shelf.
Step 1: Choose the Position and Locate Studs
Hold the rack against the wall at the chosen height. Use a helper if the rack is long or heavy.
Locate the wood studs and mark their centers near the proposed mounting points. Scan from both directions to help identify the stud edges.
Compare those marks with the rack’s mounting holes.
What You Should See: A practical mounting position with a suitable fastening method planned for every required mounting point.
If Yours Looks Different: If the holes do not align with studs, consider repositioning the rack or using manufacturer-approved anchors. For heavier storage, a properly secured mounting board spanning studs may be needed. Do not drill extra holes in the rack unless its design permits it.
Step 2: Level the Rack and Mark the Holes
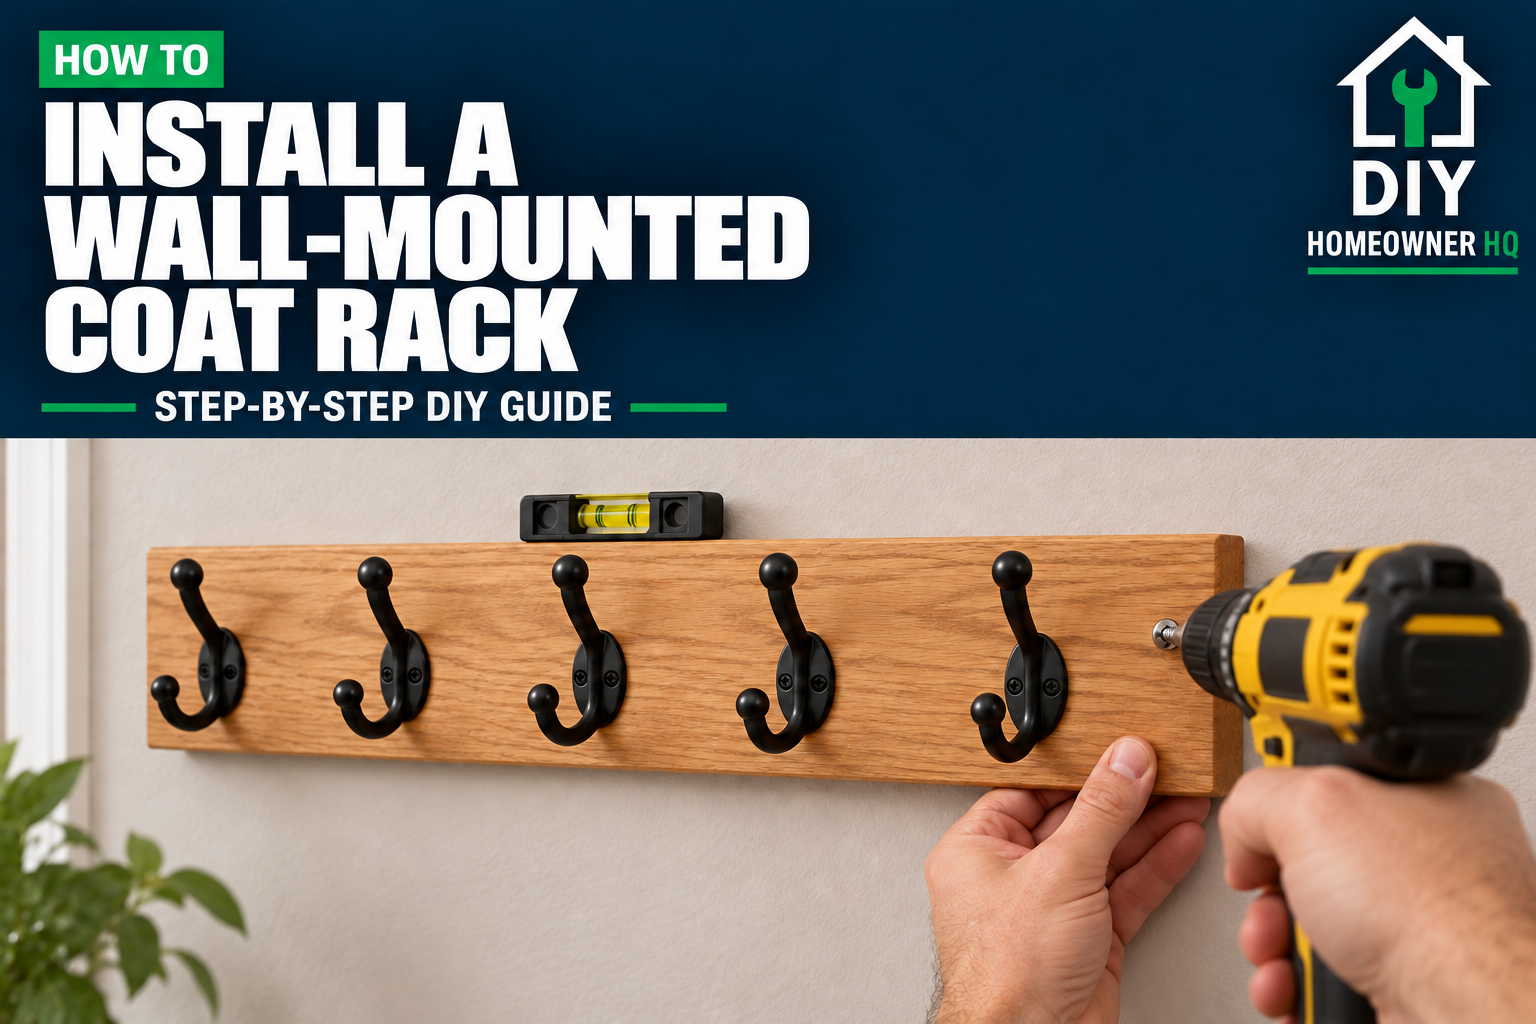
Place a level on a straight edge of the rack and adjust its position.
For exposed mounting holes, mark their centers through the rack. For concealed mounts, use the supplied template or carefully measure the mounting-point locations.
If using a template, confirm that its spacing matches the actual rack before drilling.
Set the rack aside and recheck the marks with the level.
What You Should See: Clearly marked mounting points that match the rack’s hardware and will hold it level.
If Yours Looks Different: Do not rely on the ceiling, trim, or floor as a level reference. Small variations in the room can make correctly measured holes uneven.
Step 3: Drill Pilot Holes or Install Anchors
At wood-stud mounting points, drill pilot holes appropriate for the specified screws. Select screw length to account for the rack or bracket thickness, drywall, and required penetration into framing.
At approved hollow-wall mounting points, follow the anchor manufacturer’s instructions for hole size, wall thickness, and clearance behind the wall. Different anchors require different installation methods.
Use controlled drilling depth. Stop if you encounter unexpected resistance or a metal plate.
What You Should See: Clean, correctly sized holes and properly seated anchors wherever required.
If Yours Looks Different: An oversized hole, crumbling drywall, or a spinning anchor will not provide dependable support. Correct the mounting location or repair the wall before proceeding. Cosmetic filler alone does not restore an anchor hole’s strength.
Step 4: Attach the Coat Rack
Follow the attachment method for your rack.
For exposed mounting screws: Hold the rack in place and start all screws loosely. Check level, then tighten gradually until the rack is secure. Finish carefully with a screwdriver to avoid overtightening.
For keyhole mounts: Install the specified screws with the required head clearance. Place the larger openings over the screw heads and slide the rack into its locked position. Install any supplied locking hardware.
For a separate mounting bracket: Secure the bracket, check its level, then attach and lock the rack as directed.
What You Should See: A level rack that sits securely against the wall without rocking or shifting.
If Yours Looks Different: If concealed mounts will not engage, check screw spacing, head size, and projection. Do not force the rack into position or substitute incompatible screws.
Step 5: Check the Installation and Add Coats
Check all required mounting points and locking hardware.
Apply gentle hand pressure to check for movement. Do not hang your body weight from the rack or yank on the hooks.
Add a few lightweight items first, then gradually add the intended coats while staying within the rack’s installation limits. Distribute items across the hooks.
What You Should See: A stationary rack with no widening gaps, loose hooks, or movement around the fasteners.
If Yours Looks Different: Remove the items immediately if the rack shifts or pulls away from the wall. Find and correct the cause before using it.
💡 Pro Tip: Give frequently used coats their own hooks. Crowding several items onto one hook can concentrate weight even when the rest of the rack is empty.
🚫 Common Mistakes
- Using ordinary screws in drywall without anchors: Screws need suitable framing or an approved anchor system.
- Assuming included anchors fit every wall: Check their intended wall material and thickness.
- Ignoring the mounting instructions: Concealed mounts may require specific screw heads and locking hardware.
- Overtightening screws: This can split the rack, strip the stud hole, or damage the anchor.
- Mounting too close to a door: Check clearance with the door fully open.
- Adding anchor ratings together: The finished installation’s capacity depends on the rack, wall, hardware, and load distribution.
- Treating the rack as a grab bar: Coat hooks are not designed to support a person.
🔧 Troubleshooting
Problem: The rack rocks against the wall.
Check for uneven screw tightening, improperly engaged concealed mounts, or an uneven wall surface. Do not force a rigid rack flat by overtightening it.
Problem: An anchor spins while tightening.
Stop and remove the load. The hole may be oversized or the anchor may not have engaged correctly. Follow the anchor manufacturer’s repair guidance or relocate the mounting point to sound support.
Problem: The rack slopes after installation.
Check whether the mounting holes are level and both concealed mounts are fully seated. Correct the mounting positions instead of forcing the rack sideways.
Problem: A screw head strips during installation.
Stop before further damaging it. Use the correct driver bit and replace the damaged screw. If it will not come out, see How to Remove a Stripped Screw.
Problem: A hook moves, but the backboard stays secure.
Unload that hook and inspect its attachment. Tighten loose hardware carefully. Replace damaged components if the screw holes are stripped or the surrounding material is cracked.
Problem: The rack pulls away from the wall.
Unload it immediately. Check for failed anchors, missed studs, or incomplete engagement with concealed mounting hardware. Do not simply install larger screws without identifying the failure.
❓ FAQs
How high should a wall-mounted coat rack be?
Choose a height that the users can reach comfortably and that leaves room for coats below. Roughly 60–66 inches from the floor to the hooks can be a starting point for adults, but adjust for your household and rack design. Children usually need lower hooks.
Does a coat rack have to attach to studs?
Stud attachment is preferable, especially for heavier items. Some racks permit suitable hollow-wall anchors, but the rack and anchor instructions must support that installation.
Can I hang backpacks on it?
Only if the rack, hooks, and mounting system are suitable for their loaded weight. Check individual-hook limits as well as the total limit. Avoid dropping or swinging loaded bags onto hooks.
Can I use adhesive strips instead of screws?
Only if the rack is specifically designed and rated for adhesive installation on your wall surface. Do not replace required screws with general-purpose adhesive strips.
What if the mounting holes do not line up with studs?
Reposition the rack, choose a model with compatible spacing, or use an approved anchor arrangement. A mounting board secured across studs is another option when properly designed and installed.
Can I install it on a hollow-core door?
That is a different mounting surface. Use a rack and fasteners approved for hollow-core doors, and confirm that the door can support the intended load. Ordinary drywall anchors are not automatically suitable.
👷 When to Call a Professional
Get help if:
- You cannot identify the wall construction or a clear drilling location.
- The mounting area has crumbling plaster, water damage, or damaged framing.
- You need blocking or a mounting board but are unsure how to secure it.
- Your intended load exceeds the rack’s documented installation limits.
- Mounting hardware repeatedly loosens or pulls out.
- The rack is intended to provide support for someone’s balance or mobility; a properly installed grab bar is needed instead.