
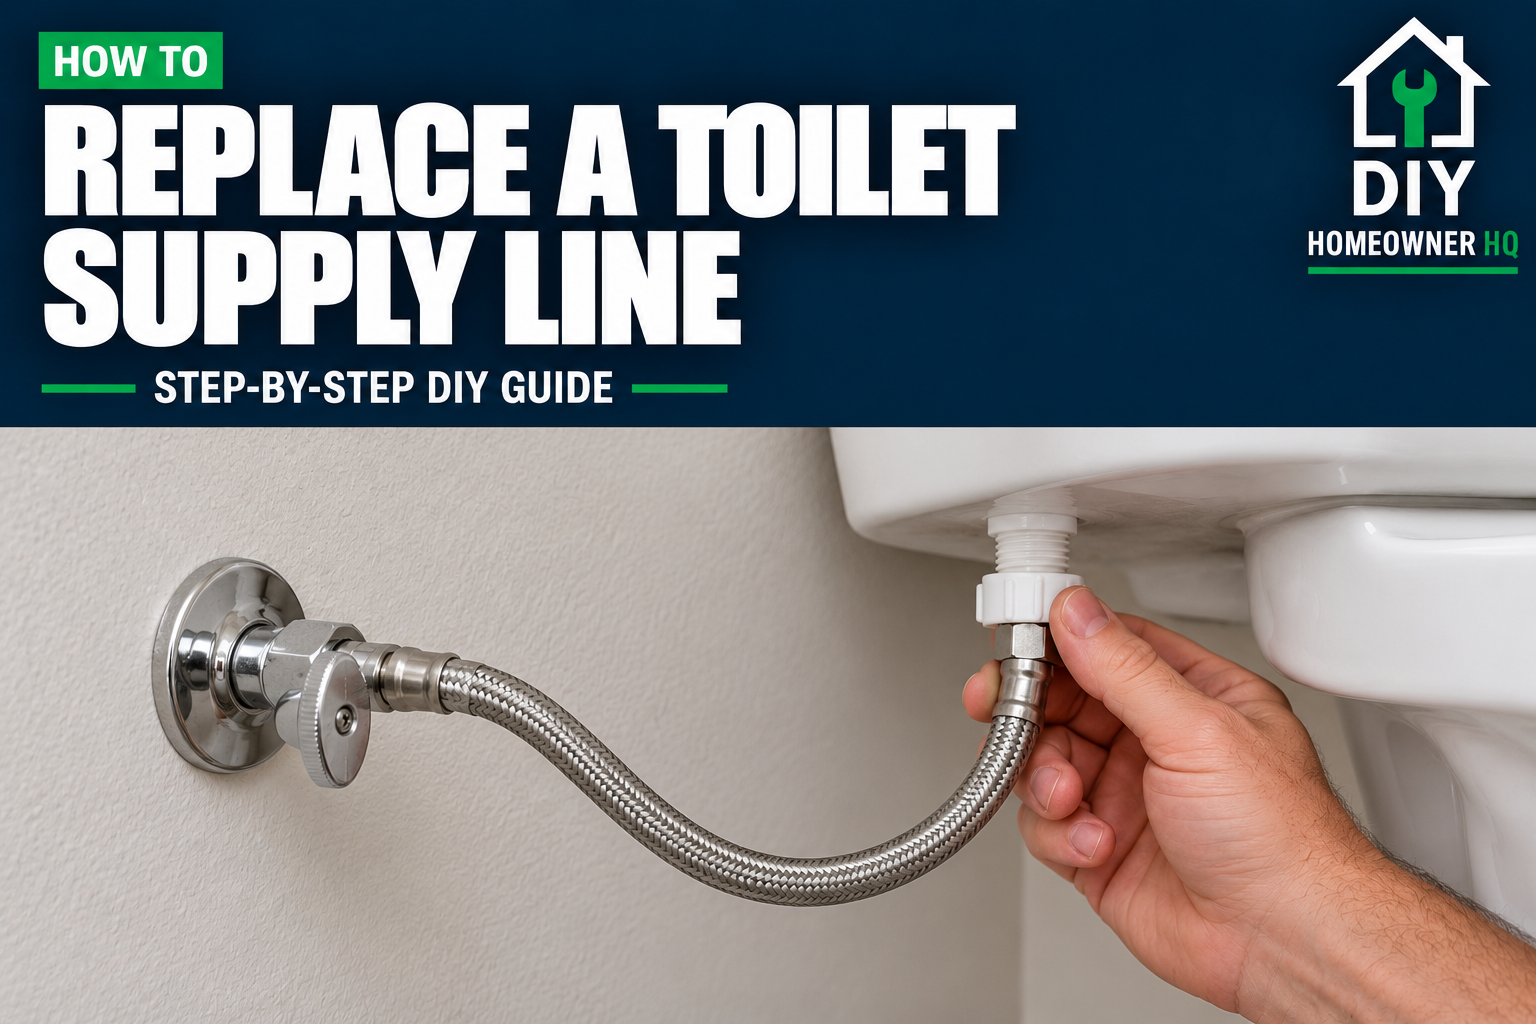
Safety First
Shut off the toilet’s water supply, then flush to confirm the tank does not refill before disconnecting the supply line. Place towels and a small container underneath to catch leftover water. If the shut-off valve will not stop the flow, shut off the home’s main water supply before continuing.
Do not force a stuck valve or allow it to twist while loosening the supply connection. Hand-tighten the plastic connection beneath the toilet tank according to the connector manufacturer’s instructions—overtightening can crack it. Standard gasketed toilet supply connectors do not need plumber’s tape.
Turn the water back on slowly and check both connections for leaks immediately, after flushing, and again later.
Time
15-30 Minutes
Difficulty
Easy
Cost
$10-$25
🧰 Tools & Materials
Tools
- Adjustable wrench
- Second wrench for holding the shut-off valve steady
- Small bucket or shallow container
- Towels
- Flashlight
- Tape measure
Materials
- New flexible toilet supply line with matching connections
- Paper towels for checking leaks
Standard gasketed toilet supply connectors do not require plumber’s tape, pipe joint compound, or an additional compression sleeve.
🔎 Signs It’s Time to Replace a Toilet Supply Line
- Water is leaking from the hose or its crimped metal ends.
- The braided covering is frayed, corroded, or damaged.
- The hose has a sharp kink, bulge, or split.
- A connection nut is cracked.
- The manufacturer’s recommended replacement interval has been reached.
Dry the area first and confirm where the water starts. Water running down from the tank can make a good supply line look faulty.
If the source is unclear, start with How to Fix a Leaky Toilet.
🛒 Before You Buy
Match both connection sizes. Many household toilets use a 3/8-inch compression connection at the shut-off valve and a 7/8-inch ballcock connection beneath the tank. Verify yours before buying; these are fitting sizes, not measurements across the outside of the nuts.
Choose a suitable length. Measure the route between the valve and tank connection. Allow enough length for a gentle curve without stretching, twisting, or sharply bending the hose.
Buy a connector labeled for toilets. A faucet supply line may look similar but have the wrong tank connection.
Check the tightening instructions. Standard plastic tank nuts and connectors with a click-to-tighten feature have different stopping points. Follow the instructions for your exact connector.
Identify unusual setups. A rigid metal tube, integrated valve-and-hose assembly, or bidet attachment may require different parts. This guide covers a separate flexible hose running directly from the shut-off valve to the toilet tank.
💡 Pro Tip: Photograph both connections and the entire hose route before shopping. If you take the old connector to the store, leave the water securely shut off while it is disconnected.
📋 Before You Start
Locate the home’s main water shut-off so you can respond if the toilet valve fails.
Clear the floor around the toilet and place towels beneath the connections. Set a shallow container under the valve.
Identify the two nuts beneath the tank. The supply-line coupling attaches the hose to the threaded fill-valve shank. The separate locknut directly against the tank holds the fill valve in place. Leave that locknut alone.
If the toilet shut-off valve already leaks or will not operate, address it first. See How to Replace a Toilet Shut-Off Valve.
Step 1: Shut Off the Water and Flush
Close the toilet shut-off valve gently. A typical multi-turn valve closes clockwise; a quarter-turn valve usually closes with a 90-degree turn. Follow any markings on yours and do not force it.
Flush the toilet and hold the handle down to drain most of the tank. Watch and listen for incoming water.
What You Should See: The tank stops receiving water and does not refill. A small amount remaining at the bottom is normal.
If Yours Looks Different: If water continues entering, the valve is not fully isolating the supply. Shut off the home’s main water supply and relieve pressure before disconnecting anything.
Step 2: Remove the Old Supply Line
Position the container beneath the valve connection.
Hold the valve body steady with a second wrench on suitable wrench flats, keeping pressure off the handle and pipe. Loosen the supply-line nut with your adjustable wrench. Stop if the valve or pipe begins moving.
Let the remaining water drain into the container.
Unscrew the supply-line coupling beneath the toilet tank. Plastic couplings usually loosen by hand. If yours is stuck, avoid force that could twist the fill valve or crack its threaded shank.
Remove the hose and check that no old sealing washer remains stuck to either connection.
What You Should See: The old hose is removed, leaving intact connection surfaces and threads at the valve and tank.
If Yours Looks Different: Stop if the tank shank is cracked, the valve outlet is badly corroded, or the hose is permanently attached to the valve. Those conditions require more than a standard hose replacement.
Step 3: Inspect the Connections and Position the New Hose
Wipe both connection surfaces clean. Inspect the threads and the new connector’s factory-installed seals.
Do not transfer washers from the old hose or add extra seals. If a new seal is missing or damaged, exchange the connector.
Position the new hose to confirm that it reaches both ends with a relaxed curve. Keep it away from sharp edges and avoid tight bends near the metal crimps.
What You Should See: A hose that reaches comfortably without pulling sideways on either fitting.
If Yours Looks Different: Exchange a hose that is too short or requires a tight loop to fit. Do not stretch it or join multiple supply lines together.
Step 4: Attach the New Supply Line
Start the tank coupling by hand, keeping it straight on the fill-valve threads. It should turn smoothly. If it catches immediately, back it off and realign it.
Tighten the plastic tank coupling by hand as directed by the connector manufacturer. For a click-style coupling, follow its specified stopping point. Do not use a wrench on a hand-tighten-only nut.
Start the valve-end nut by hand, then complete tightening according to the connector instructions while holding the valve steady. There is no single extra-turn rule that applies to every connector.
Standard gasketed connections seal against their washers, so do not add plumber’s tape or pipe joint compound. For a manufacturer demonstration, see BrassCraft’s flexible water connector installation video.
What You Should See: Straight, secure connections and an untwisted hose with a gentle curve.
If Yours Looks Different: If a nut will not thread on easily, stop and check the fitting size and alignment. A wrench should never be used to force mismatched or cross-threaded connections together.
Step 5: Restore Water and Check for Leaks
Dry both connections and the area beneath the tank.
Slowly reopen the shut-off valve while watching the hose connections. Allow the tank to fill, then wipe around each connection with a dry paper towel.
Flush and let the tank refill again. Check both hose ends, the crimps, and the valve itself. Recheck later that day and the following day.
What You Should See: Normal tank filling and completely dry connections during and after refilling.
If Yours Looks Different: Shut the water off if you see moisture. Relieve pressure by flushing, then check alignment, seals, and the manufacturer’s tightening instructions. Do not keep tightening a leaking plastic nut.
💡 Pro Tip: A dry paper towel often reveals a slow leak before a visible drip forms. Make sure the tank and surrounding surfaces are dry so condensation does not confuse the check.
🚫 Common Mistakes
- Disconnecting before confirming the water is off: Flush and verify that the tank does not refill.
- Buying a faucet connector: Check both ends and choose a line intended for the toilet’s fittings.
- Adding plumber’s tape to gasketed connections: The seals make the watertight connection.
- Overtightening the plastic tank coupling: Follow its hand-tightening instructions.
- Turning the entire shut-off valve: Hold it steady while loosening or tightening the hose nut.
- Loosening the fill-valve locknut: Remove only the supply-line coupling.
- Leaving the hose stretched or kinked: Choose a length that allows a smooth curve.
- Walking away immediately after opening the valve: Check during filling, after flushing, and again later.
🔧 Troubleshooting
Problem: Water leaks at the tank connection.
Shut off the water and flush. Check for cross-threading, a misplaced seal, or a cracked coupling or fill-valve shank. Reconnect according to the manufacturer’s instructions or replace damaged parts.
If the fill valve itself is damaged, see How to Replace a Toilet Fill Valve.
Problem: Water leaks at the shut-off valve connection.
Dry the valve to locate the source. A leak at the hose nut may involve its seal or connection; water coming from the valve stem or wall connection indicates a separate valve problem.
Problem: The new hose leaks at a crimped end.
Shut off the water and replace the connector. A leaking crimp is not repaired by tightening the connection nut.
Problem: The toilet fills slowly after replacement.
Check that the shut-off valve is reopened to its normal operating position and the hose is not kinked. If the connector has a flow-stop feature, follow its reset instructions. Persistent slow filling may require checking the valve or fill-valve inlet for debris.
Problem: The new tank coupling will not screw on.
Confirm that you have the correct toilet connection. Check for damaged threads and start the nut squarely by hand. Do not force it.
❓ FAQs
Do I need to drain the toilet bowl?
No. Shut off the supply and flush to remove most of the tank water. The bowl can remain filled. Keep a container underneath because residual water will drain from the hose.
Do toilet supply lines need plumber’s tape?
Standard flexible toilet connectors with built-in seals do not. Follow your connector’s instructions if you have an unusual fitting arrangement.
Can I reuse the old supply line?
For this replacement project, install a new connector. Do not reinstall one with damaged braid, corrosion, cracked nuts, leaks, or unknown condition. Follow any single-use restrictions from its manufacturer.
How tight should the connections be?
Follow the connector’s instructions for each end. Plastic tank couplings are commonly hand-tighten-only; metal valve-end nuts may require controlled wrench tightening. Avoid applying one tightening rule to both connections.
How often should I replace a toilet supply line?
Follow the manufacturer’s replacement interval and inspect it periodically. Replace it promptly if you find damage, corrosion, bulging, kinks, or leaks. There is no universal service life for every connector.
What if my toilet has a bidet attachment?
The supply line may connect to a tee rather than directly to the fill valve. Follow the bidet manufacturer’s connection layout and sealing instructions, and check every disturbed connection for leaks afterward.
👷 When to Call a Professional
Call a plumber if:
- You cannot reliably shut off the water.
- The valve or pipe moves when you try to loosen the connection.
- The valve is seized, badly corroded, or leaking.
- The fill-valve shank is cracked or turns with the coupling.
- Your setup has an integrated hose-and-valve assembly you cannot identify.
- A connection keeps leaking after correct installation.
- Water appears to be coming from inside the wall or beneath the flooring.