
Safety First
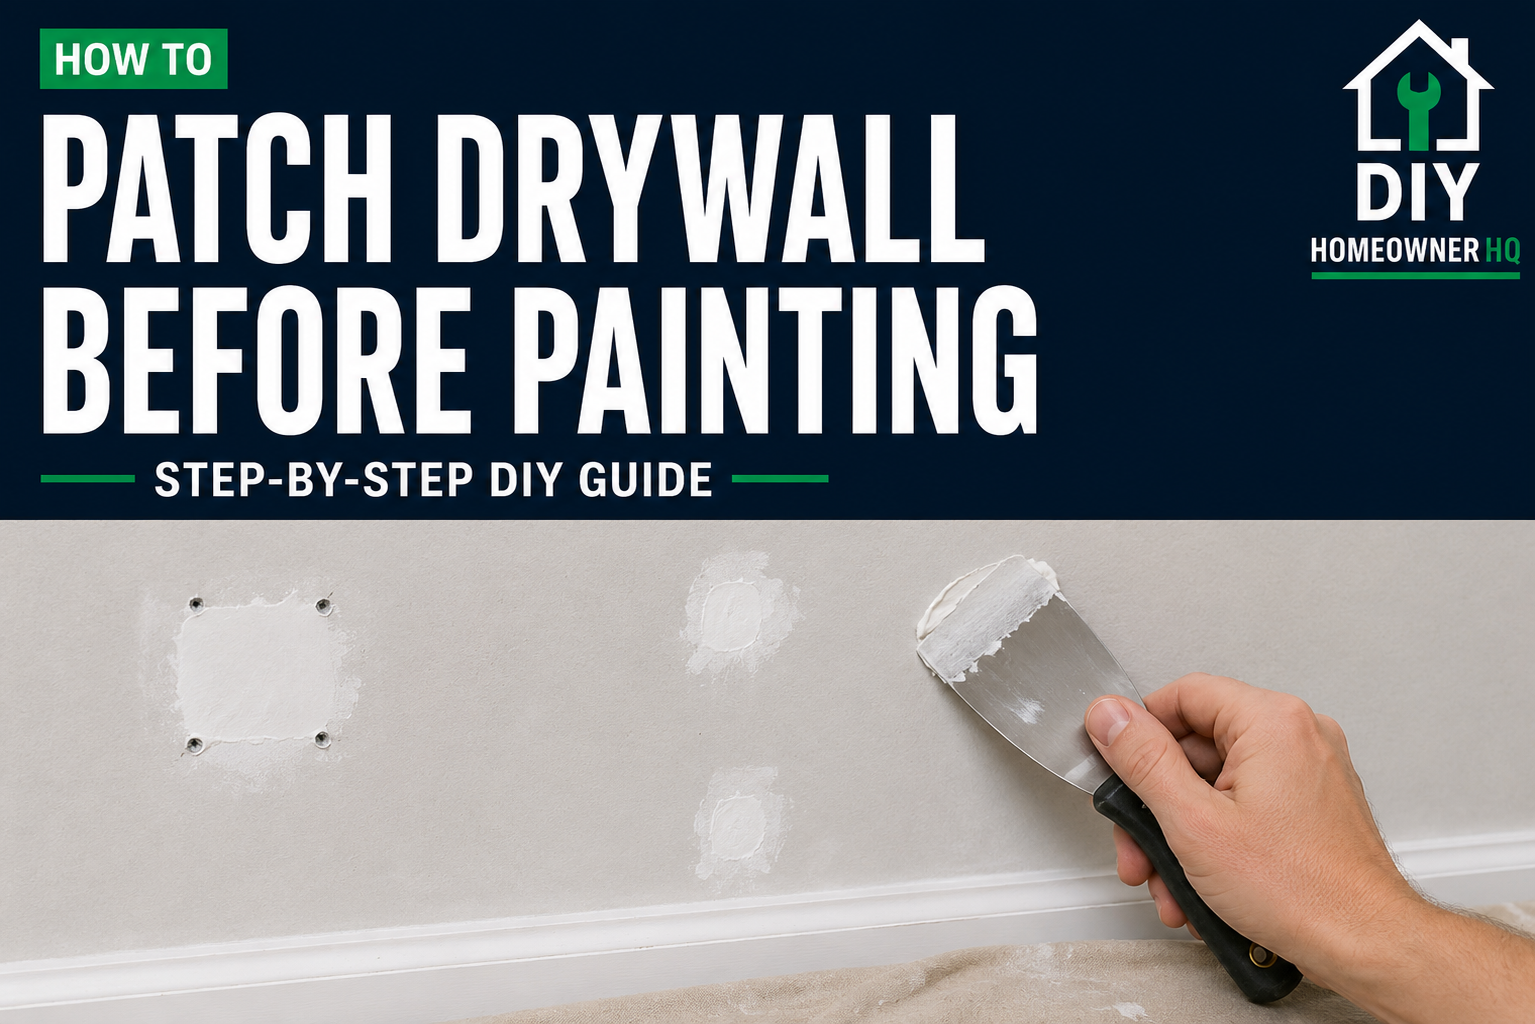
Wear eye protection and a dust mask when sanding drywall compound. Protect nearby floors and furniture from fine dust. Before cutting into a wall, turn off nearby electrical circuits and make sure the repair area does not conceal wiring or plumbing. If the home was built before 1978, test painted surfaces for lead before sanding or cutting them.
Time
2-6 Hours
Difficulty
Easy
Cost
$10-$30
🧰 Tools & Materials
Tools
- Putty knife
- 6-inch drywall knife
- Utility knife
- Sanding sponge or 120–220 grit sandpaper
- Clean rag
Materials
- Lightweight spackle or joint compound
- Self-adhesive drywall patch or mesh tape, if needed
- Drywall repair piece, for larger holes
- Primer
- Matching wall paint
- Drop cloth
🔎 Signs Your Drywall Needs Patching
- Nail or screw holes are visible
- Small dents or gouges show through the paint
- Drywall anchors have left larger holes
- The drywall paper is torn or damaged
- Small holes or cracks will be noticeable after painting
📝 Before You Buy
The right repair method depends on the size of the damage.
Tiny nail and screw holes can usually be filled with lightweight spackle. Small holes may require mesh tape or a self-adhesive patch. Larger holes generally need to be squared up and repaired with a fitted piece of drywall supported by wood backing or repair clips.
Keep primer on hand. Fresh joint compound is porous and should be sealed before painting so the repaired area doesn’t show through the finished wall.
🛠️ Before You Start
Remove loose drywall paper, crumbling material, old anchors, and anything sticking out from the damaged area.
Protect the floor underneath the repair. Drywall sanding creates very fine dust, so keeping the repair area contained will make cleanup much easier.
Step 1: Prepare the Damaged Area
Use a utility knife or putty knife to carefully remove loose drywall paper and damaged material around the hole.
If the drywall’s brown paper facing is exposed or torn, seal it with a primer made for damaged drywall paper before applying joint compound. This helps prevent the paper from swelling or bubbling beneath the repair.
For small nail holes, simply make sure nothing is protruding beyond the surface.
What You Should See: The damaged area should have solid edges without loose paper or crumbling drywall.
If Yours Looks Different: If the drywall feels soft or shows signs of moisture damage, find and correct the source before patching it.
Step 2: Fill Small Holes
For nail holes, screw holes, and small dents, press spackle into the damaged area with a putty knife. For a more focused walkthrough of these minor repairs, see How to Repair and Paint Nail Holes.
Scrape away excess material while leaving the repair slightly proud of the wall surface.
💡 Pro Tip: Don’t pile on unnecessary compound. Thin applications dry faster and require much less sanding.
Step 3: Patch Larger Holes
For a small hole that cannot be filled safely with spackle, apply mesh tape or a self-adhesive drywall patch sized according to the manufacturer’s instructions.
Larger holes should be cut into a clean square or rectangle. Install wood backing behind the opening, secure a fitted piece of drywall to the backing, and cover the seams with drywall tape and joint compound.
Apply the compound in thin coats, feathering each coat several inches beyond the previous one. Allow each coat to dry before adding the next.
What You Should See: The patch should be secure and completely covered, with the compound gradually blending into the surrounding wall instead of forming a raised edge.
Step 4: Let the Compound Dry and Sand Smooth
Allow the patching material to dry completely.
Sand the repair lightly until it feels smooth and level with the surrounding wall. Run your hand across the area to check for ridges or low spots.
Remove all sanding dust afterward.
If Yours Looks Different: If you can still see or feel the outline of the patch, apply another thin coat of compound, let it dry, and sand again.
Step 5: Prime the Patch
Apply primer over the entire repaired area and slightly beyond its edges.
Allow the primer to dry according to the manufacturer’s instructions.
💡 Pro Tip: Don’t skip primer. Painting directly over joint compound can leave a dull or uneven-looking spot known as flashing.
Step 6: Paint the Repair
Apply matching wall paint over the primed repair. Small touch-ups may blend into a flat-painted wall, but differences in color, sheen, or texture can leave the patch visible. If the touch-up stands out, repaint the entire wall from corner to corner using How to Paint Over Previously Painted Walls.
What You Should See: The repaired area should feel smooth and blend into the wall without a raised patch or noticeable change in texture.
⚠️ Common Mistakes to Avoid
- Filling large holes with spackle alone
- Applying joint compound too thickly
- Sanding before the compound is completely dry
- Sanding aggressively enough to damage the drywall paper
- Leaving visible ridges around the repair
- Painting directly over bare joint compound
- Ignoring moisture-damaged drywall
❓ Frequently Asked Questions
Can I paint directly over drywall compound?
It’s better to prime the repair first. Primer seals the porous compound and helps the finish paint look consistent.
How smooth does a drywall patch need to be before painting?
The repair should feel flush with the surrounding wall. If you can easily feel an edge or ridge, it may still be visible after painting.
How many coats of joint compound do I need?
Tiny repairs may only need one application. Larger patches often look better after two or more thin coats.
Why can I still see my drywall patch after painting?
The patch may not have been feathered or sanded smoothly enough, or the bare compound may not have been properly primed.
Can I patch drywall and paint it the same day?
Small repairs sometimes can be completed in one day, depending on the patching product and drying conditions. Larger repairs often require additional drying time.
☎️ When to Call a Professional
Consider professional help for large holes, extensive drywall damage, recurring cracks, significant water damage, or repairs involving a large section of the wall or ceiling.