
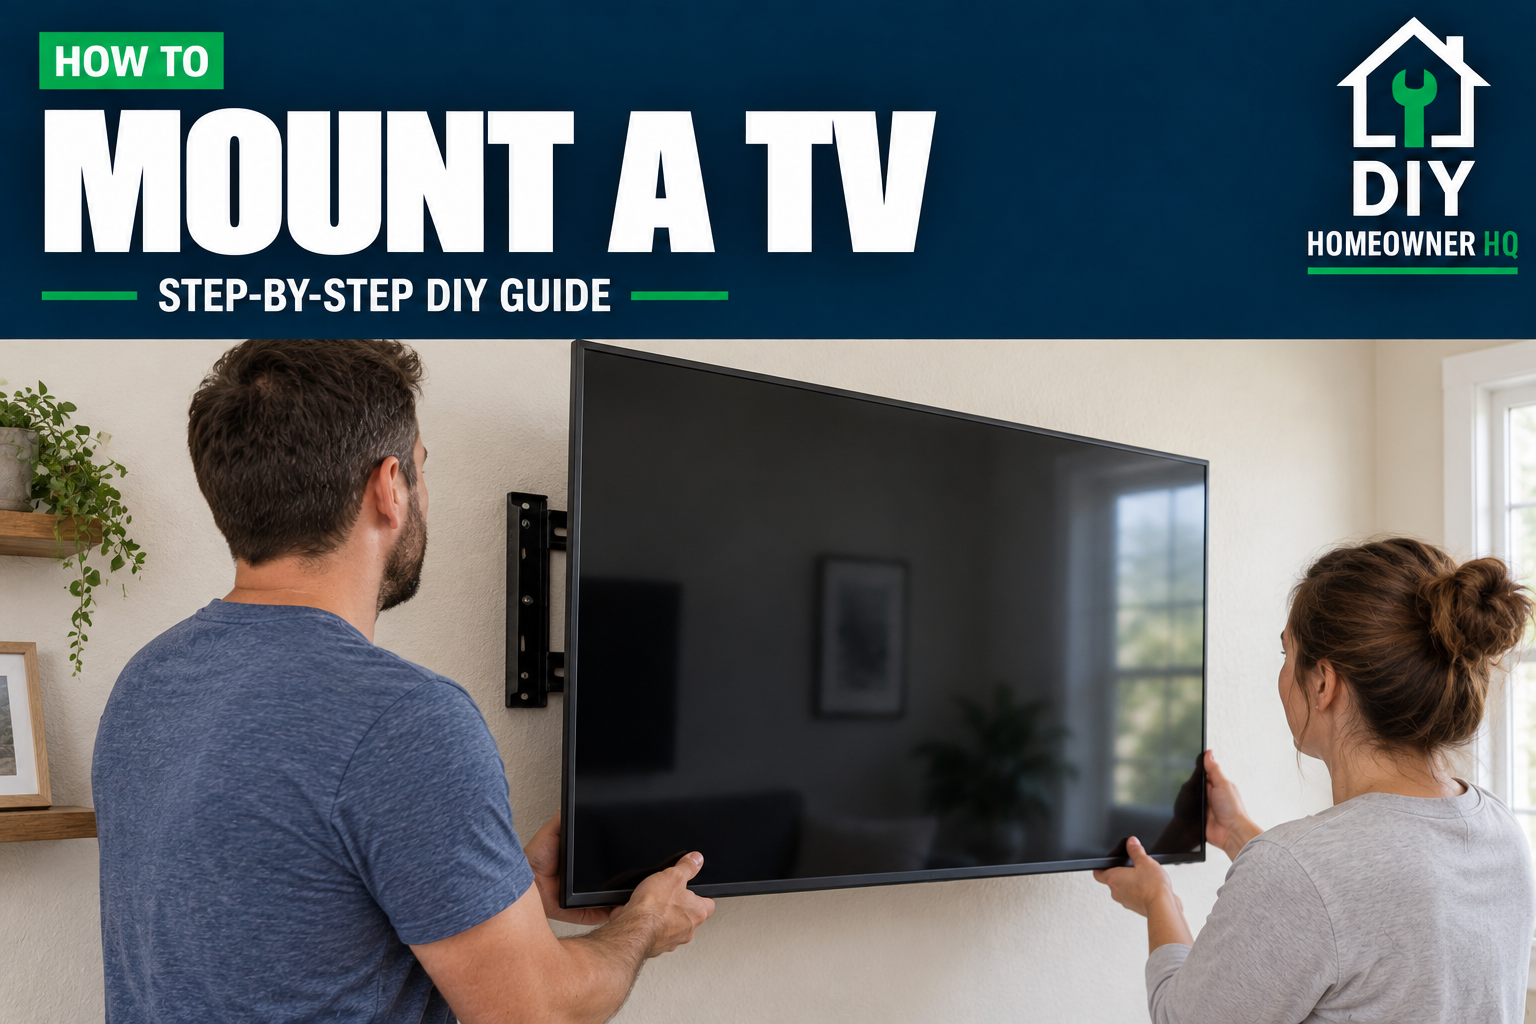
Safety First
A falling TV can cause serious injury. Use a mount rated for your TV’s weight and VESA mounting pattern, and secure it to wall framing or masonry using the manufacturer’s specified hardware. Never rely on ordinary drywall anchors. Check for hidden wiring and pipes before drilling, and have another adult help lift and hang the TV. Engage all mounting safety locks before letting go. Never run the TV’s power cord or an extension cord inside the wall.
Time
1-2 Hours
Difficulty
Easy-Moderate
Cost
$30-$150
🧰 Tools & Materials
Tools
- Stud finder
- Tape measure and pencil
- Level
- Drill and the drill bits specified by your mount
- Socket wrench and appropriately sized sockets
- Screwdriver
- Safety glasses
Materials
- TV mount compatible with your TV and wall construction
- Manufacturer-specified wall fasteners and washers
- TV mounting screws and any required spacers
- Painter’s tape
- Optional surface-mounted cable raceway
🔎 Signs It’s Time to Mount Your TV
- You want to free up space on a dresser or entertainment center.
- The TV’s current position makes viewing uncomfortable.
- You want a cleaner setup with organized cables.
- You want to remove the TV from furniture that children can reach or climb.
Mounting the TV does not replace anchoring nearby furniture that could tip over.
🛒 Before You Buy
Check these details before choosing a mount:
- TV weight: Find the TV’s weight without its stand and stay within the mount’s rating.
- VESA pattern: This is the horizontal and vertical spacing between the mounting holes on the TV’s back, measured in millimeters. The mount must support that pattern.
- Wall construction: Hardware for wood studs is different from hardware for concrete, brick, or steel studs.
- Stud spacing: Make sure the wall plate can reach the studs required by its installation instructions.
- Mount style: Fixed mounts stay close to the wall. Tilting mounts adjust vertically. Full-motion mounts extend and swivel but place more leverage on the wall.
- Connections: Check that the mount leaves room for power, HDMI cables, and other connections.
Do not choose a mount based only on the advertised screen size.
📋 Before You Start
These steps cover a typical installation into wood studs behind drywall. Masonry, steel studs, plaster walls, and specialized no-stud mounts require instructions and hardware approved for that exact construction.
Read both the TV manual and mount instructions. The correct screw length, pilot-hole size, drilling depth, and fastener arrangement vary by product.
Choose a location with a suitable outlet nearby. Plan to keep the power cord outside the wall unless you use an approved in-wall power system installed according to its instructions.
Clear the work area and arrange for another adult to help lift the TV.
Step 1: Choose the TV’s Position
Sit where you normally watch TV and choose a comfortable screen height. Positioning the center of the screen near seated eye level is a useful starting point.
Use painter’s tape to outline the TV’s dimensions on the wall. Check the view from your usual seats, along with window glare and clearance above furniture.
Account for the distance between the TV’s mounting holes and its screen edges. The wall plate usually will not sit at the exact center of the screen.
💡 Pro Tip: If you plan to install a floating shelf beneath the TV, leave room for devices, ventilation, and access to connections.
What You Should See: A taped outline that feels comfortable to view and leaves enough room for furniture and cables.
If Yours Looks Different: If a fireplace forces the TV unusually high, consider another wall. Check the fireplace and TV manufacturers’ heat and clearance requirements before installing above it.
Step 2: Locate and Confirm the Studs
Use a stud finder to locate both edges of each required stud, then mark the center between them. Repeat at the wall plate’s upper and lower mounting positions.
Check that the spacing fits your mount’s instructions. Do not assume every stud is exactly 16 inches apart.
Consider hidden wiring and plumbing before drilling. Outlets, switches, and fixtures on either side of the wall are clues, but their absence does not prove the area is clear. A stud finder’s wire-detection feature is not a guarantee.
What You Should See: Clearly marked stud centers that align with the mount’s approved attachment points.
If Yours Looks Different: If the readings are inconsistent, the framing appears to be metal, or you cannot confirm suitable support, stop and identify the wall construction before continuing.
Step 3: Mark and Drill the Pilot Holes
Hold the wall plate or supplied template at the calculated height. Align the required mounting holes with the stud centers and check the plate with a level.
Mark the holes, set the plate aside, and drill straight into the stud centers using the bit size and depth specified by the mount manufacturer. Use a depth stop to avoid drilling farther than required.
Stop if you encounter unexpected metal. It could be a protective plate covering wiring or plumbing; do not drill through it.
What You Should See: Pilot holes positioned on the confirmed stud centers in a level mounting pattern.
If Yours Looks Different: If a hole misses the stud or the material does not match what you expected, stop. Do not substitute a drywall anchor to complete the installation.
Step 4: Secure the Wall Plate
Position the plate over the pilot holes and install the specified fasteners and washers. Start each fastener before fully tightening any of them.
Recheck the level, then tighten as directed by the manufacturer. Avoid overtightening, which can damage the wood, crush the wall surface, or distort the plate.
The plate should remain firmly against the wall without shifting. Do not hang from it to test its strength.
What You Should See: A level wall plate with every required fastener securely installed.
If Yours Looks Different: A fastener that spins without tightening may have missed the stud or stripped the wood. Do not hang the TV until the attachment is corrected.
Step 5: Attach the Brackets to the TV
Unplug the TV and position it as its manufacturer directs. If face-down placement is permitted, use a clean, padded, flat surface and avoid pressure on the screen.
Attach the TV-side brackets using the correct screw diameter, length, washers, and spacers. Start screws by hand to avoid cross-threading.
Screws must provide the specified thread engagement without bottoming out inside the TV. Do not force a screw that stops turning before the bracket is secure.
Remove the stand when directed by the TV’s instructions.
What You Should See: Secure brackets in the correct orientation, with no looseness or interference with ports.
If Yours Looks Different: A recessed or curved TV back may require spacers. Use the combination specified for your TV and mount rather than improvising a stack of washers.
Step 6: Hang and Lock the TV
With another adult, lift the TV using the handling points recommended by its manufacturer. Avoid pressing on the screen.
Engage the TV brackets with the wall plate as the mount instructions show. Confirm that every required hook or connection is fully seated.
Continue supporting the TV until the safety screws, locking tabs, clips, or other retention hardware are engaged. Some mounts use a different attachment sequence; follow the supplied instructions.
What You Should See: The TV sits securely on the mount, and all retention hardware is engaged.
If Yours Looks Different: If one side will not seat or a lock will not engage, lift the TV off with your helper and inspect the alignment. Do not leave it partially attached.
Step 7: Connect Cables and Check the Installation
Connect the power and signal cables without pinching them behind the mount. For a full-motion mount, leave enough slack for its approved movement.
Use a surface-mounted raceway if you want to conceal cords without opening the wall. Never feed an ordinary TV power cord or extension cord through the wall.
Check the screen’s level and make only the adjustments allowed by the mount. Move an adjustable mount slowly through its intended range while checking cable slack and wall clearance.
What You Should See: A secure, level TV with working connections and cables that remain clear of moving parts.
If Yours Looks Different: Stop using the mount if the wall plate moves, fasteners loosen, or the wall cracks. Have another adult help remove the TV before investigating.
🚫 Common Mistakes to Avoid
- Choosing a mount by screen size alone.
- Using ordinary drywall anchors for a mount that requires studs.
- Guessing screw lengths or pilot-hole dimensions.
- Mounting the wall plate at screen-center height without checking the bracket offset.
- Overtightening fasteners.
- Lifting a large TV alone.
- Forgetting the mount’s safety locks.
- Hiding an ordinary power cord inside the wall.
If a screw head becomes damaged, stop before making it worse. Our guide on how to remove a stripped screw explains removal options. Remove the TV with help before working on wall-mount fasteners.
🛠️ Troubleshooting
Problem: The TV is crooked.
Check whether your mount has a leveling adjustment. If the wall plate needs repositioning, remove the TV with help first.
Problem: The mounting holes do not line up with the studs.
Use a compatible mount or have suitable structural backing installed. Do not drill improvised holes in the bracket or skip required fasteners.
Problem: The TV brackets remain loose even though the screws feel tight.
The screws may be bottoming out, or the spacer arrangement may be incorrect. Check the TV’s permitted screw depth and the mount instructions.
Problem: The TV tilts forward unexpectedly.
Check the mount’s tilt adjustment and weight compatibility. Wall-plate movement or pulling fasteners require removing the TV and correcting the attachment.
❓ FAQs
Can I mount a TV without studs?
Some specialized mounts are designed for particular hollow-wall installations. Use one only when your TV and wall meet every stated requirement. A standard stud-mounted bracket cannot be converted by substituting ordinary drywall anchors.
Does a TV mount always need two studs?
No. Some mounts are designed for one stud, while others require two or more attachment locations. Follow your specific mount’s instructions.
Can I reuse an existing mount?
Only after confirming its model, condition, weight rating, VESA compatibility, and attachment to the wall. Do not assume an old installation is secure because it held a previous TV.
Can I mount a TV on brick?
Possibly, but solid brick, hollow brick, and brick veneer require different considerations. Verify that the mount supports the construction and follow its exact anchoring instructions.
Can I install an outlet behind the TV?
An electrician can install a suitable outlet. Listed in-wall power relocation kits are another option where permitted and installed according to their instructions.
👷 When to Call a Professional
Get help if you cannot identify the wall construction, confirm suitable framing, or avoid suspected wiring and plumbing.
Professional installation is also appropriate when the wall needs structural backing, the masonry is uncertain, the TV is too heavy to handle safely, or the installation involves a fireplace.
Have an electrician handle new outlet wiring if you are not qualified to perform that work.