
Safety First
Wear eye protection and a dust mask when sanding, drilling, or cutting damaged wood. Splintered areas around the hole can have sharp edges, so avoid pulling loose pieces away with your bare hands.
Before repairing the door, make sure it is stable and won’t swing while you’re working. Use a doorstop or remove the door and place it on a stable work surface if the repair requires significant sanding or cutting.
If the damage is near the hinges, lockset, or another structural area of the door, inspect it carefully before patching. A cosmetic repair isn’t enough if the damaged wood affects how securely the door operates.
Time
1-3 Hours
Difficulty
Easy-Moderate
Cost
$15-$40
🧰 Tools & Materials
Tools
- Utility knife
- Putty knife
- Sanding block or orbital sander
- 120-grit and 220-grit sandpaper
- Drill/driver, depending on the repair
- Vacuum or shop vacuum
- Clean rag
- Eye protection
- Dust mask
Materials
What you need depends heavily on whether your door is solid wood, solid-core, or hollow-core.
For most repairs, you may need:
- Wood filler or two-part wood repair epoxy
- Wood glue
- Paintable primer
- Matching paint or stain
- Painter’s tape
For a larger hole in a hollow-core door, you may also need:
- Low-expansion spray foam or another suitable backing material
- Cardboard or thin wood for backing
- Lightweight patching compound or compatible filler
Don’t buy your repair materials until you’ve identified what type of door you have and how deep the damage goes.
Signs It’s Time to Repair the Door
Not every dent or scratch requires a major repair. A hole is usually worth repairing when:
- The surface has been punctured.
- Wood fibers are cracked or splintered around the damage.
- A previous patch is falling out.
- The damaged area catches on clothing or hands.
- The hole is clearly visible after the door is closed.
- Moisture can reach exposed wood.
- The damage is getting larger.
- The door still operates normally but looks damaged.
If the hole is near a hinge, lock, latch, or another important mounting point, inspect the surrounding material carefully.
Damage that affects the strength or security of the door may require more than a cosmetic patch.
Before You Buy
First determine what kind of door you’re repairing.
Common interior doors include:
- Solid wood doors
- Solid-core doors
- Hollow-core doors
- Wood-veneer doors
- Painted composite or molded doors
Knock gently on several areas of the door.
A hollow-core door usually sounds noticeably more hollow through the center, while a solid door tends to sound denser.
You can also look at the top or bottom edge of the door if it’s visible. Sometimes the construction is easier to identify there.
Next, inspect the hole itself.
A shallow gouge in solid wood may only need wood filler.
A deeper hole in a hollow-core door usually needs something behind the damaged surface to support the patch.
Also decide how you’ll finish the repair.
Painted doors are generally more forgiving because the repair can be sanded, primed, and painted.
Stained wood is harder to match because the filler must blend with both the color and grain of the surrounding wood.
Before You Start
Open the door and secure it so it can’t swing while you’re working.
For a small repair, a doorstop may be enough.
For a larger repair that requires significant sanding, you may find it easier to remove the door and place it flat across sturdy sawhorses or another stable work surface.
Inspect the area around the hole before removing anything.
Some loose-looking wood fibers may still be firmly attached and useful. Don’t immediately tear away every splinter.
Your goal is to remove only material that is loose, crushed, or preventing the repair from sitting flat.
Step 1: Clean Up the Damaged Area
Use a utility knife to carefully trim loose or badly splintered material around the hole.
Don’t try to make the hole unnecessarily large.
Remove pieces that are:
- Hanging loose
- Crushed
- Curling outward
- Preventing the surrounding surface from sitting flat
Vacuum away dust and debris.
Wipe the area with a clean, dry rag.
What You Should See: The damaged area should have relatively stable edges without loose fibers sticking into or out of the hole.
If Yours Looks Different: If the door has a thin wood veneer, work very carefully. Aggressive cutting or sanding can peel away more veneer and make a small repair much larger.
💡 Pro Tip: Before trimming a loose piece of real wood, see whether it can be glued back into its original position. Preserving the original surface can make the finished repair much easier to hide.
Step 2: Determine Whether the Hole Needs Backing
Look into the damaged area.
If you’re repairing solid wood and the damage doesn’t go completely through the door, you may be able to apply wood filler or repair epoxy directly.
If the door is hollow and there’s empty space behind the damaged face, the patch needs support.
Don’t simply pack a large hollow opening full of wood filler. It may sag into the door, use an excessive amount of material, and eventually crack or loosen.
What You Should See: You should be able to tell whether there’s solid material directly behind the damaged surface or an open cavity.
If Yours Looks Different: Some hollow-core doors contain a cardboard honeycomb structure inside. That’s normal. You only need enough backing near the damaged area to support the repair.
Step 3: Add Backing to a Hollow Door if Needed
For a larger hollow-core repair, create a stable surface behind the hole.
There are several ways to do this depending on the size and shape of the damage.
One common method is to carefully insert a small piece of thin wood or stiff cardboard through the opening and secure it behind the damaged face.
Another option for certain hollow-core repairs is a small amount of low-expansion foam used only as backing, not as the finished surface.
If using foam, apply it conservatively and allow it to cure completely.
Don’t fill the entire door cavity.
Once cured, carefully trim the foam slightly below the face of the door so there’s room for the actual repair material.
What You Should See: The hole should have firm backing behind it, with enough recess left for filler to cover the repair.
If Yours Looks Different: If the hole is only a small puncture and the surrounding door skin is stable, you may not need a large backing piece. Use the simplest repair that gives the filler solid support.
💡 Pro Tip: The backing doesn’t need to look pretty. It will be completely covered. What matters is that it stays firmly in place and doesn’t flex when you press on it.
Step 4: Apply the Repair Material
Choose a filler appropriate for the door and the size of the damage.
For shallow damage in solid wood, wood filler may be sufficient.
For deeper repairs or areas that need additional strength, a two-part wood repair epoxy may work better.
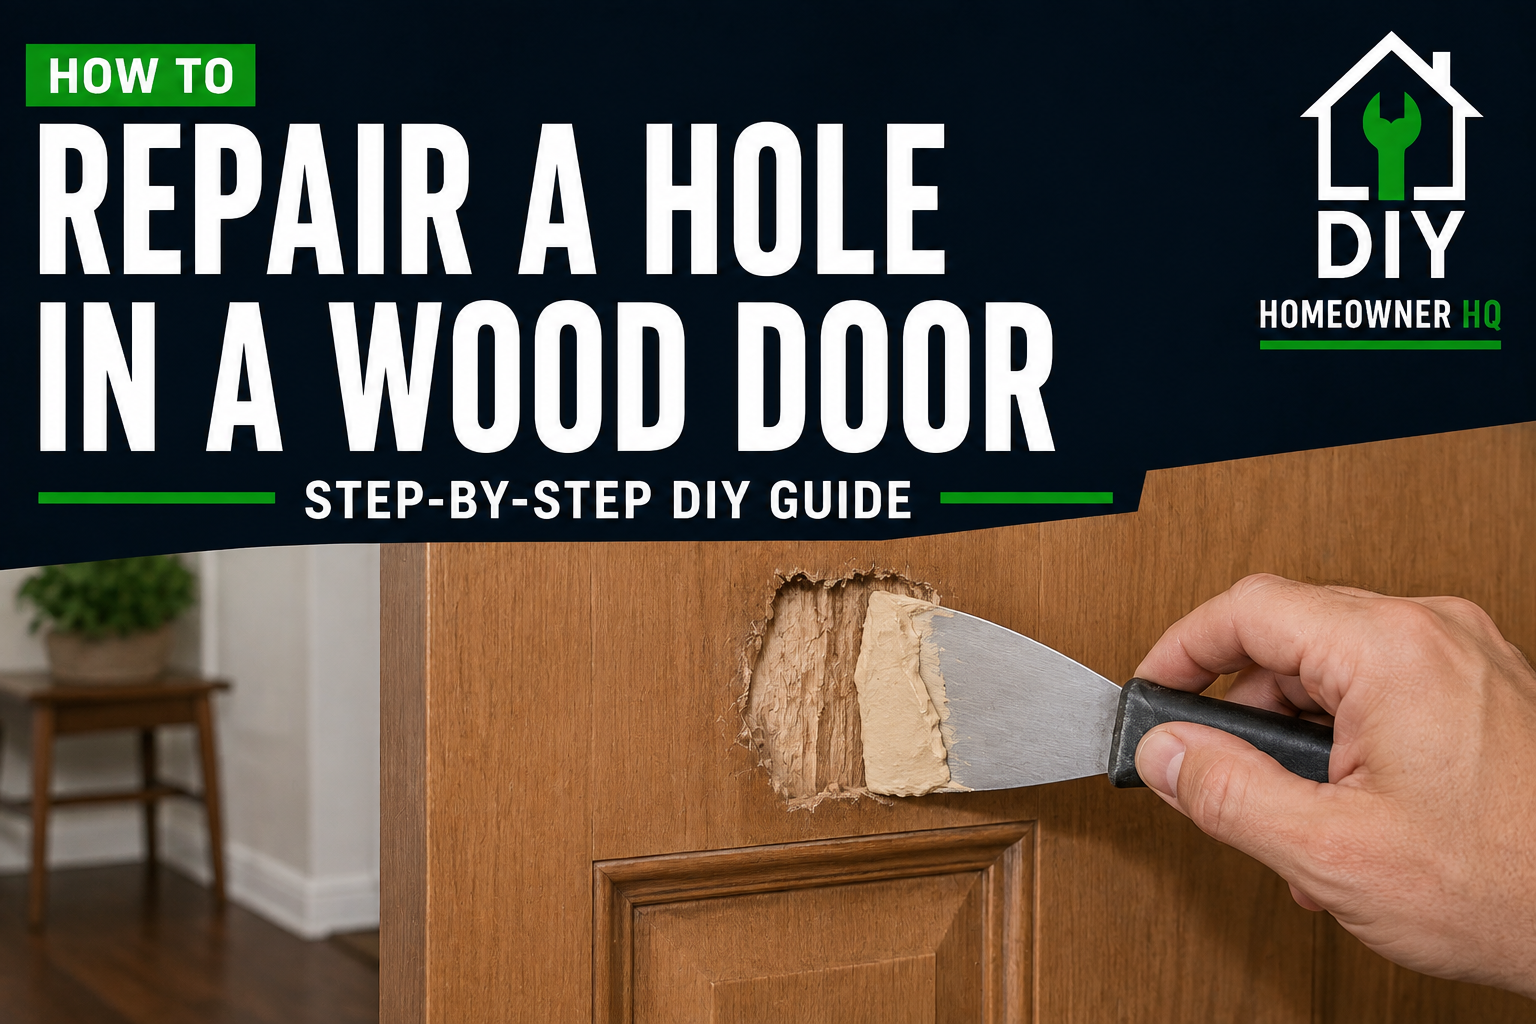
Use a putty knife to press the material firmly into the damaged area.
Build the repair slightly higher than the surrounding surface so you have material to sand flush later.
For a deep repair, several thinner applications may work better than one extremely thick layer.
Follow the manufacturer’s instructions for maximum application thickness and drying or curing time.
What You Should See: The hole should be completely filled without large air pockets, but the repair doesn’t need to look perfectly smooth yet.
If Yours Looks Different: If the filler keeps sinking into the hole, your backing probably isn’t providing enough support. Stop and correct the backing rather than continuing to add filler.
Step 5: Let the Repair Cure Completely
This is one of the easiest steps to rush.
Don’t start sanding simply because the surface feels dry.
Check the product directions and allow the filler or epoxy to cure for the recommended amount of time.
Thicker repairs often take longer.
Press lightly near the repair before sanding. It should feel firm rather than soft or rubbery.
What You Should See: The repaired area should be hard, stable, and firmly bonded to the surrounding door.
If the center still feels soft, give it more time.
Step 6: Sand the Repair Flush
Start with approximately 120-grit sandpaper.
Sand the raised filler gradually until it’s nearly level with the surrounding door.
As you get close, switch to approximately 220-grit sandpaper for a smoother finish.
Use light pressure near the edges of the repair.
The goal is to blend the patch into the door without sanding away the surrounding finish unnecessarily.
Run your fingertips across the area.
Your hand can often detect a ridge or depression that isn’t obvious to your eyes.
What You Should See: The patch should feel level with the surrounding door without a noticeable hump or sharp edge.
If Yours Looks Different: If you discover a low spot or small pinhole after sanding, don’t keep sanding the surrounding door down to match it. Apply another thin layer of filler, let it cure, and sand again.
💡 Pro Tip: Shine a flashlight across the repair from the side rather than directly at it. Low-angle light makes small dips and raised areas much easier to spot.
Step 7: Recreate the Surface if Necessary
If the door is perfectly flat, you may be ready for primer.
If the door has a subtle wood grain or molded texture, a perfectly smooth patch can sometimes stand out.
For a painted textured door, you may be able to lightly recreate the surrounding texture while the final thin layer of repair material is workable.
Don’t overdo it.
A subtle texture usually blends better than deep artificial grooves.
For stained natural wood, matching the grain is much more difficult. Wood filler can accept stain differently from the original door.
Test your stain or touch-up product before applying it across the entire repair.
What You Should See: From normal standing distance, the repaired area should begin to blend into the surrounding surface rather than looking like an obvious flat patch.
Step 8: Prime the Repaired Area
If the door is painted, apply a compatible primer over the repaired area.
Extend it slightly beyond the patch so the final paint can blend into the surrounding finish.
Let the primer dry completely.
Inspect the surface again.
Primer often reveals imperfections that weren’t noticeable on bare filler.
If you see a ridge, pinhole, or depression, lightly sand or apply another small amount of filler before painting.
What You Should See: The repaired area should look smooth and uniform without obvious cracks, holes, or raised edges.
If Yours Looks Different: If the filler absorbs the primer unevenly, a second light coat may be needed before painting.
Step 9: Paint or Stain the Repair
For a painted door, apply paint that matches the existing color and sheen.
Use thin coats rather than trying to cover the repair with one heavy coat.
Depending on the age of the existing paint, touching up only the repaired spot may leave a visible difference.
If the color or sheen doesn’t blend well, painting the entire face of the door often produces a cleaner result.
For stained wood, apply your stain or touch-up product carefully.
Remember that filler and repair epoxy may absorb stain differently from real wood.
What You Should See: The repair should blend with the surrounding door when viewed from normal standing distance.
If Yours Looks Different: If the patch looks good straight on but becomes obvious when light hits it from the side, the problem may be the paint sheen rather than the color.
Step 10: Inspect and Test the Door
Allow the finish to dry completely.
Remove the doorstop or reinstall the door if you removed it.
Open and close the door several times.
Check that:
- The repaired area feels solid.
- The patch doesn’t crack or flex.
- The door opens and closes normally.
- The repair doesn’t interfere with the frame.
- No sharp edges remain.
- The finish is fully covered.
Press gently around the repaired area.
It should feel firm and stable.
What You Should See: The door should operate normally, and the repaired area should remain solid without cracking, sinking, or separating from the surrounding surface.
🛑 Common Mistakes to Avoid
- Filling a large hollow opening without adding backing
- Tearing away wood that could have been glued back into place
- Using too much expanding foam inside a hollow-core door
- Sanding filler before it has completely cured
- Sanding aggressively through a thin wood veneer
- Applying one extremely thick layer of filler when several thinner layers would work better
- Using wood filler to repair damage that affects a hinge or lock mounting point
- Painting before checking the repair under side lighting
- Expecting ordinary wood filler to perfectly match stained natural wood
- Ignoring the cause of the damage if the door continues sticking or hitting the frame
Troubleshooting
Problem: The filler keeps falling into the hole.
The repair doesn’t have enough backing. Remove loose filler and create a stable surface behind the opening before trying again.
Problem: I can still see the outline of the patch after painting.
Run your hand across the repair. If you can feel the edge, it needs additional sanding or a thin skim coat of filler.
If the surface feels perfectly smooth, the difference may be caused by mismatched paint color or sheen.
Problem: The repair cracked after it dried.
The filler may have been applied too thickly, the backing may be moving, or the damaged door surface may still be flexing.
Remove anything loose and correct the movement before patching it again.
Problem: I sanded through the wood veneer.
Stop sanding. Further sanding will make the damaged area larger. Depending on the door, you may need to carefully blend the exposed area with a repair product, veneer patch, paint, or another finish.
Problem: The repaired area won’t take stain like the rest of the door.
This is common. Many fillers absorb stain differently than natural wood. You may need to use a stainable filler, touch-up marker, tinted finish, or carefully blend several products to match the surrounding color.
Problem: The hole is next to the door knob or lock.
Inspect the underlying material carefully. If the lockset no longer mounts securely, treat it as a functional and security repair rather than simply filling the visible damage.
❓ FAQs
Can you repair a hole in a hollow-core door?
Yes. Many holes in hollow-core interior doors can be repaired successfully. Larger holes usually need backing behind the thin door skin before filler is applied.
What should I use to fill a hole in a wood door?
Small or shallow damage may be repaired with wood filler. Deeper or more demanding repairs may benefit from a two-part wood repair epoxy. The correct material depends on the door construction and size of the hole.
Can I use expanding foam inside a hollow-core door?
Low-expansion foam is sometimes used as backing for hollow-core door repairs, but it should be used conservatively. It’s generally there to support the repair material rather than serve as the finished surface itself.
Do I need to remove the door to repair it?
Not necessarily. Small repairs can usually be completed while the door remains installed and secured with a doorstop. Removing the door can make larger repairs, sanding, and refinishing easier.
Can I repair a stained wood door without seeing the patch?
It’s possible to make the repair much less noticeable, but stained wood is considerably harder to match than a painted surface. The filler, stain color, wood grain, and finish sheen all affect the final appearance.
Is it worth repairing a cheap hollow-core door?
For a small or moderate hole, often yes. If the damage is extensive, the door skin is badly crushed, or several areas are damaged, replacing an inexpensive hollow-core door may make more sense than spending significant time repairing it.
📞 When to Call a Professional
Consider calling a carpenter, door professional, or qualified contractor if:
- The damage is near a hinge and the screws no longer hold securely.
- The lock or deadbolt area is badly damaged.
- The door is an exterior or security door.
- A large section of the door is cracked or crushed.
- The door has valuable or difficult-to-match wood veneer.
- The damage affects how the door hangs or closes.
- You’re dealing with rot or moisture damage rather than impact damage.
- The repair would require recreating detailed molding or decorative woodwork.
For an inexpensive interior hollow-core door, also compare the cost of the repair with replacement. Sometimes installing a new door slab is the more practical option when the damage is extensive.