
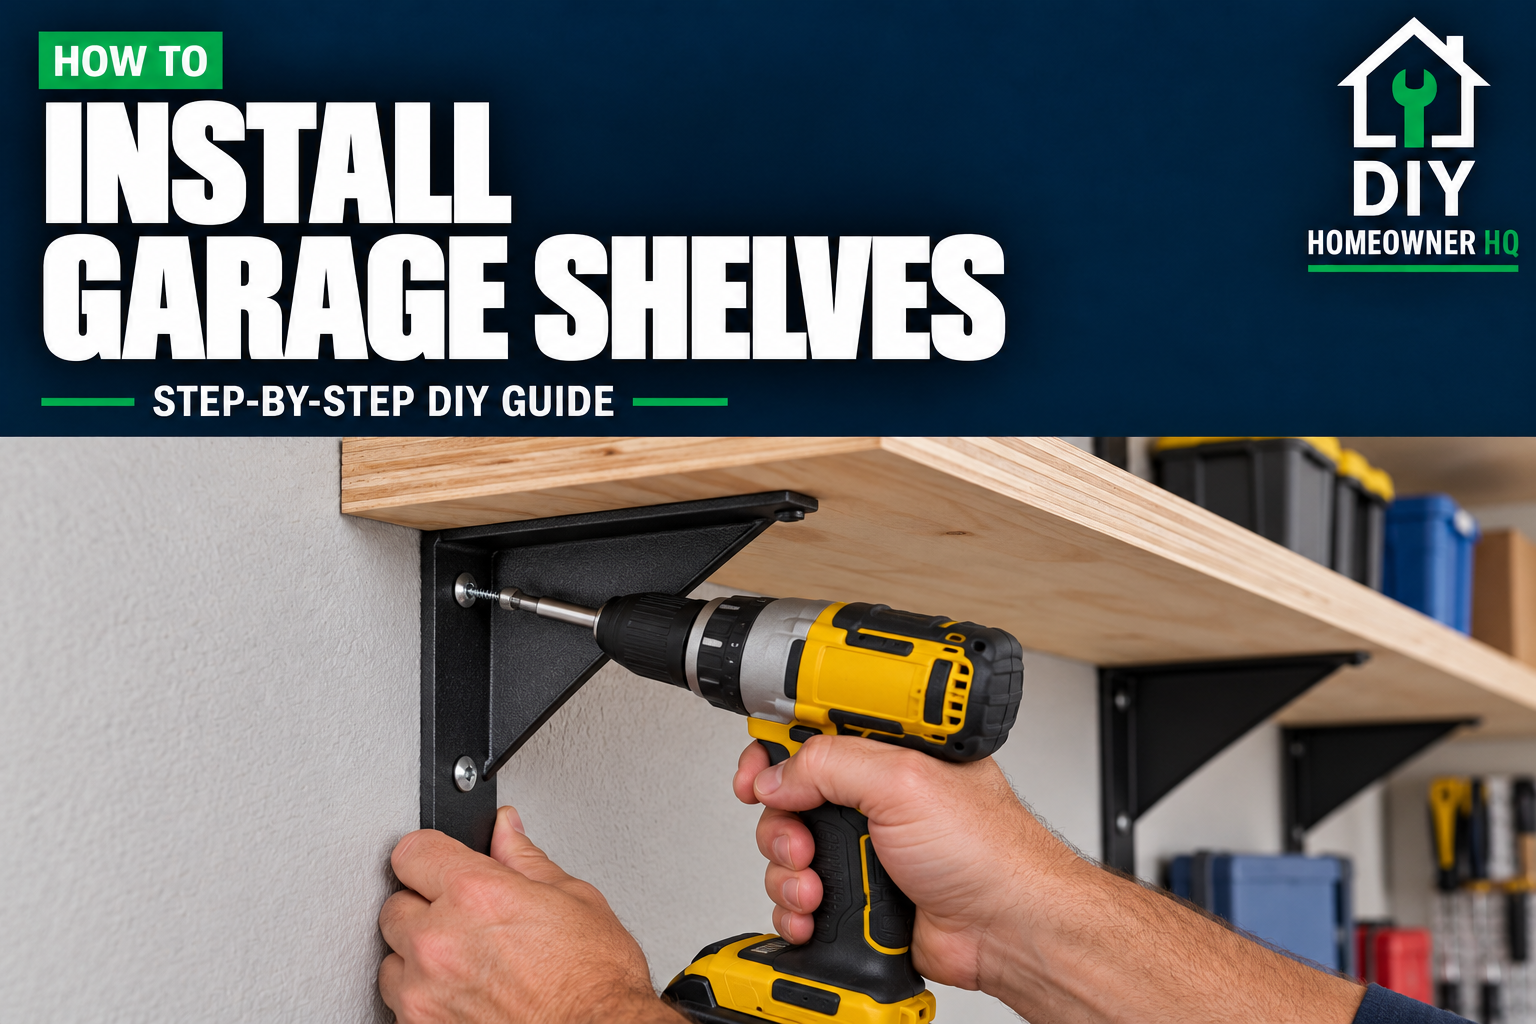
Safety First
Secure shelf brackets to solid wall studs using the fasteners specified by the bracket manufacturer. Do not rely on drywall anchors for heavy garage storage. Check for hidden wiring and plumbing before drilling, and wear safety glasses when drilling or cutting.
Follow the weight limits and support spacing for your entire shelving system, including the shelf boards. Keep heavy items on lower shelves, and leave garage door tracks, springs, and moving parts clear.
Time
2-4 Hours
Difficulty
Moderate
Cost
$75-$200
🧰 Tools & Materials
Tools
- Stud finder
- Tape measure and pencil
- Level
- Drill/driver and suitable drill bits
- Socket or driver bit that fits your mounting fasteners
- Circular saw with a straightedge, or access to a store cutting service
- Clamps and a stable work surface if cutting
- Safety glasses, hearing protection, and appropriate dust protection
- Stepladder if needed
Materials
- Heavy-duty shelf brackets rated for your intended shelf depth and load
- Plywood or solid-wood shelf boards suitable for the planned support spacing
- Manufacturer-specified screws or lag screws for attaching brackets to wood studs
- Washers if required
- Short wood screws for attaching shelf boards to brackets
- Sandpaper
- Optional paint or wood finish
🔎 Signs It’s Time to Add Garage Shelves
- Storage bins are taking up valuable floor space.
- Tools and supplies are difficult to find.
- Stacked boxes are unstable or difficult to reach.
- Existing shelves are sagging, loose, or too shallow.
- You need organized storage along an unused wall.
If existing shelves are pulling away from the wall, unload them before inspecting their supports.
🛒 Before You Buy
This guide covers wood shelves supported by individual heavy-duty brackets fastened through drywall into wood studs. Concrete, masonry, and metal-stud walls require different mounting methods.
Choose your shelf depth around your storage. Measure your bins first, including their lids. Check that the shelves will leave enough room for walking, parking, and opening vehicle doors.
Match the brackets to the shelf boards. Check the bracket manufacturer’s permitted shelf depth, support spacing, mounting hardware, and loading conditions. A bracket’s advertised capacity does not automatically become the capacity of your finished shelf.
Choose boards for the span and weight. Three-quarter-inch plywood is a common starting point, but its suitability depends on the plywood grade, shelf depth, support spacing, and stored load. Long unsupported sections can sag.
Check how weight ratings are stated. A rating may apply to a pair of brackets or a complete system under specific installation conditions. For example, Knape & Vogt’s shelf-kit instructions tie the listed capacity to mounting into studs. Follow the instructions for the product you actually purchase.
For a smaller shelf intended for lighter storage, see How to Install a Floating Shelf.
📋 Before You Start
Clear the work area and move vehicles away from drilling and cutting dust.
Operate the garage door through its full travel to check clearance. Keep shelving and stored items away from the tracks, springs, opener, and moving door. Leave electrical panels and other equipment accessible.
Locate the studs before deciding exactly where the shelves will begin and end. Your bracket positions must match both the framing and the required support spacing.
Check for nearby outlets, switches, plumbing, and other clues to concealed utilities. A stud finder alone cannot guarantee that a drilling location is clear. Never drill through a metal protective plate.
💡 Pro Tip: Place an empty storage bin at the proposed shelf height before marking everything. Leave enough space above it to lift it out comfortably.
Step 1: Plan the Shelf Positions
Measure and mark the length, depth, and height of each shelf.
Allow space for the brackets beneath each board, particularly when placing shelves above one another. Keep frequently used items within easy reach and plan lower storage for heavier supplies.
Mark the stud centers at each intended bracket location. Scan from both directions to help identify each stud’s edges.
What You Should See: A layout that fits your storage, clears nearby obstacles, and places every bracket over suitable framing.
If Yours Looks Different: If the stud positions leave a longer span than your shelf design allows, revise the layout or choose a system designed for those conditions. Do not substitute drywall anchors for the missing support.
Step 2: Mark a Level Line and the Mounting Holes
Use a level to mark the underside height of the first shelf.
Hold a bracket against the wall with its top support surface aligned with the line and its mounting holes centered over the stud. Make sure the bracket is upright, then mark the required holes.
Repeat for the remaining brackets.
What You Should See: Bracket positions that will support the shelf at the same height across its full length.
If Yours Looks Different: Garage floors often slope. Use the level to establish the shelf line instead of measuring the same distance up from the floor at every bracket.
Step 3: Drill Pilot Holes and Fasten the Brackets
Drill pilot holes using the diameter and depth specified for your mounting fasteners and framing.
Fastener length must account for the bracket, wall covering, and required penetration into the wood stud. Do not choose longer screws simply because they seem stronger.
Attach the first bracket using all required mounting holes. Tighten the fasteners until the bracket sits firmly without crushing the drywall or stripping the wood.
Install the remaining brackets, checking their alignment with a level and a straight board across their tops.
What You Should See: Firm brackets with aligned support surfaces and no movement against the wall.
If Yours Looks Different: If a screw spins without tightening or the bracket remains loose, stop. Remove the bracket and determine whether you missed the stud or damaged the hole before continuing.
If a damaged screw prevents removal, see How to Remove a Stripped Screw.
Step 4: Cut and Smooth the Shelf Boards
Measure the installed bracket layout before cutting your boards to their final dimensions.
Keep end overhang and front projection within the limits of your chosen shelf design and brackets.
Clamp the board to a stable work surface and support it properly while cutting. Keep your hands away from the blade path and follow your saw’s instructions.
Sand sharp edges and splinters. If applying a finish, let it dry as directed before installation.
What You Should See: Straight shelf boards with smooth edges and dimensions that fit the installed supports.
If Yours Looks Different: Replace badly warped, cracked, or separating boards. Do not use mounting screws to force a damaged board flat.
Step 5: Secure the Boards to the Brackets
Place each board on its brackets and check its position and level.
Using the bracket’s designated shelf-attachment holes, mark and drill shallow pilot holes if required. Choose screws that hold the board securely without breaking through its top surface.
Fasten the board to the brackets following the manufacturer’s instructions. Have a helper hold it steady if needed.
What You Should See: A level shelf that cannot slide forward, shift sideways, or lift off its brackets during normal use.
If Yours Looks Different: If a bracket does not contact the underside of the shelf, correct the alignment or replace the warped board before fastening it down.
Step 6: Check the Installation and Add Storage
Check every bracket and shelf fastener before loading.
Add storage gradually and distribute it evenly. Keep heavier items low and close to the wall, preferably near support locations. Stay within the permitted load for the complete installation.
Watch for movement, bending brackets, or shelf sagging. Unload the shelf immediately if any appear. Do not climb, hang, or stand on a shelf to test it.
What You Should See: Shelves that remain level and stationary as you add the intended storage.
If Yours Looks Different: A shelf that moves or bows needs correction before use. Simply tightening the screws harder may damage the mounting holes.
💡 Pro Tip: Label bins on the side facing outward so you can identify their contents without pulling everything down.
🚫 Common Mistakes
- Using drywall anchors for heavy storage: Attach the brackets to suitable framing as specified.
- Choosing brackets by appearance: Check shelf-depth compatibility and loading requirements.
- Leaving too much unsupported board: Excessive spacing or end overhang can allow sagging.
- Using drywall screws as mounting hardware: Use the structural mounting fasteners specified for the brackets.
- Leaving the shelf boards loose: Secure them through the designated attachment points.
- Installing shelves level with a sloping floor: Establish shelf height with a level.
- Assuming extra brackets multiply capacity: The boards, wall framing, fasteners, and installation still limit the load.
🔧 Troubleshooting
Problem: The shelf rocks on its brackets.
Check for a warped board or brackets mounted at different heights. Correct the cause before securing the shelf.
Problem: A mounting screw will not tighten.
You may have missed the stud or stripped the hole. Remove the load and inspect the connection. Do not rely on the remaining screws to compensate.
Problem: The shelf sags in the middle.
Unload it. The board may be unsuitable for the load or the distance between supports. Revise the support arrangement, use a suitable shelf board, or reduce the intended load.
Problem: The shelf pulls away from the wall.
Unload it immediately and inspect the fasteners, framing, and brackets. Our How to Fix a Loose Floating Shelf guide also explains common causes of loose wall-mounted shelving, although its mounting hardware differs.
Problem: Storage bins will not fit between shelves.
Adjust the layout before loading. Account for the bin lids and the space needed to lift and remove each bin.
❓ FAQs
Can I install garage shelves without attaching them to studs?
This bracket-mounted method requires suitable wood framing. For a different wall type, use a shelving system with instructions and fasteners specifically approved for that substrate. Freestanding shelving is another option, but follow its anchoring instructions to prevent tipping.
How far apart should shelf brackets be?
Use the spacing allowed by both the bracket system and your shelf boards for the intended load. Stud locations help determine the layout, but they do not establish a safe shelf span by themselves.
Is three-quarter-inch plywood strong enough?
It can be suitable, but thickness alone does not establish capacity. Plywood grade, depth, support spacing, and loading all matter. Use a tested shelving design or a rated shelf system if you need a dependable stated capacity.
How deep should garage shelves be?
Choose the depth around your bins and available clearance. Shelves around 12–16 inches deep can work for smaller supplies; larger bins may need more depth. Confirm that the brackets permit the depth you choose.
Can I install shelves above the garage door?
That requires a different layout and careful clearance planning. This guide covers wall shelves clear of the door mechanism. Use a purpose-built system and its installation instructions for overhead storage.
Should I paint or seal the shelf boards?
A finish is optional in a dry garage, but it can make the boards easier to clean. It does not increase their load capacity or make moisture-damaged wood suitable for use.
👷 When to Call a Professional
Get help if:
- You cannot confidently identify suitable framing or concealed utilities.
- The wall has metal studs, masonry, damaged framing, or an unfamiliar construction.
- Your planned loads exceed the documented capacity of the shelving components.
- You need blocking or wall repairs to provide secure attachment.
- The installation would interfere with garage door equipment or required equipment access.
- You want overhead storage that is outside the scope of this wall-mounted method.