
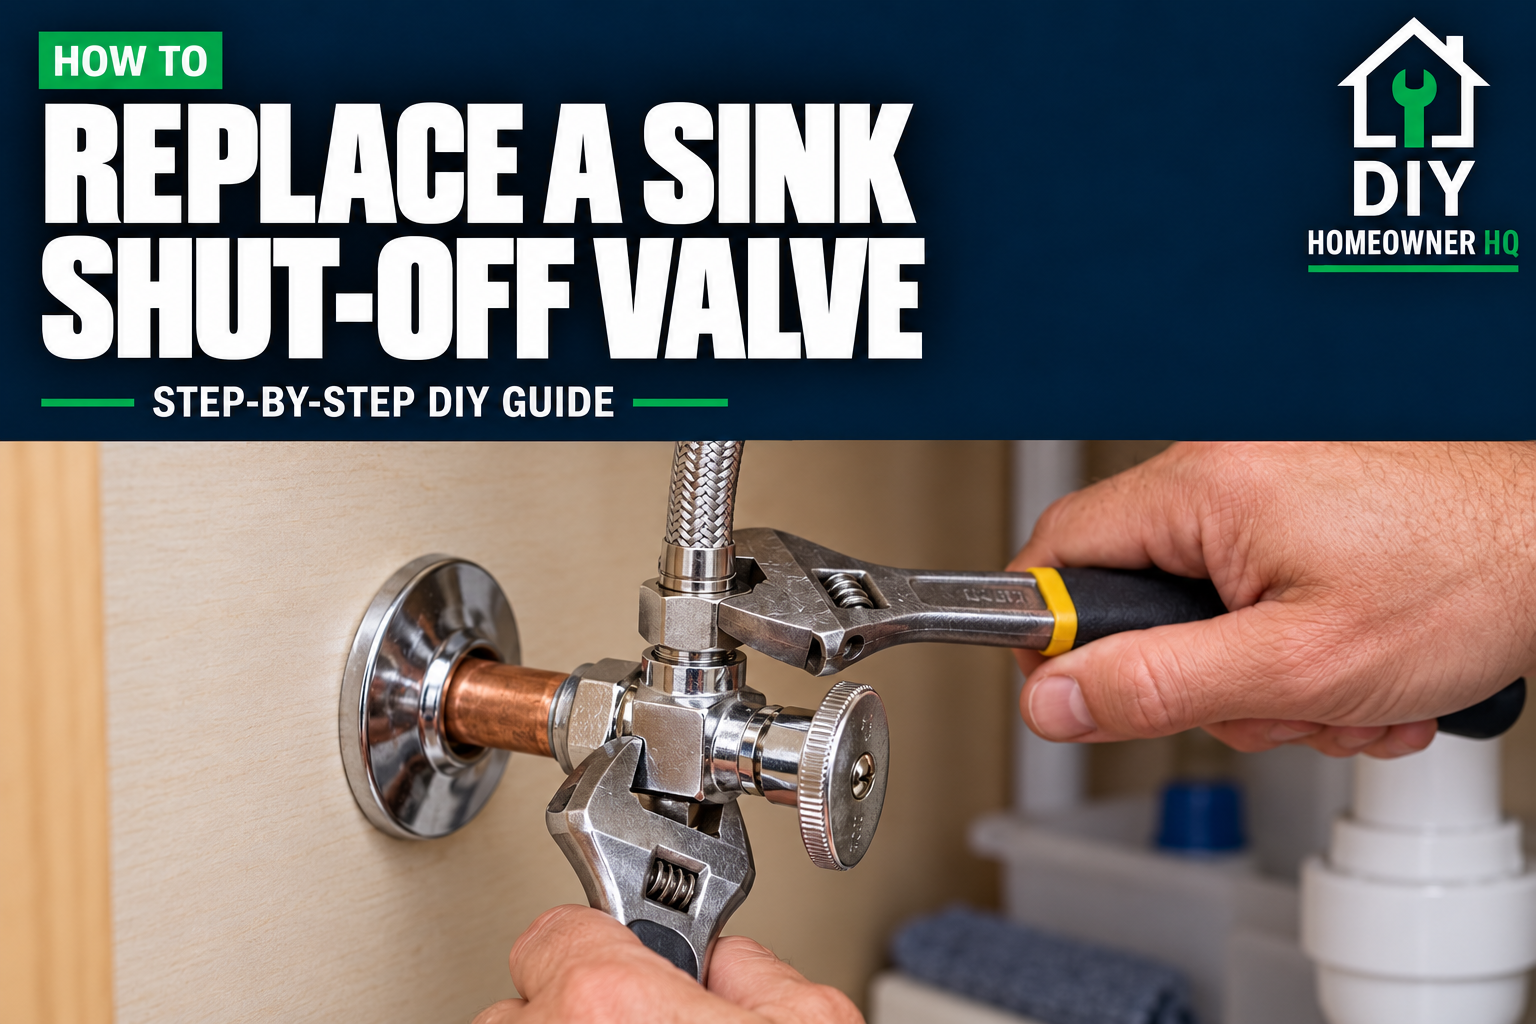
Safety First
Shut off the home’s main water supply, then open the sink faucet to relieve pressure and confirm the water stops before disconnecting anything. Never rely on the valve you’re replacing to stop the water. Use a second wrench to support the valve or fitting so you don’t twist the supply pipe. If the main shutoff won’t stop the flow, the pipe is damaged, or the valve requires soldering, contact a plumber.
Time
30-60 Minutes
Difficulty
Moderate
Cost
$15-$40
🧰 Tools & Materials
Tools
- Two adjustable wrenches
- Compression sleeve puller, if the old sleeve is stuck
- Flashlight or work light
- Small bucket or shallow pan
- Towels and paper towels
- Safety glasses
Materials
- Replacement shut-off valve matched to the pipe and faucet supply connection
- New compression nut and sleeve supplied with the valve
- Replacement faucet supply line, if required by its manufacturer or if the existing line is worn
🔎 Signs It’s Time to Replace the Valve
- Water continues flowing from the faucet after the valve is fully closed and residual water has drained.
- The valve body is cracked or leaking.
- The handle is seized, broken, or turns without operating the valve.
- Corrosion or repeated leaks make the valve unreliable.
A dripping faucet does not automatically mean the shut-off valve needs replacement. If the faucet drips while its handle is off, the problem may be inside the faucet. See How to Fix a Leaky Bathroom Faucet for help identifying that issue.
🛒 Before You Buy
Match the replacement valve to both connections: the inlet from the house plumbing and the outlet leading to the faucet.
Check these details:
- Pipe material: Copper, PEX, CPVC, and threaded metal piping need compatible connections.
- Connection type: Compression, threaded, soldered, push-to-connect, and PEX connections are not interchangeable installation methods.
- Valve shape: An angle valve changes the water’s direction by 90 degrees. A straight valve keeps the inlet and outlet aligned.
- Outlet size: Match the faucet supply line rather than assuming every sink uses the same size.
- Number of outlets: Some kitchen valves also supply a dishwasher. Preserve that connection when choosing a replacement.
A common copper installation uses a 1/2-inch nominal compression inlet, which fits copper tubing measuring 5/8 inch outside diameter, and a 3/8-inch compression outlet. Confirm your actual setup before purchasing.
A compatible quarter-turn valve is a convenient replacement for an older multi-turn model.
💡 Pro Tip: Photograph the valve, pipe connection, and supply-line connection before shopping. The handle shape alone does not tell you how the valve attaches.
🏠 Before You Start
The steps below cover replacing a compression-inlet valve on sound copper tubing with a flexible faucet supply line.
Identify the larger compression nut where the copper pipe enters the valve. A smaller nut typically connects the faucet supply line to the outlet.
If Yours Looks Different: A soldered valve has a soldered joint instead of an inlet compression nut. Threaded, push-to-connect, crimped PEX, and glued CPVC valves require different removal and installation procedures. Do not try to unscrew or pull off an unidentified connection.
Clear the cabinet and check that you can reach the valve with two wrenches. Locate the main shutoff before loosening anything. If you need help finding it, follow How to Shut Off Water to Your House.
Step 1: Shut Off the Water and Relieve Pressure
Close the home’s main water shutoff. Open both the hot and cold sides of the sink faucet and allow the pressure to release.
Wait until the flow stops. Some remaining water may drain from the pipes, so place a pan and towels beneath the valve.
What You Should See: The initial flow slows and stops.
If Yours Looks Different: If water continues flowing steadily, do not disconnect the valve. The supply has not been successfully isolated.
Step 2: Disconnect the Faucet Supply Line
Hold the valve body steady with one wrench. Use the other wrench to loosen the supply-line nut at the valve outlet.
Separate the line gently and direct any remaining water into the pan. Avoid twisting the hose or pulling on its connection at the faucet.
Check the connector for corrosion, kinks, damaged seals, or frayed braiding. Follow its manufacturer’s replacement requirements; some connectors should not be reused after disconnection.
What You Should See: The supply line separates while the valve and copper pipe remain stationary.
If Yours Looks Different: If the faucet has a rigid supply tube or a permanently attached hose, stop and identify the correct replacement procedure before bending or cutting anything.
Step 3: Remove the Old Compression Valve
Place one wrench on the valve body and the other on the inlet compression nut. Hold the body steady while loosening the nut.
Once the nut is completely unthreaded from the valve, gently slide the valve off the copper pipe. The nut and metal compression sleeve may remain on the tubing.
What You Should See: The valve comes off, exposing the end of the copper pipe.
If Yours Looks Different: If the pipe twists, bends, or moves inside the wall, stop. More force could damage a hidden connection.
Step 4: Remove the Old Sleeve and Inspect the Pipe
Remove the old compression sleeve and nut. If the sleeve will not slide off, use a compression sleeve puller sized for the tubing and follow its instructions.
Do not saw into the sleeve against the pipe or crush it with pliers.
Wipe the exposed tubing clean and inspect the area where the new valve will seal. Deep scratches, pitting, distortion, or a pronounced groove can prevent a reliable connection.
Do not assume an old nut and sleeve will fit a new valve just because the threads appear to engage.
What You Should See: Clean, round, undamaged copper with enough exposed length to seat fully inside the replacement valve.
If Yours Looks Different: If removing damaged tubing would leave the pipe too short, have a plumber repair or extend it. Do not install the valve only partway onto the pipe.
Step 5: Install the Replacement Valve
Slide the new compression nut onto the pipe with its threads facing the valve, followed by the new sleeve.
Seat the valve fully on the tubing and position its outlet toward the faucet supply line. Start the nut by hand so it threads smoothly.
Hold the valve steady with one wrench while tightening the nut with the other. Follow the tightening instructions supplied with that exact valve; the inlet nut and supply-line nut may require different amounts of tightening.
Do not wrap compression threads with PTFE tape. The sleeve forms the seal against the tubing. Use any other thread treatment only if the valve manufacturer explicitly permits it. BrassCraft’s installation instructions explain these connection-specific requirements.
What You Should See: The valve sits straight on the pipe, with the outlet correctly positioned and no movement of the tubing.
If Yours Looks Different: If the nut binds immediately or goes on crooked, back it off and realign it. Do not force the threads.
Step 6: Connect the Faucet Supply Line
Align the supply-line nut squarely with the valve outlet and start it by hand. Support the valve while completing the connection according to the supply-line manufacturer’s instructions.
For a flexible connector with an integrated sealing washer, do not add a loose compression sleeve, plumber’s putty, or thread tape.
Route the hose in a gentle curve without stretching, twisting, or sharply bending it. If you are also replacing the fixture, follow How to Replace a Bathroom Faucet for the faucet-end connections.
What You Should See: The hose reaches comfortably and the connection sits straight.
If Yours Looks Different: If the line is too short or the fittings do not match, obtain the correct connector instead of forcing the connection.
Step 7: Restore Water and Check Your Work
Close the new shut-off valve and the sink faucet. Slowly reopen the main water supply and inspect the valve’s inlet connection.
If it stays dry, slowly open the new valve fully. Check the outlet connection and supply line, then run the faucet on hot and cold to clear trapped air. Initial sputtering can occur.
Close the faucet and inspect again with the plumbing under pressure. Use dry paper towels to check around each connection, the valve body, and the handle.
Test the shutoff function by closing both sink valves and opening the faucet. Flow should stop after residual water drains. Reopen the valves fully afterward.
What You Should See: Normal faucet flow, working shutoffs, and completely dry connections.
If Yours Looks Different: If any connection leaks, shut off the appropriate water supply and relieve pressure before correcting it. An inlet leak requires shutting off the main.
Recheck after several faucet uses and again later that day before filling the cabinet.
🚫 Common Mistakes to Avoid
- Buying a valve without identifying the pipe material and connection type.
- Confusing the faucet supply-line nut with the larger inlet nut.
- Twisting the valve without supporting the connection.
- Forcing a stuck compression sleeve off the pipe.
- Installing a new valve over damaged tubing.
- Mixing old and new compression parts without confirmed compatibility.
- Adding thread tape to a washer-sealed supply connector.
- Overtightening fittings to compensate for misalignment.
- Checking for leaks only while the faucet is running.
🛠️ Troubleshooting
Problem: Water leaks at the copper-pipe connection.
Shut off the main and relieve pressure. Check seating, alignment, sleeve compatibility, and pipe condition. Follow the valve instructions when correcting the connection. Persistent leakage needs inspection, not repeated forceful tightening.
Problem: Water leaks at the supply-line nut.
Close the valve and open the faucet to relieve pressure. Check for a crooked connection, damaged washer, or incompatible connector. Replace a damaged line.
Problem: Water leaks from the new valve body or handle.
Confirm that water is not running down from the supply connection above it. If the valve itself is defective, isolate the water and replace it. Do not try to patch a pressure-containing valve with glue or external sealant.
Problem: Faucet flow is weak afterward.
Confirm both valves are fully open and the hoses are not kinked. If flow was normal before the repair, debris may have reached the aerator. Remove and clean it according to the faucet instructions.
❓ Frequently Asked Questions
Do I have to replace both sink shut-off valves?
No. You can replace only the faulty valve if the other works properly and is in good condition. Replacing both may be practical when they show similar deterioration.
Can I replace the valve without shutting off the main?
Only if another verified upstream shutoff completely isolates that branch. Closing the valve being removed does not isolate its inlet from the water supply.
Can I reuse the old compression nut and sleeve?
Do not assume they are compatible. Use the new parts supplied with the replacement unless the manufacturer specifically approves reuse for that installation.
Does every shut-off valve unscrew?
No. Compression, threaded, soldered, glued, push-to-connect, and PEX connections come apart differently. Identify yours before applying force.
Can I install a push-to-connect valve instead?
Possibly, if the exact product is approved for the pipe material and application. The pipe needs proper preparation, an undamaged sealing surface, and enough length for the manufacturer’s specified insertion depth. It is not a workaround for damaged or excessively short tubing.
👷 When to Call a Professional
Contact a plumber if:
- The main shutoff cannot stop the water.
- The pipe twists or moves inside the wall.
- The tubing is cracked, badly corroded, distorted, or too short.
- The compression sleeve cannot be removed without damaging the pipe.
- The connection requires tools or methods you cannot confidently identify and use.
- A leak continues after correct installation.
- Water appears to be coming from inside the wall.