
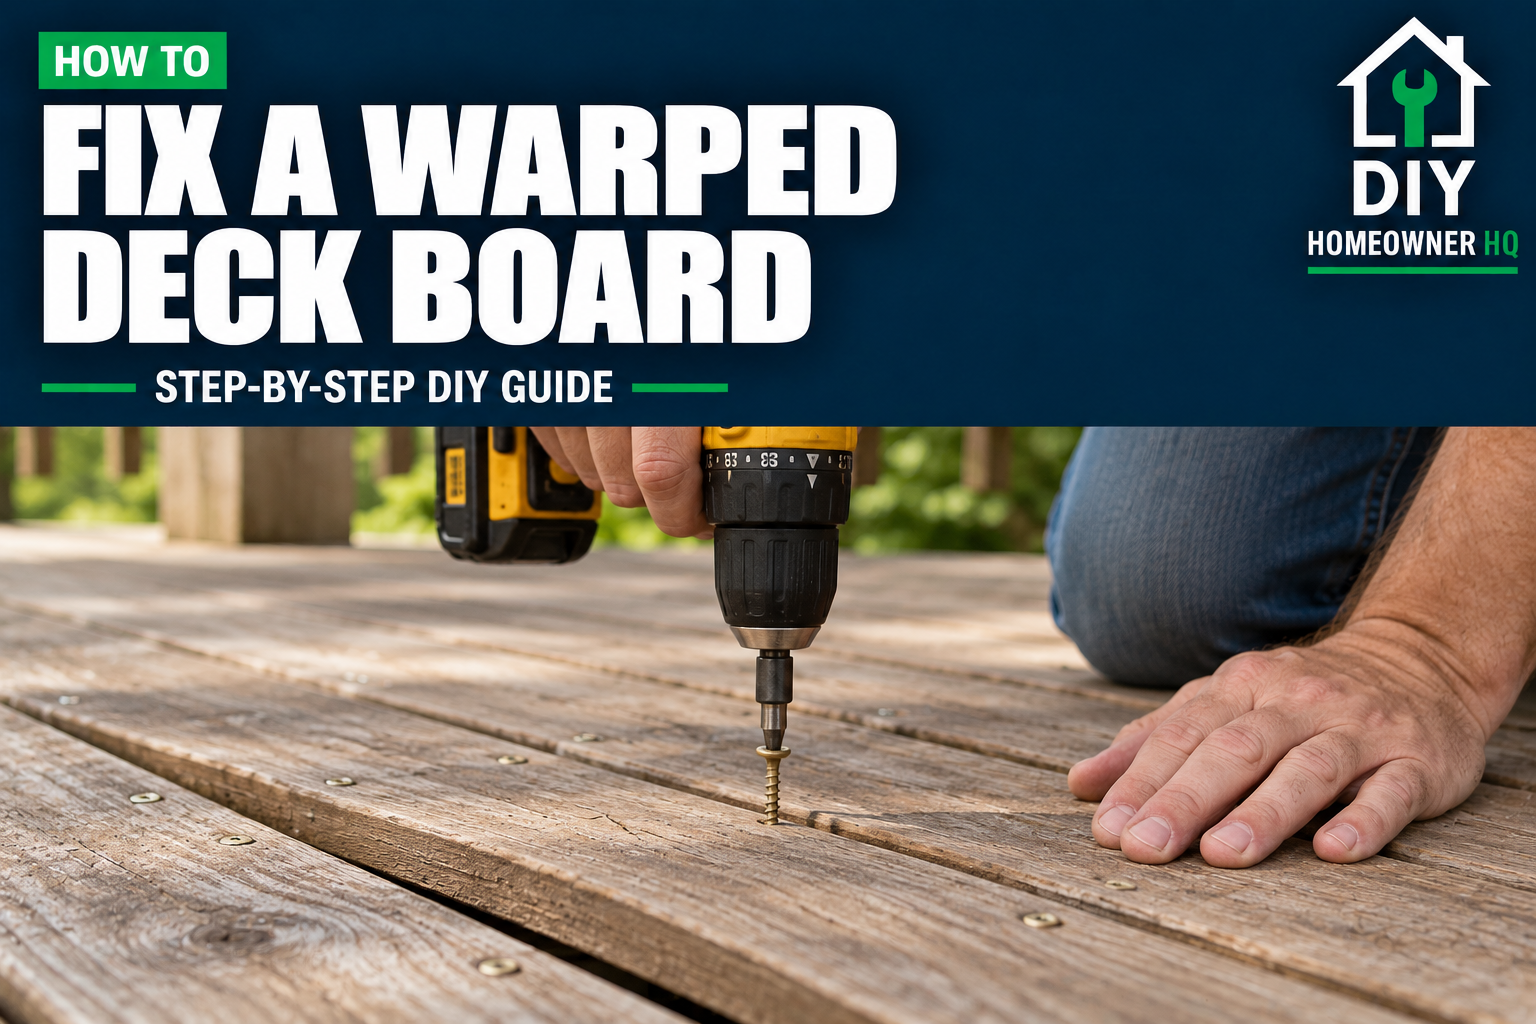
Safety First
Wear safety glasses, work gloves, and sturdy shoes. Check the warped board and supporting joists for rot, cracks, or loose fasteners before starting. Only attempt to refasten a mildly warped board that is otherwise sound. Replace severely warped, split, or rotted boards rather than forcing them flat. Keep hands clear of pinch points, and use exterior-rated deck screws compatible with your decking. If the framing is soft, sagging, or damaged, stop and have it inspected.
Time
30-60 Minutes
Difficulty
Moderate
Cost
$10-$30
🧰 Tools & Materials
Tools
- Drill/driver and matching screw bit
- Drill bit for pilot holes
- Tape measure and pencil
- Straightedge or level
- Pry bar or nail puller
- Clamp, if the board and joist are safely accessible
- Safety glasses, work gloves, and sturdy shoes
Materials
- Exterior-rated deck screws compatible with your decking and wood treatment
- Scrap wood to protect the board when clamping or pulling nails
- Replacement deck board if the existing board cannot be safely secured
🔎 Signs a Deck Board Is Warped
- One or both edges curl upward.
- One end twists above the surrounding decking.
- The board arches upward between supports.
- Raised edges catch shoes or create a trip hazard.
- Fasteners have lifted as the board changed shape.
A board that moves but remains fairly straight may simply be loose. See how to fix a loose or wobbly deck board for that repair.
🛒 Before You Buy
Identify whether your decking is solid wood, composite, or PVC. These steps cover mildly warped, face-fastened wood decking. Composite and PVC require their manufacturer’s repair instructions.
Choose screws approved for exterior decking and compatible with the wood’s treatment. Select their length for the board thickness and the fastener manufacturer’s required penetration into sound joists. Do not use drywall screws.
If replacement looks likely, measure the board’s actual thickness, width, and length. Match the existing decking material and profile.
📋 Before You Start
Work when the deck is dry enough for secure footing. Clear furniture from the area and keep children and pets away.
Inspect the board and its supporting joists. Look for soft wood, deep splits, significant decay, and fasteners that no longer hold. Access the underside only if you can do so safely.
Refastening may help a mildly warped board sit securely against its supports, but it will not reliably straighten severely distorted wood. An upward bow between joists cannot be pulled down by driving screws into the unsupported space.
Step 1: Decide Whether to Repair or Replace
Lay a straightedge across the board and nearby decking to identify the raised area. Check whether the distortion is at a joist, along an edge, or between supports.
Apply gentle pressure while keeping your fingers clear of gaps. A repair candidate should move toward its proper position without cracking or requiring heavy force.
Replace the board if it is severely twisted, deeply split, soft, or unable to sit securely against its supports. Follow how to replace a damaged deck board if refastening is unsuitable.
What You Should See: Sound wood with mild distortion that can be brought closer to its intended position.
If Yours Looks Different: If several boards are sinking or lifting together, investigate the framing rather than treating each board as an isolated problem.
Step 2: Locate the Joists and Remove Failed Fasteners
Use existing fastener rows as a guide to the joist locations, then confirm the supports from the side or underside where safely accessible. Mark their centers.
Remove loose, raised, or damaged fasteners at the repair location. Place scrap wood beneath a pry bar or nail puller to protect the decking.
Do not remove every fastener along the board unnecessarily. Release only what is needed to reposition the affected area.
If a screw head is damaged, see how to remove a stripped screw before continuing.
What You Should See: Confirmed joist locations and a repair area free of fasteners that prevent the board from seating.
If Yours Looks Different: If a fastener breaks off, avoid drilling into it. A new fastening position must still meet the required edge spacing and enter sound joist wood.
Step 3: Bring the Board Against the Joist
For a mildly lifted section, apply controlled downward pressure directly over the supporting joist.
Where access allows, use a suitable clamp to pull the board gently against the joist. Protect the decking with scrap wood and keep the clamp clear of the planned screw locations.
Do not jump on the board, use excessive leverage, or expect a screw to pull a severely warped section flat.
What You Should See: The board seats against the joist without cracking, with the raised area reduced.
If Yours Looks Different: If it resists reasonable pressure, begins splitting, or remains a trip hazard, stop and replace it.
💡 Pro Tip: Securing a board at its joists may not remove cupping or a bow between them. Judge the repair by the remaining walking surface, not just whether the screws tighten.
Step 4: Predrill and Refasten
While holding the board in position, mark new screw locations over sound joist wood. Avoid enlarged old holes, existing splits, and broken fasteners.
Predrill as required by the screw manufacturer, particularly near board ends or in dry, split-prone wood. Follow the recommended edge distances and fastening pattern.
Typical face-fastened wood decking uses two screws at each joist crossing, spaced across the board’s width. Follow the requirements for your specific decking and fasteners.
Drive the screws until their heads are flush or at the manufacturer’s specified depth. Do not bury them deeply to force the board lower.
What You Should See: Secure fasteners holding the board against the joist without fresh splits or deeply crushed wood.
If Yours Looks Different: If a screw spins without tightening, stop. It may have missed the joist or entered damaged wood. Do not keep adding screws until something catches.
Step 5: Release the Pressure and Check the Repair
Remove the clamp or downward pressure slowly. Check whether the board stays seated, then lay the straightedge across the area again.
Once the attachment appears secure, carefully walk across the repaired section. Check for movement, raised screw heads, and edges that still catch your shoe.
Recheck after several wet-and-dry weather cycles. A board that repeatedly lifts or loosens should be replaced, and its supports inspected.
What You Should See: A stable board with secure fasteners and no remaining trip hazard.
If Yours Looks Different: If the board springs back, splits, or remains noticeably raised, refastening has not solved the problem.
🚫 Common Mistakes to Avoid
- Trying to save a severely warped or rotted board.
- Driving screws where there is no joist underneath.
- Using ordinary interior screws.
- Reusing stripped or enlarged screw holes.
- Overdriving screw heads to pull the board flatter.
- Forcing the board until it cracks.
- Sanding away a substantial amount of wood to disguise the warp.
- Ignoring recurring moisture or drainage problems.
Problem: The board still arches between joists.
Fasteners at the supports cannot necessarily remove a permanent bow between them. Replace the board if the remaining distortion creates a hazard.
🛠️ Troubleshooting
Problem: The screws will not hold.
Confirm that they enter sound joist wood. Enlarged holes, missed supports, or decay must be addressed before the repair is safe.
Problem: The board splits while tightening.
Stop applying pressure. Check pilot-hole requirements and fastener placement. Replace a board with a split that compromises its attachment.
Problem: The board warps again.
Check for clogged board gaps, standing water, and poor airflow beneath the deck. Repeatedly forcing the same board down is unlikely to provide a lasting repair.
❓ FAQs
Can I fix a warped deck board without replacing it?
Sometimes. Mild distortion in sound wood may respond to controlled pressure and proper refastening. Severe cupping, twisting, or bowing usually calls for replacement.
Should I wet the board to straighten it?
Do not rely on soaking as a repair. The board may change shape again as it dries, and additional moisture does not correct weak fasteners or damaged supports.
Can I flip the board over?
Occasionally, but flipping does not remove the underlying distortion. The underside may also have damage, an unsuitable profile, or old holes that complicate fastening. Inspect the entire board before considering reuse.
Can I sand the raised edge flat?
Light sanding can remove small splinters after a successful repair. Removing enough material to flatten a significant warp can weaken or noticeably thin the board.
What if my deck has hidden fasteners?
Follow the decking and fastening system’s instructions. Do not add face screws unless that repair method is approved for the product.
👷 When to Call a Professional
Call a deck contractor if joists are soft, cracked, sagging, or pulling away from their connections.
Get help when multiple boards are affected, the repair requires unsafe access beneath an elevated deck, or you cannot establish a secure fastening point.
Keep people off an area that feels unstable until the underlying problem is corrected.