
Safety First
Wear safety glasses, gloves, and a dust mask when removing rotten wood or sanding. Fix the source of the moisture before making the repair, and replace the wood if the rot is extensive or structural.
Time
1-2 Hours
Difficulty
Easy-Moderate
Cost
$15-$40
🔧 Tools
- Putty knife
- Screwdriver or chisel
- Wire brush
- Sandpaper
📦 Materials
- Wood hardener
- Exterior wood filler or two-part epoxy
- Primer
- Matching paint
🔎 When Wood Rot Can Be Repaired
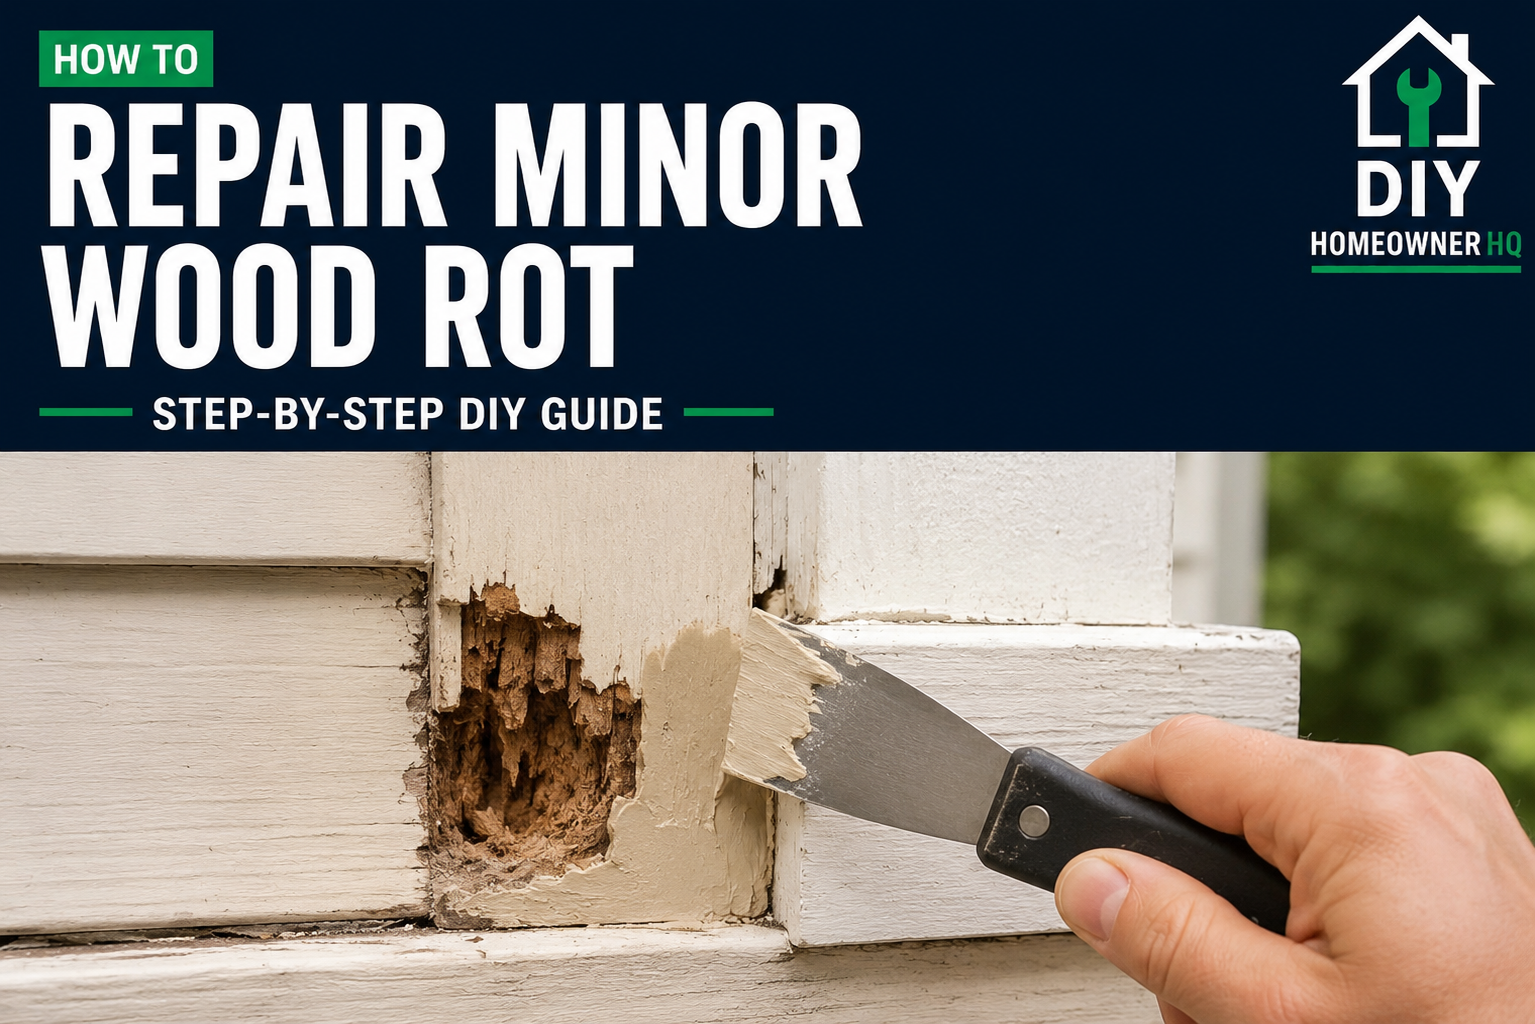
Minor rot can often be repaired when the damage is limited to a small area and the surrounding wood is still solid.
If the wood is deeply rotted, crumbling, or structural, replacement is usually the better option.
🛒 Before You Buy
Choose a wood repair product rated for the location. For exterior repairs, use a filler or epoxy designed to withstand moisture and temperature changes.
🧰 Before You Start
Find and correct the source of the moisture first. Leaks, failed caulk, or poor drainage will cause the rot to return if they aren’t addressed.
Let the area dry thoroughly before beginning the repair.
Step 1: Remove the Rotten Wood
Scrape or chisel away soft, crumbling wood until you reach solid material.
What You Should See: The remaining wood should feel firm when pressed with a screwdriver.
Step 2: Stabilize the Remaining Wood
If your repair system calls for wood hardener, brush it onto the remaining affected wood according to the manufacturer’s directions.
Allow it to soak in and cure for the recommended time before applying filler.
If you’re using a two-part wood-repair epoxy system, follow the manufacturer’s preparation and bonding instructions instead.
What You Should See: The remaining area should be dry, firm, and ready to accept the repair material.
💡 Pro Tip: Don’t use filler to simply cover soft wood. Remove as much loose material as possible first.
Step 3: Rebuild the Damaged Area
Press exterior wood filler or two-part epoxy into the damaged section.
Shape it slightly proud of the surrounding surface and allow it to cure completely.
If the damage is primarily a crack or split rather than decay, see how to repair cracked or split wood trim for the more appropriate repair method.
Step 4: Sand and Finish
Sand the repair until it blends with the surrounding wood.
Prime and paint the area to protect it from moisture.
What You Should See: A solid, smooth repair with no exposed damaged wood.
🚫 Common Mistakes to Avoid
- Repairing the wood without fixing the moisture source
- Filling over soft or crumbling wood
- Using interior filler outdoors
- Sanding before the repair has cured
- Trying to patch extensive structural rot
❓ Frequently Asked Questions
How do I know if wood rot is too severe to repair?
If a large section is soft, crumbling, or no longer structurally sound, replace the damaged wood instead.
Can I put wood filler directly over rot?
Not over loose or badly deteriorated wood. Remove the damaged material and stabilize the remaining wood first.
Will wood rot come back after repair?
It can if the moisture source isn’t corrected or the repaired area isn’t properly sealed.
👷 When to Call a Professional
Call a professional if the rot affects framing, structural supports, large sections of a window or door assembly, or continues deeper than expected.
🔗 Related DIY Guides
How to Repair Cracked or Split Wood Trim