
Safety First
Wear eye protection and a dust mask when scraping or sanding old window trim. Use a stable ladder when working above ground level, and never lean out of an open window to reach exterior trim. For homes built before 1978, test existing paint for lead before disturbing it.
Time
2-4 Hours
Difficulty
Easy to Moderate
Cost
$25-$75
🧰 Tools & Materials
Tools
- 1½- to 2-inch angled paintbrush
- Paint scraper or putty knife
- Sanding sponge or 180–220 grit sandpaper
- Vacuum or shop vac
- Clean rags
Materials
- Interior or exterior trim paint
- Primer, if needed
- Paintable caulk
- Wood filler, if needed
- Painter’s tape
- Drop cloth
🔎 Signs It’s Time to Paint Your Window Trim
- Paint is faded, chipped, or peeling
- The finish has become yellowed or dingy
- Bare wood is beginning to show
- Caulk around the trim is cracked or missing
- Freshly painted walls or siding make the old trim stand out
📝 Before You Buy
Choose paint based on where the window is located. Interior window trim can use a durable interior trim paint, while exterior trim needs paint specifically rated for exterior use.
Satin and semi-gloss finishes are popular because they’re durable and easy to clean.
If you have bare wood, stains, repairs, or a major color change, plan on using primer as well.
🛠️ Before You Start
Clean the window trim thoroughly and inspect it for peeling paint, damaged wood, failed caulk, and other problems. If the existing finish is lifting or flaking, follow our How to Fix Peeling Paint guide before applying a new coat.
Make sure the window still opens and closes properly. Avoid painting weatherstripping, tracks, locks, or other moving components.
Step 1: Scrape and Repair the Trim
Remove loose or peeling paint with a scraper or putty knife.
Fill small nail holes, dents, and minor surface damage with wood filler. Replace failed caulk around gaps where appropriate and allow repairs to dry.
What You Should See: The trim should be solid and free from loose paint or obvious surface damage.
If Yours Looks Different: Soft, crumbling, or badly deteriorated wood may indicate rot that should be repaired before painting. Small localized areas may be repairable using our How to Repair Minor Wood Rot guide, but extensively deteriorated trim should be replaced.
Step 2: Sand and Clean the Surface
Lightly sand the trim to smooth repaired areas, feather chipped paint edges, and dull glossy surfaces.
Vacuum away the dust and wipe the trim clean.
💡 Pro Tip: Run your fingertips over chipped areas after sanding. If you can still feel a sharp paint edge, it may remain visible after repainting.
Step 3: Tape and Prime
Apply painter’s tape along the glass, walls, siding, and other surfaces you want to protect.
Prime bare wood, repaired areas, stains, and other surfaces that require it. Allow the primer to dry completely.
What You Should See: The surface should look smooth and properly sealed without loose edges or exposed repairs.
Step 4: Paint the Detailed Areas
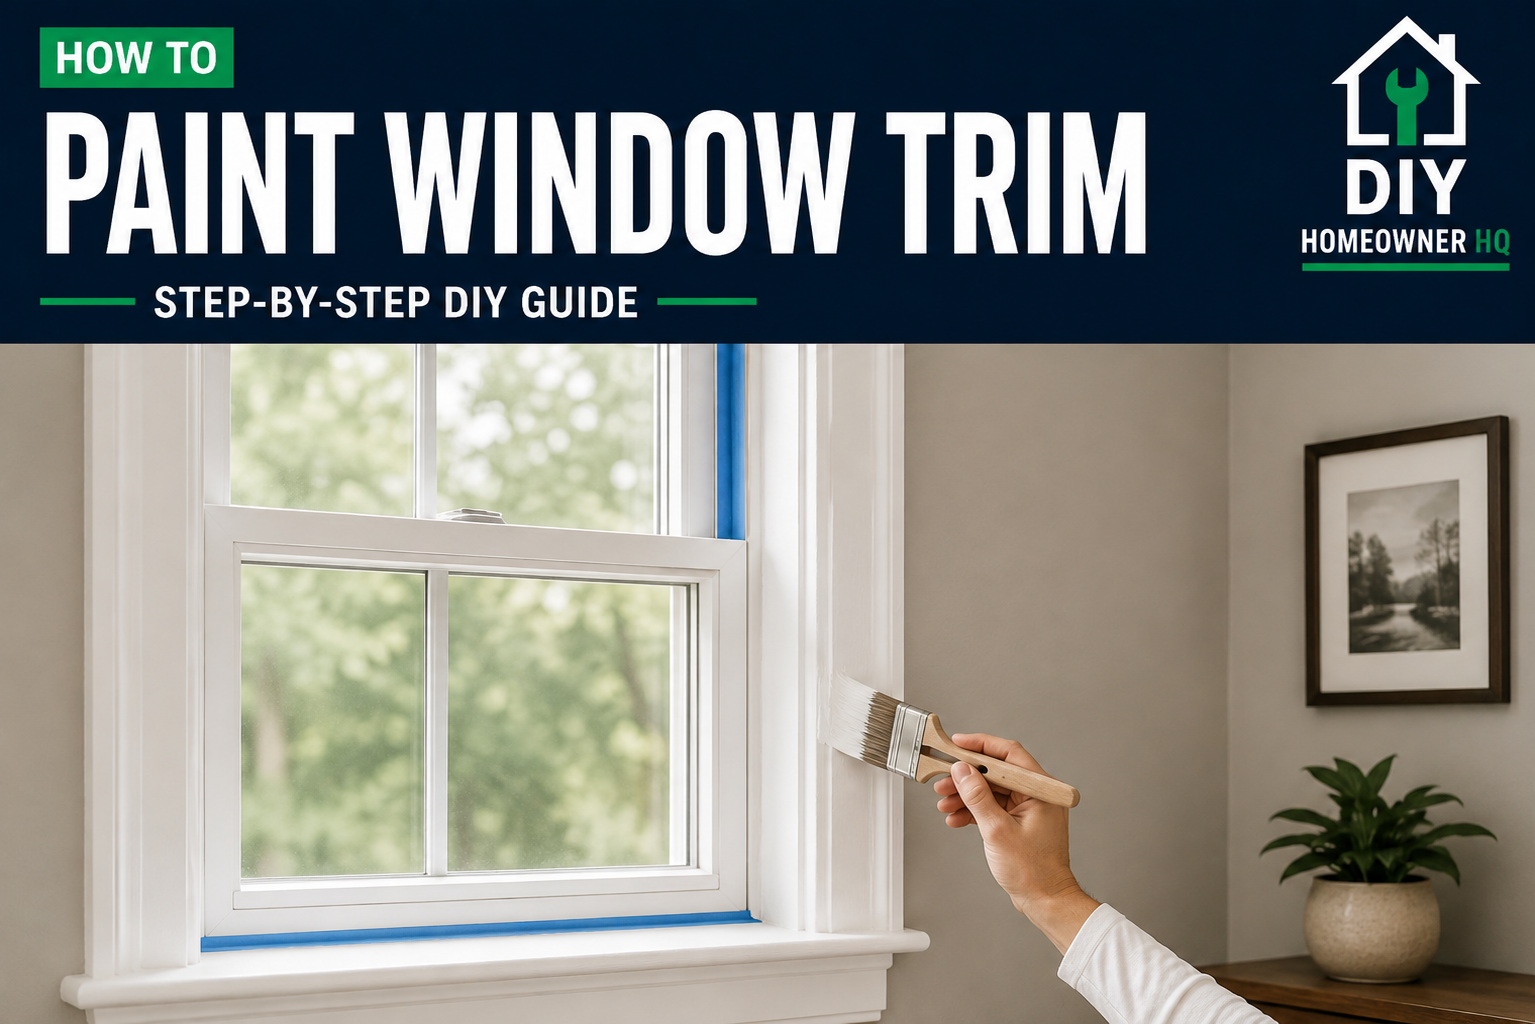
Use an angled brush to paint corners, narrow edges, molding profiles, and areas close to the glass.
Apply thin coats and watch corners carefully for excess paint.
💡 Pro Tip: Don’t overload your brush. Window trim has plenty of corners where extra paint can collect and create drips.
Step 5: Paint the Main Trim
Paint the larger sections using long, smooth brush strokes that follow the length of the trim.
Work around the window in manageable sections and maintain a wet edge whenever possible.
What You Should See: The first coat should be smooth and even without heavy brush marks, runs, or missed areas.
If Yours Looks Different: If paint begins sagging or pooling in corners, lightly smooth it out before it becomes tacky. If a run dries before you catch it, use our How to Fix Paint Drips and Runs guide to smooth and repaint the area.
Step 6: Apply the Second Coat
Allow the first coat to dry for the manufacturer’s recommended recoat time.
Lightly sand any noticeable imperfections if needed, remove the dust, and apply a second thin coat.
Step 7: Remove the Tape and Check the Window
Carefully remove the painter’s tape and inspect the edges for any touch-ups.
Make sure painted surfaces are sufficiently dry before closing the window. Fresh paint can stick to adjacent surfaces and damage the new finish when the window is reopened.
⚠️ Common Mistakes to Avoid
- Painting over dirty or dusty trim
- Painting over loose or peeling paint
- Skipping repairs to damaged caulk
- Using interior paint on exterior window trim
- Applying paint too heavily
- Painting weatherstripping or moving window parts
- Closing the window before the paint has dried enough
❓ Frequently Asked Questions
What kind of paint should I use on window trim?
Use a durable trim paint appropriate for the location. Exterior window trim requires an exterior-rated product.
Do I need to sand window trim before painting?
Light sanding is recommended when the existing finish is glossy, rough, chipped, or has noticeable imperfections.
Do I need to prime previously painted window trim?
Not always. Primer is most important over bare wood, repairs, stains, and surfaces where adhesion may be a concern.
Should I use a brush or roller?
An angled brush works well for most window trim because it provides better control around narrow edges, corners, and glass.
How many coats does window trim need?
Two thin finish coats typically provide good coverage and durability.
☎️ When to Call a Professional
Consider professional help if you discover significant wood rot, widespread peeling, water damage around the window, suspected lead-based paint, or exterior trim that requires working at an unsafe height.