
Safety First
Keep the room well ventilated while painting, and wear eye protection when sanding or scraping old trim. If the home was built before 1978, test existing paint for lead before disturbing it.
Time
2-4 Hours
Difficulty
Easy
Cost
$30-$75
🧰 Tools & Materials
Tools
- 2-inch angled paintbrush
- Putty knife
- Sanding sponge or 180–220 grit sandpaper
- Vacuum or shop vac
- Clean rags
- Drop cloth
Materials
- Trim paint
- Primer, if needed
- Painter’s tape
- Paintable caulk
- Wood filler or spackle
🔎 Signs It’s Time to Paint Your Trim
- Paint is chipped, scratched, or peeling
- Trim has become yellowed or dingy
- The finish is worn or difficult to clean
- Previous paint has noticeable brush marks
- Freshly painted walls make the old trim stand out
📝 Before You Buy
Choose a durable interior paint designed for trim, doors, and molding. Satin and semi-gloss are both good choices because they’re durable and easier to wipe clean than flat paint.
You may also need primer if you’re painting bare wood, covering stains, making a major color change, or painting over a slick oil-based finish.
🛠️ Before You Start
Move furniture away from the work area and protect the floor with a drop cloth. Clean dirt, dust, and grime from the trim before sanding.
If you’re painting the room as well as the trim, completing the walls first usually makes it easier to get a clean finished edge on the trim.
Step 1: Fill Holes and Repair Damage
Fill nail holes, dents, and small imperfections with wood filler or spackle. For larger or more noticeable holes, follow our How to Repair and Paint Nail Holes guide. Allow the filler to dry, then sand the repaired areas until they’re smooth and flush with the surrounding trim.
What You Should See: The surface should look and feel smooth without noticeable dips or raised filler.
If Yours Looks Different: Cracked, loose, or badly damaged trim may need to be repaired before painting.
Step 2: Sand and Clean the Trim
Lightly sand the trim to smooth rough spots and dull the existing finish. You don’t need to remove all the old paint—just create a smooth surface the new paint can bond to.
Vacuum away the sanding dust and wipe the trim clean.
💡 Pro Tip: Pay extra attention to drips and heavy brush marks from previous paint jobs. They’ll still be visible underneath fresh paint if you don’t smooth them first. If you’re dealing with noticeable paint buildup or runs, see How to Fix Paint Drips and Runs before applying the new coat.
Step 3: Caulk the Gaps
Apply a thin bead of paintable caulk along small gaps where the trim meets the wall or where pieces of molding join together. If you’re dealing with larger or more noticeable separation along baseboards, follow our How to Fix Gaps in Baseboards guide. Smooth the caulk and allow it to dry as directed.
What You Should See: The trim should have clean, continuous joints without obvious dark gaps.
Step 4: Tape and Prime
Apply painter’s tape along flooring and other surfaces you want to protect. Press the edge of the tape firmly against the surface.
Prime any bare wood, repairs, stains, or other areas that need it and allow the primer to dry completely.
💡 Pro Tip: If the existing trim is smooth, clean, and already painted with a compatible coating, you may not need to prime the entire surface.
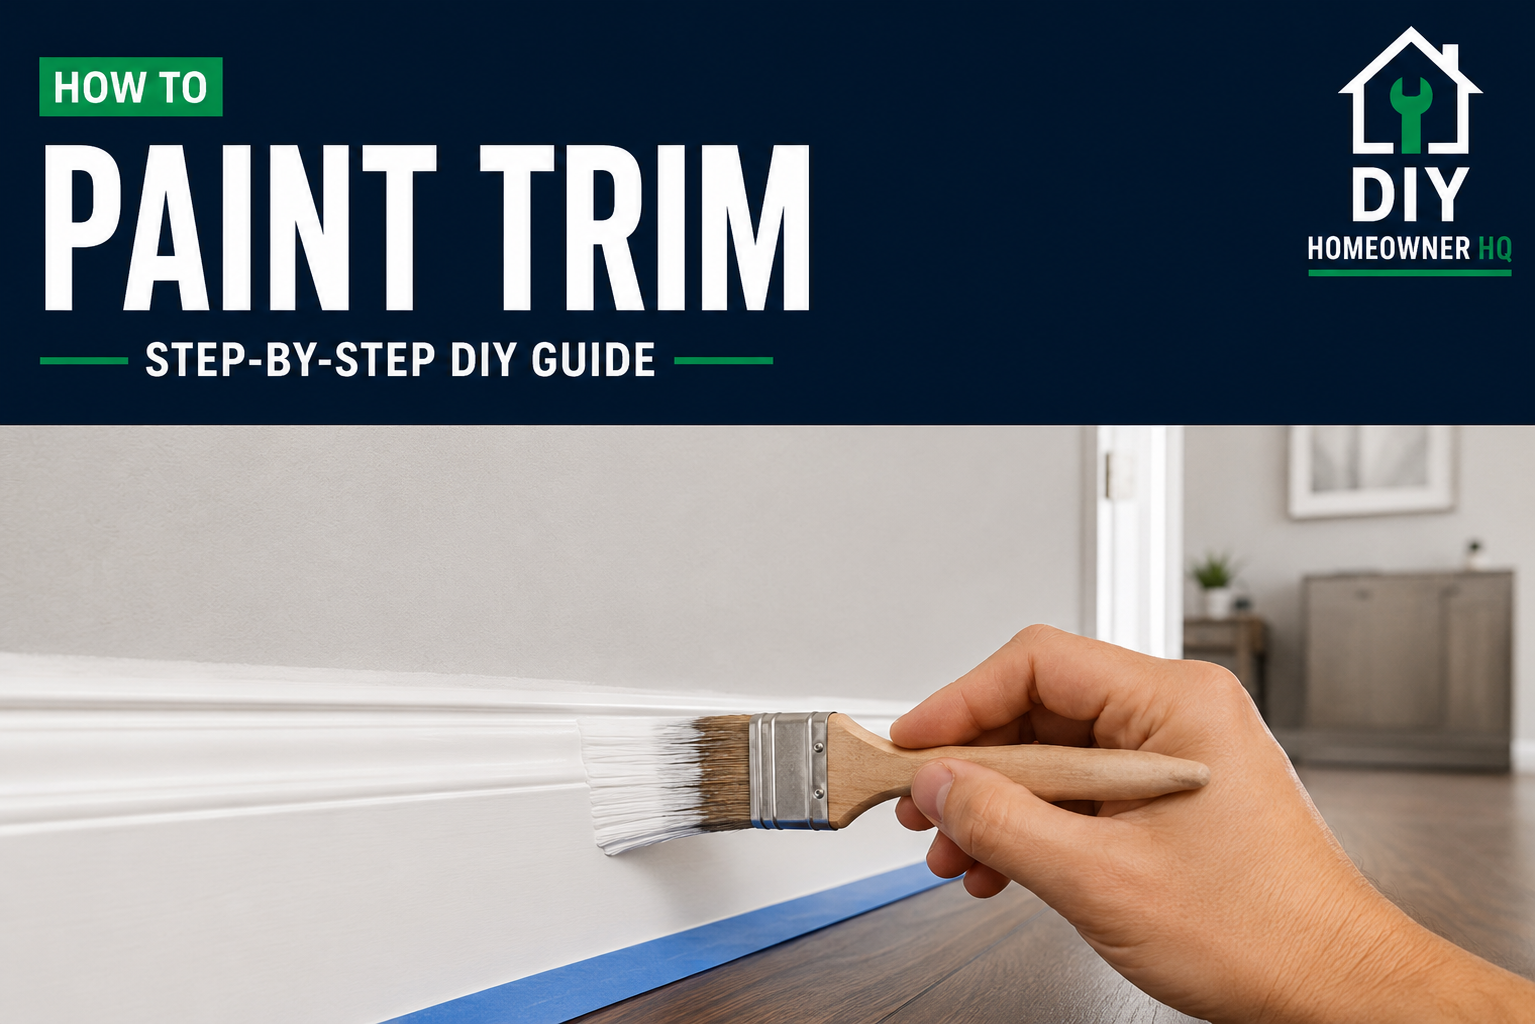
Step 5: Paint the Trim
Load only the lower portion of your angled brush with paint and remove excess paint against the inside of the container.
Work in manageable sections, brushing the paint along the length of the trim. Use long, light finishing strokes to smooth the surface and minimize brush marks.
What You Should See: The paint should form a thin, even coat without heavy ridges, runs, or drips.
If Yours Looks Different: If the paint is sagging or leaving heavy brush marks, you may have too much paint on the brush.
Step 6: Apply a Second Coat
Allow the first coat to dry according to the paint manufacturer’s instructions. Lightly sand obvious imperfections if necessary, remove the dust, and apply a second thin coat.
Most trim looks noticeably smoother and more uniform after the second coat.
Step 7: Remove the Tape
Remove the painter’s tape according to the tape manufacturer’s recommendations, generally while the final coat is still slightly wet or shortly after painting. Pull it slowly back over itself at an angle.
If paint has started bridging across the edge of the tape, lightly score the edge with a utility knife before removing it.
What You Should See: You should have a crisp transition between the freshly painted trim and the surrounding surfaces.
⚠️ Common Mistakes to Avoid
- Painting over dirty or dusty trim
- Skipping sanding on a slick glossy finish
- Applying paint too heavily
- Using wall paint instead of a more durable trim paint
- Painting over gaps instead of caulking them
- Overworking paint after it has started drying
- Leaving painter’s tape in place until the paint fully hardens
❓ Frequently Asked Questions
What type of paint is best for trim?
Satin or semi-gloss interior paint is commonly used because it provides a durable, washable finish.
Do I need to sand trim before painting?
Light sanding is recommended, especially if the existing finish is glossy, rough, or has noticeable imperfections.
Do I need to prime previously painted trim?
Not always. Primer is most useful over bare wood, repairs, stains, major color changes, or surfaces where paint adhesion may be questionable.
How many coats of paint does trim need?
Two thin coats usually provide the best appearance and durability.
Should I use a brush or roller on trim?
An angled brush works well for most baseboards, door casing, and detailed molding. A small smooth-finish roller can help on wider, flat sections.
☎️ When to Call a Professional
Painting trim is a manageable DIY project for most homeowners. Consider professional help if you discover significant wood rot, extensive peeling paint, possible lead-based paint, or damaged trim that requires substantial repair before it can be painted.