
Safety First
Wear eye protection when sanding or scraping dried paint. Keep the area ventilated, and if you’re working on paint in a home built before 1978, test for lead before sanding.
Time
30-60 Minutes
Difficulty
Easy
Cost
$10-$30
🧰 Tools & Materials
Tools
- Putty knife or paint scraper
- Fine-grit sanding sponge or 180–220 grit sandpaper
- Clean rag
- Small paintbrush or roller
- Utility knife, if needed
Materials
- Matching paint
- Painter’s tape
- Drop cloth
- Primer, if needed
🔎 Signs You Have Paint Drips or Runs
- Raised streaks running down the painted surface
- Thick beads or bumps of dried paint
- Sagging paint below freshly painted areas
- Uneven spots that catch the light
- Hardened drips along trim, doors, or walls
📝 Before You Buy
If you still have the original paint, use it for the repair. Matching both the color and sheen is important—especially with satin, semi-gloss, and gloss finishes.
For small repairs, you usually won’t need much paint.
🛠️ Before You Start
Determine whether the paint is still wet or has already dried.
Wet drips can often be brushed or rolled out immediately. Once the paint has become tacky, stop working it and allow it to dry and harden completely before scraping or sanding it smooth.
Step 1: Fix Wet Paint Drips Immediately
If you catch the drip while the paint is still wet, lightly brush or roll over it to spread the excess paint into the surrounding area.
Avoid repeatedly working the same spot as the paint begins to dry.
What You Should See: The heavy ridge should disappear and blend into the surrounding wet paint.
If Yours Looks Different: If the paint has already become tacky or starts pulling when you touch it, stop and let it dry before repairing it.
Step 2: Remove the Raised Part of a Dried Drip
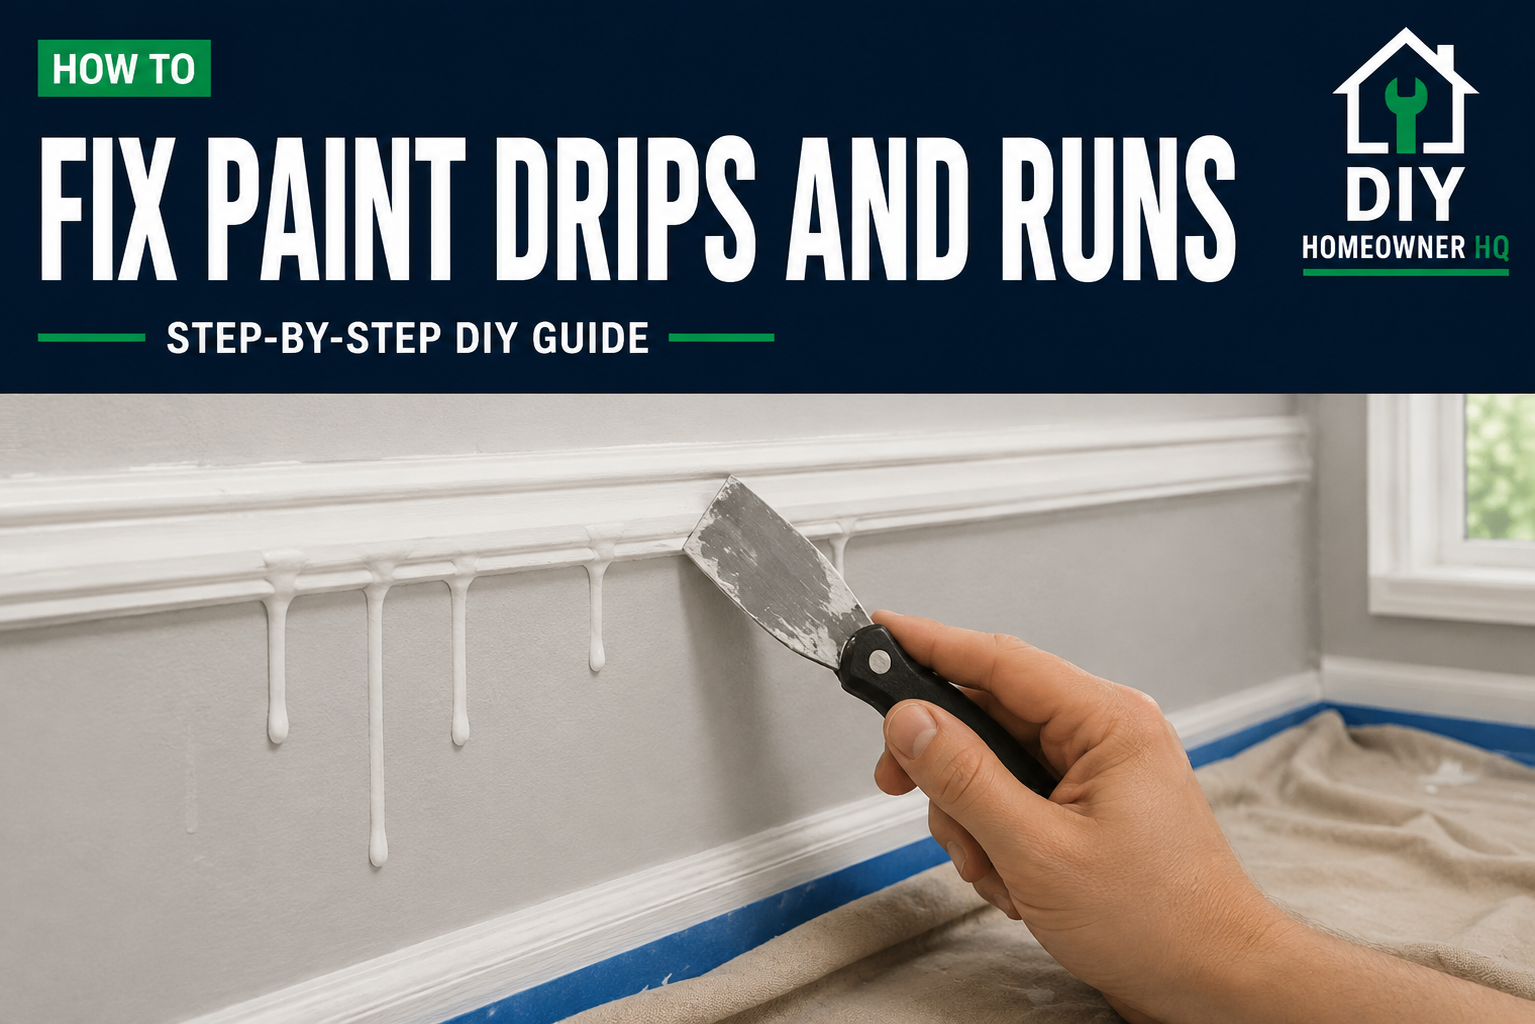
For dried paint, carefully scrape the highest part of the drip with a putty knife or paint scraper.
Keep the tool nearly flat against the surface and remove only the raised paint.
💡 Pro Tip: Don’t try to remove the entire drip in one pass. Taking off a little at a time reduces the chance of gouging the surface underneath.
Step 3: Sand the Area Smooth
Lightly sand the remaining paint ridge with fine-grit sandpaper or a sanding sponge. Feather the edges into the surrounding paint until you can no longer feel the drip when you run your hand across it.
Wipe away all sanding dust and make sure the area is clean and smooth, just as you would when prepping walls for painting.
What You Should See: The repaired area should feel smooth and level with the surrounding surface.
If Yours Looks Different: If sanding exposes bare drywall or wood, apply a small amount of primer before repainting.
Step 4: Repaint the Repair
Apply a thin coat of matching paint over the repair using the same technique you would use to paint over a previously painted surface. Feather the new paint slightly beyond the sanded section so it blends into the existing finish.
Allow it to dry completely and apply another thin coat if needed.
💡 Pro Tip: Avoid loading your brush or roller with too much paint. Several thin coats are much less likely to create new drips than one heavy coat.
⚠️ Common Mistakes to Avoid
- Sanding paint before it has fully dried
- Scraping too aggressively and damaging the surface
- Applying another heavy coat over the drip
- Repainting without removing sanding dust
- Using paint with a different sheen
- Continuing to brush paint after it becomes tacky
❓ Frequently Asked Questions
Can you fix paint drips without repainting the whole wall?
Yes. Most small drips can be scraped, sanded smooth, and touched up without repainting the entire surface.
Should I sand or scrape paint drips?
For larger hardened drips, carefully scrape away the highest portion first and then sand the remaining ridge smooth.
How long should paint dry before sanding out a drip?
Wait until the paint is fully dry and firm enough to sand without becoming gummy. Check the paint manufacturer’s drying and recoating instructions.
Why does my paint keep running?
Paint runs usually happen when too much paint is applied at once. Overloading a brush or roller and applying overly heavy coats are common causes.
Will a second coat hide paint drips?
Usually not. A second coat can actually make the raised area more noticeable. Smooth the drip first and then repaint it.
☎️ When to Call a Professional
Most paint drips and runs are easy DIY repairs. Professional help may make sense if you’re dealing with widespread paint failure, extensive areas that require you to fix peeling paint, damaged drywall or wood beneath the coating, or suspected lead-based paint.