
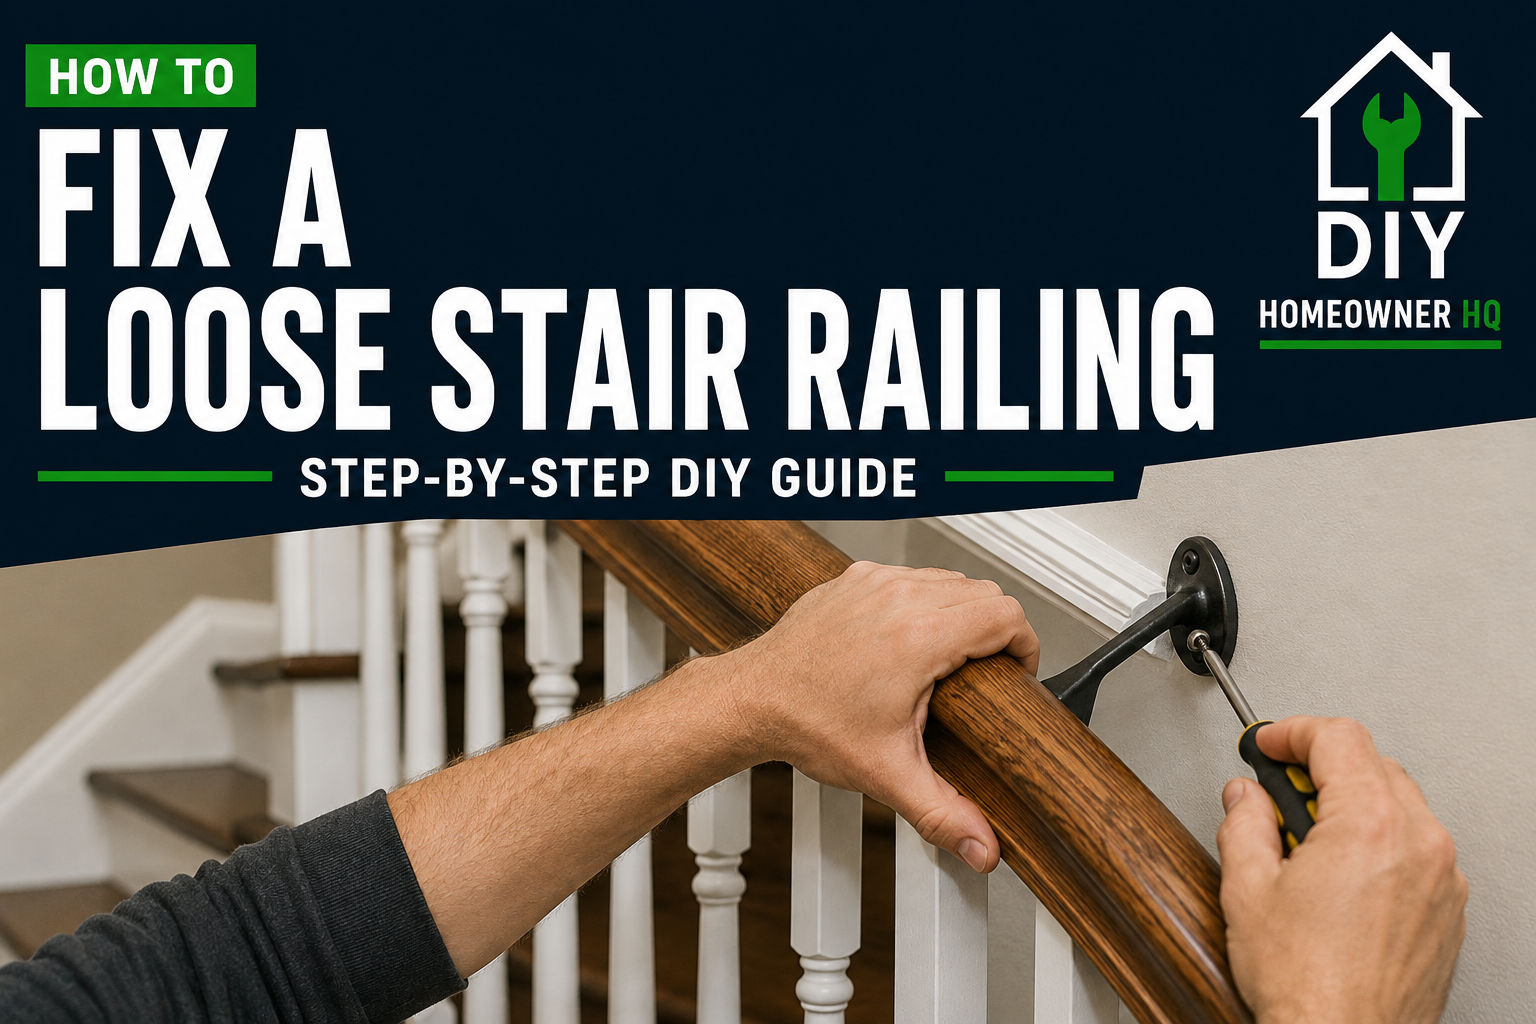
Safety First
A loose stair railing is a fall hazard, so avoid relying on it until the repair is complete. Keep children away from the work area and don’t leave tools or hardware on the stairs where someone could trip.
Before driving longer screws into a wall, newel post, or stair framing, make sure you know what you’re fastening into. Electrical wiring and plumbing can sometimes run behind walls near stairways.
If the railing, newel post, balusters, or surrounding wood is cracked, rotten, or significantly damaged, don’t simply tighten the hardware. If you find localized decay, determine whether it’s minor wood rot that can be repaired or damage severe enough to require replacement.
Time
30 Minutes-2 Hours
Difficulty
Easy-Moderate
Cost
$10-$50
🧰 Tools & Materials
Tools
- Drill/driver
- Screwdriver
- Drill bits
- Stud finder
- Tape measure
- Level
- Adjustable wrench or socket set, depending on the railing hardware
- Flashlight
- Utility knife
- Eye protection
Materials
Depending on what is loose, you may need:
- Replacement wood screws
- Longer or larger-diameter screws
- Wood glue
- Wood filler
- Toothpicks or small wood splinters for repairing a stripped screw hole
- Replacement railing bracket, if the existing one is damaged
You probably won’t need everything on this list. Identify exactly which part of the railing is moving before buying hardware.
Signs It’s Time to Fix a Loose Stair Railing
A stair railing should feel solid when you grab it during normal use.
Common signs something needs attention include:
- The handrail moves toward or away from the wall.
- A wall-mounted bracket wiggles.
- The railing shifts when you put weight on it.
- A newel post moves at the top or bottom of the stairs.
- You hear creaking or clicking when using the railing.
- Screws repeatedly work themselves loose.
- There’s a visible gap where a bracket meets the wall or railing.
- The handrail moves even though the brackets appear tight.
A tiny amount of flex in a long railing can be normal. Noticeable movement at a connection point isn’t something to ignore.
Before You Start
First determine what is actually loose.
Grab the railing and gently move it side to side while watching each connection point.
Look closely at:
- Wall brackets
- Screws attaching brackets to the wall
- Screws attaching brackets to the handrail
- Newel posts
- Handrail-to-post connections
- Balusters
- Any visible mounting hardware
Don’t assume the first loose screw you see is the entire problem.
For a wall-mounted handrail, the brackets should ideally be securely fastened into wall framing or another suitable structural mounting point, not simply held by weak fasteners in drywall.
If a screw keeps spinning without tightening, the hole may be stripped or the screw may not be properly anchored.
For railings supported by newel posts and balusters, the repair can be different. A loose newel post may require access to concealed fasteners or the stair framing below it.
Step 1: Find Exactly Where the Railing Is Moving
Hold the railing firmly and gently push and pull it.
Watch one connection at a time.
If possible, have another person move the railing while you inspect the brackets and posts.
Look for movement between:
- The bracket and wall
- The bracket and handrail
- The handrail and newel post
- The newel post and floor or stair
- Individual balusters and the railing
What You Should See: A loose railing usually has one or more specific connection points that move noticeably more than the rest.
If Yours Looks Different: If the entire railing assembly moves together, the problem may be at a newel post or another structural mounting point rather than an individual bracket.
💡 Pro Tip: Put a small piece of painter’s tape beside every connection that moves. This makes it much easier to work through several loose points without losing track of them.
Step 2: Tighten the Existing Hardware
Start with the simplest repair.
Use the appropriate screwdriver, drill/driver, wrench, or socket to tighten any accessible screws or bolts.
Work gradually.
Don’t immediately drive every fastener as tight as possible. Tighten one connection and test the railing again.
Be especially careful with screws going into finished wood. Overtightening can strip the hole, crack the wood, or pull the screw head too deeply into the surface.
What You Should See: The bracket or connection should pull snugly against the mounting surface without shifting.
If Yours Looks Different: If the screw turns but never becomes tight, stop. The hole may be stripped or the fastener may not be reaching solid material.
Step 3: Repair a Stripped Screw Hole in Wood
If a screw attaching a bracket to the wooden handrail spins without tightening, remove it.
Inspect the hole.
For a minor stripped hole, apply wood glue to a few wooden toothpicks or small wood splinters and push them into the hole.
Let the glue dry according to the manufacturer’s directions.
Trim the excess wood flush with the surface.
Drill a small pilot hole if necessary, then reinstall the screw.
The added wood gives the threads fresh material to grip.
What You Should See: The screw should tighten firmly instead of continuing to spin.
If Yours Looks Different: If the surrounding wood is cracked or split, soft, or badly damaged, don’t rely on toothpicks to make a structural repair. The damaged wood may require a more substantial repair or replacement.
Step 4: Fix a Loose Wall Bracket
If the handrail bracket moves against the wall, remove or loosen the bracket enough to inspect its mounting screws.
A bracket attached securely to framing should feel solid.
Use a stud finder and other available clues to determine whether the bracket is positioned over a wall stud or suitable blocking.
If an existing screw is too short to reach solid framing, replace it with an appropriately sized structural wood screw that can securely engage the framing.
Do not simply install an extremely long screw. Choose the fastener based on the wall construction and what’s behind it.
Tighten the bracket until it sits firmly against the wall.
What You Should See: The bracket should remain stationary when you push and pull on the handrail.
If Yours Looks Different: If the bracket is located where there isn’t framing behind the wall, don’t assume a basic plastic drywall anchor is adequate for a stair handrail. The mounting point may need appropriate blocking or another railing-rated fastening solution.
Step 5: Check the Bracket-to-Handrail Connection
Once the wall side is secure, inspect where each bracket attaches underneath the wooden handrail.
These smaller screws can loosen over time.
Tighten any loose screws carefully.
If a screw hole is stripped, repair the hole before reinstalling the screw rather than repeatedly tightening a screw that no longer grips.
Check the bracket itself for cracks, bending, or damage.
Replace a damaged bracket rather than trying to bend it back into shape.
What You Should See: The handrail should sit firmly against each bracket without lifting or sliding when pressure is applied.
💡 Pro Tip: Check every bracket even if only one appears loose. Once one connection starts moving, the extra stress can gradually loosen neighboring brackets.
Step 6: Check a Loose Newel Post
If your railing is supported by posts instead of wall brackets, grab the newel post near the top and gently move it.
Watch the base closely.
A newel post can be secured in several different ways depending on how the staircase was built.
Some have:
- Visible bolts
- Screws hidden beneath trim
- Fasteners underneath the stairs
- Concealed mounting hardware
- Connections built directly into the stair framing
Tighten any accessible mounting hardware if you’re confident you’ve identified how the post is attached.
Don’t start driving screws through the side of the post simply because it moves. A random screw may not reach useful framing and can leave visible damage.
What You Should See: A properly secured newel post should feel solid during normal handrail use.
If Yours Looks Different: If you can’t determine how the post is attached, look for removable trim around the base or access from underneath the staircase. Some mounting systems are completely concealed.
Step 7: Check the Handrail-to-Post Connections
If the newel posts are solid but the handrail still moves, inspect where the handrail connects to them.
Look for:
- Loose screws
- Loose bolts
- Gaps at the joint
- Cracked wood
- Movement between the two pieces
Tighten accessible hardware carefully.
If the joint has separated slightly, don’t simply fill the visible gap with wood filler. Wood filler is cosmetic and won’t restore a loose structural connection.
The pieces need to be securely fastened together first.
What You Should See: The handrail and post should move as one solid assembly without noticeable movement at the joint.
Step 8: Inspect the Balusters
Check the vertical balusters underneath the railing.
Gently move each one by hand.
A slightly loose baluster may create noise or movement that feels like it’s coming from the handrail.
Look at both the top and bottom connection.
Depending on the staircase, a loose wooden baluster may sometimes be secured with wood glue, a carefully placed fastener, or another repair appropriate for its mounting style.
Don’t use a repair that leaves a sharp fastener exposed.
What You Should See: The balusters should remain securely positioned and shouldn’t rattle or noticeably shift during normal use.
If Yours Looks Different: Metal balusters and newer railing systems may use hidden shoes, set screws, or manufacturer-specific hardware. Check the connection before applying glue or drilling holes.
Step 9: Test the Entire Railing
Once the repairs are complete, remove your tools and hardware from the stairs.
Grab the railing at several locations and apply firm, controlled pressure in different directions.
Walk up and down the stairs while using the railing normally.
Check:
- Every wall bracket
- Both ends of the handrail
- Newel posts
- Handrail connections
- Balusters
- Any areas you repaired
Listen for new creaks or clicks and watch for movement.
What You Should See: The railing should feel solid and dependable throughout its entire length without noticeable movement at the repaired connections.
If something still moves, find the exact connection causing it before adding more screws or hardware.
🛑 Common Mistakes to Avoid
- Tightening random screws without identifying where the movement originates
- Overtightening screws and stripping the wood
- Using basic drywall anchors for a railing that needs a structural connection
- Installing excessively long screws without considering what’s inside the wall
- Filling a loose structural joint with wood filler
- Driving visible screws through a newel post without understanding how it’s mounted
- Ignoring cracked or rotten wood
- Reusing a bent or cracked railing bracket
- Repairing one bracket without checking the rest of the railing
- Leaving tools or loose hardware on the stairs while working
Troubleshooting
Problem: The screw keeps spinning.
The screw hole may be stripped, or the screw may not be reaching solid material. Remove it and determine what it’s supposed to be fastening into before replacing it.
Problem: The bracket is tight, but the railing still moves.
Check the screws connecting the bracket to the handrail. If those are secure, inspect neighboring brackets and the connections at each end of the railing.
Problem: The screw pulled out of the drywall.
Don’t simply reinstall it into the same damaged hole. A stair handrail needs a secure mounting point capable of handling the forces placed on it during use.
Problem: The newel post moves at the base.
The concealed mounting hardware may be loose. Determine how the post is attached before attempting a repair.
Problem: The railing still creaks after everything is tight.
The noise may come from a baluster or wood joint rather than a loose structural connection. Have someone move the railing while you listen closely to different areas.
Problem: The wood around the fastener is cracked.
Stop tightening the screw. Additional pressure may make the crack worse. The damaged component should be evaluated and properly repaired before the railing is relied upon.
❓ FAQs
Why does my stair railing keep coming loose?
Repeated pulling and pushing on the railing can gradually loosen screws and connections. Stripped screw holes, weak mounting points, damaged hardware, and normal movement in wood can also contribute.
Can I use drywall anchors for a stair railing?
A handrail needs to withstand significant force during normal use and especially if someone grabs it during a fall. Wall-mounted railing brackets should be attached using a fastening method appropriate for the railing and wall construction, typically involving solid framing or suitable blocking.
Can I use longer screws to fix a loose railing?
Sometimes, but only when a longer screw is needed to properly reach solid framing. Don’t install a longer screw without considering electrical wiring, plumbing, and other components that may be inside the wall.
How do I fix a stripped screw hole in a wooden handrail?
For minor damage, wood glue and wooden toothpicks or splinters can provide fresh material for the screw to grip. More severe damage may require a different repair.
Should a stair railing move at all?
A long wooden handrail may have a tiny amount of natural flex, but its mounting brackets, posts, and structural connections should feel solid during normal use.
Can wood glue fix a loose stair railing?
Wood glue can help with certain wood-to-wood joints, but it isn’t a substitute for missing or inadequate structural fasteners. Determine why the railing is loose before choosing the repair.
📞 When to Call a Professional
Consider calling a carpenter, stair contractor, or qualified general contractor if:
- The newel post remains loose and you can’t access or identify its mounting system.
- The railing or post is cracked.
- The surrounding wood is rotten or significantly damaged.
- Multiple structural connections are loose.
- The stair framing itself appears to move.
- Proper wall framing isn’t available where the handrail needs to mount.
- The railing has pulled completely away from the wall.
- You’re unsure whether the repaired railing is strong enough to safely support someone.
A stair railing is a safety feature. If you can’t get it solidly and reliably secured, have the mounting system inspected rather than relying on a questionable repair.