
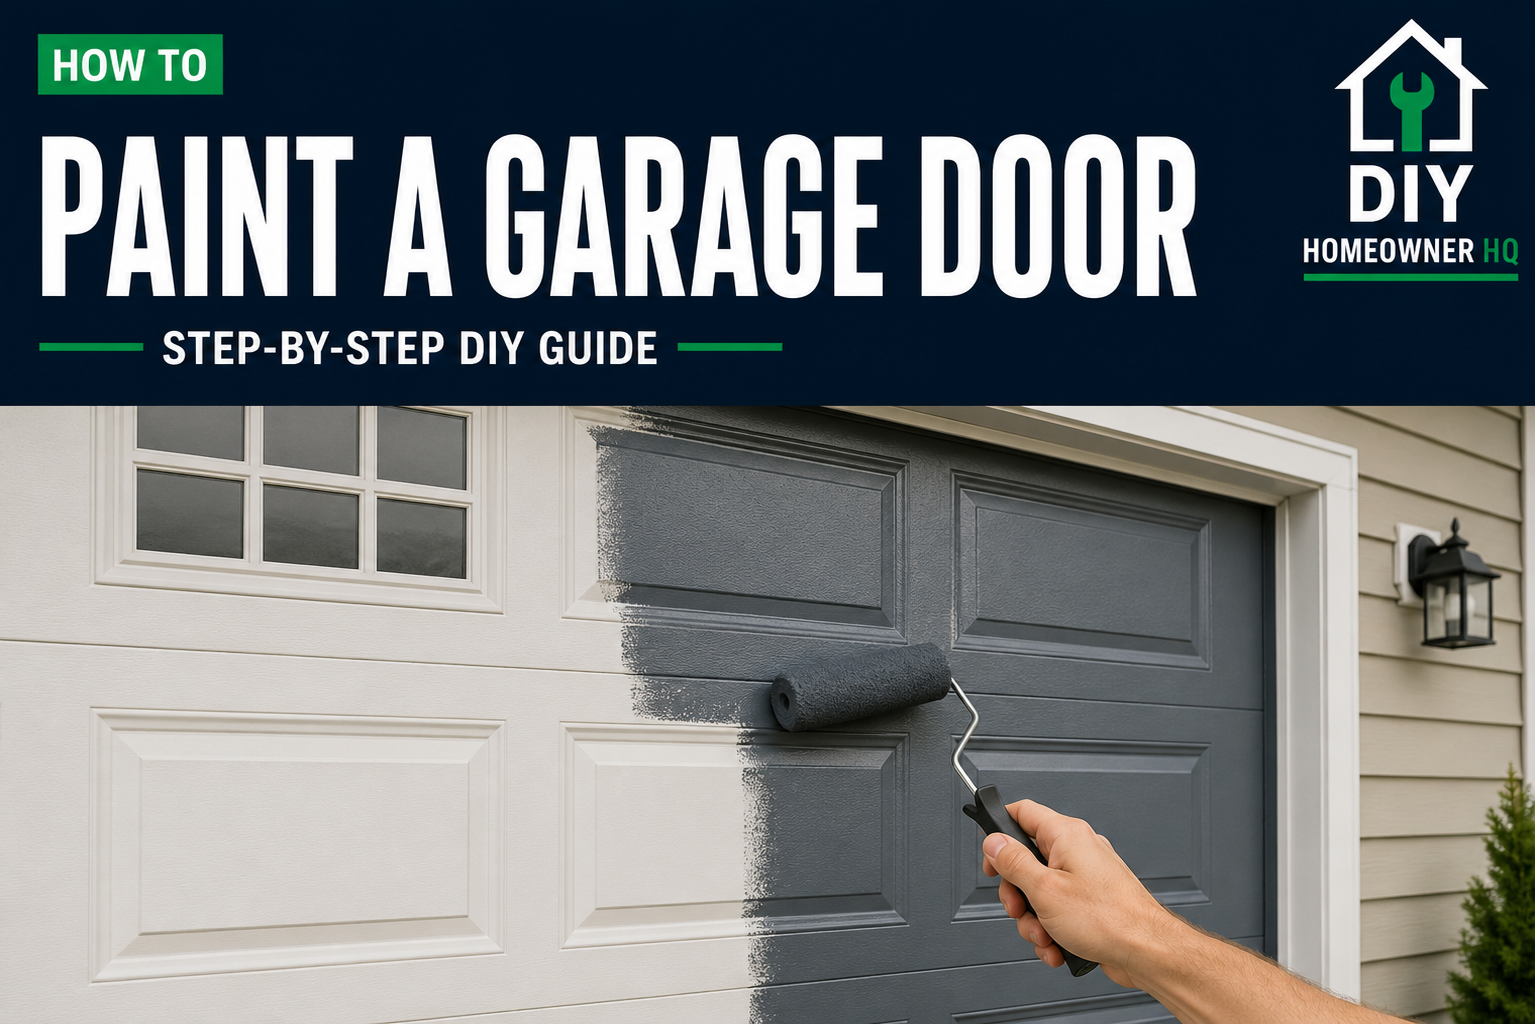
Safety First
Disconnect the automatic garage door opener before painting and keep the door secured against movement while you work. Never loosen hinges, brackets, cables, springs, or other hardware under tension. Wear eye protection when scraping or sanding, maintain good ventilation, and avoid painting rollers, tracks, weatherstripping, and other moving parts.
Time
4-6 Hours
Difficulty
Easy-Moderate
Cost
$40-$100
🧰 Tools & Materials
Tools
- Garden hose or bucket and sponge
- Paint scraper
- Sanding sponge or 120–220 grit sandpaper
- 2-inch angled paintbrush
- Paint roller and tray
- Clean rags
Materials
- Exterior paint suitable for the garage door material
- Exterior primer, if needed
- Painter’s tape
- Drop cloth or plastic sheeting
- Mild detergent
🔎 Signs It’s Time to Paint Your Garage Door
- Paint is faded or chalky
- The finish is peeling, cracking, or flaking
- Bare metal or wood is beginning to show
- The door has noticeable stains or discoloration
- You want to update the exterior color of your home
📝 Before You Buy
Check what your garage door is made from before choosing paint. Steel, aluminum, wood, and vinyl doors can require different preparation and products.
If the door is vinyl or has vinyl components, check the manufacturer’s painting instructions before choosing a color. A color that is significantly darker than the original finish may absorb excessive heat and cause warping.
Choose a quality exterior paint that is compatible with the door material and existing finish. Primer may be necessary over bare metal, bare wood, repairs, rust-treated areas, or when making a major color change.
🛠️ Before You Start
Choose a mild, dry day that falls within the paint manufacturer’s recommended temperature range, with no rain in the forecast. Avoid working in direct hot sunlight because the paint can dry too quickly and leave visible marks. The same weather considerations apply when painting exterior siding.
Wash the door thoroughly and allow it to dry. Disconnect the automatic opener so the door cannot accidentally operate while you’re working.
Step 1: Clean and Inspect the Door
Wash away dirt, pollen, cobwebs, grease, and other buildup using mild detergent and water. Rinse thoroughly and let the door dry.
Inspect the surface for peeling paint, rust, dents, cracks, or other damage.
What You Should See: The door should be clean, dry, and free of anything that could interfere with paint adhesion.
If Yours Looks Different: Rust, peeling paint, or damaged wood should be repaired before you begin painting.
Step 2: Scrape and Sand the Surface
Scrape away loose or flaking paint. If the existing coating is failing across larger areas, follow the preparation process in How to Fix Peeling Paint before applying a new finish. Lightly sand rough areas and glossy surfaces to improve adhesion.
Feather the edges of chipped areas so you can’t feel a sharp transition between the old paint and exposed surface.
Remove all sanding dust when finished.
💡 Pro Tip: You usually don’t need to sand off every bit of existing paint. Focus on removing loose material and dulling slick surfaces.
Step 3: Tape and Prime
Protect handles, windows, trim, weatherstripping, and other areas you don’t want painted.
Apply the appropriate primer to bare or repaired areas. If the existing finish requires a full primer coat, cover the entire door and allow it to dry as directed.
What You Should See: The surface should look uniform without loose paint or exposed problem areas.
Step 4: Paint the Recessed Areas
Use an angled brush to paint around windows, panel edges, grooves, and other areas that a roller can’t reach easily.
Work in manageable sections so you can blend the brushed areas into the rolled paint while everything is still wet.
Step 5: Roll the Larger Sections
Use a roller to apply a thin, even coat across the larger flat sections of the door.
Work from one section to the next, maintaining a wet edge to reduce lap marks.
💡 Pro Tip: Two thin coats usually look better and hold up longer than one heavy coat.
What You Should See: The paint should have even coverage without heavy roller lines, drips, or runs.
If Yours Looks Different: If the paint begins sagging, lightly smooth it before it becomes tacky. You may be applying too much paint. Once a run has dried, use the repair process in How to Fix Paint Drips and Runs.
Step 6: Apply the Second Coat
Allow the first coat to dry for the manufacturer’s recommended recoat time.
Inspect the surface for drips or rough spots and lightly sand them smooth if necessary. Remove the dust and apply a second thin coat.
Step 7: Let the Door Dry
Allow the final coat to dry before removing painter’s tape and operating the garage door.
Check painted edges carefully before closing the door. Paint that hasn’t cured enough can stick to weatherstripping or adjacent surfaces.
⚠️ Common Mistakes to Avoid
- Painting over dirt or chalky residue
- Painting directly over peeling paint or rust
- Using interior paint
- Applying paint in direct hot sunlight
- Applying coats too heavily
- Painting weatherstripping, rollers, tracks, or hinges
- Closing the garage door before the paint has dried enough
❓ Frequently Asked Questions
What kind of paint should I use on a garage door?
Use a quality exterior paint compatible with the material your garage door is made from and the existing coating.
Do I need to prime a garage door before painting?
Not always. Primer is commonly needed over bare metal or wood, repaired areas, treated rust, or surfaces where the new paint may have trouble bonding.
Should I use a brush or roller?
Using both usually works best. A brush handles panel edges and detailed areas while a roller makes larger sections faster and more even.
How many coats does a garage door need?
Two thin finish coats typically provide better coverage and durability than one heavy coat.
Can I paint my garage door without removing it?
Yes. Garage doors are normally painted while installed. Disconnect the opener and position the door as needed while keeping it safely secured.
☎️ When to Call a Professional
Consider professional help if the garage door has extensive rust, rotted wood, widespread coating failure, significant structural damage, or mechanical problems that need to be repaired before painting.