
Safety First
If replacing a hardwired smoke detector, turn off power to the detector circuit at the breaker before removing the existing unit or touching any wiring. Verify power is off before disconnecting wires. Never disable other working smoke detectors while completing the installation.
Time
20-45 Minutes
Difficulty
Easy-Moderate
Cost
$50-$150
🧰 Tools & Materials
- Phillips screwdriver
- Flat-head screwdriver, if needed
- Non-contact voltage tester
- Drill and drill bits, if needed
- Stepladder
- Smartphone
- Compatible smart smoke detector
- Fresh batteries, if required
- Mounting bracket and hardware included with the detector
- Wire connector or adapter supplied by the manufacturer, if installing a hardwired model
🔍 Signs It’s Time to Install a Smart Smoke Detector
A smart smoke detector can be a worthwhile upgrade if:
- Your existing smoke detector is approaching the end of its service life
- You want alerts sent to your phone when you’re away from home
- You want interconnected alarms with additional smart features
- You want notifications about low batteries or detector problems
- You’re expanding your home’s smart-home system
- You want easier monitoring of detectors throughout the house
Before replacing anything, check the manufacture date on your existing detector. Smoke alarms generally need to be replaced according to the manufacturer’s stated service life rather than simply having their batteries changed indefinitely.
For help checking your existing alarms first, see our How to Test a Smoke and Carbon Monoxide Detector guide.
📝 Before You Buy
Determine whether your existing smoke detector is battery-powered or hardwired.
If you’re replacing a hardwired detector, make sure the new smart detector is compatible with:
- Your home’s electrical system
- Existing detector wiring
- Interconnect wiring, if present
- The manufacturer’s required electrical box
- Other interconnected alarms in the house
- Your Wi-Fi network
- Your preferred smart-home platform
Don’t assume a smart detector can simply replace any existing interconnected alarm. Mixing incompatible alarm systems can prevent interconnected warning features from working correctly.
Also decide whether you want a smoke-only alarm or a combination smoke and carbon monoxide alarm.
If you’re unsure where detectors should be located throughout your home, see our Where to Install Smoke and Carbon Monoxide Detectors guide.
🏠 Before You Start
Read the installation instructions supplied with your specific smart detector.
If you’re replacing a hardwired detector, turn off the circuit supplying the alarm at the electrical panel.
Use a non-contact voltage tester where appropriate to verify that power has been shut off before handling electrical connections.
Keep other functioning alarms in the home operational whenever possible while you work.
💡 Pro Tip: Set up the manufacturer’s app and create your account before climbing the ladder. It can make the pairing process much easier once the detector is mounted.
Step 1: Remove the Existing Smoke Detector
Position a sturdy stepladder beneath the detector.
Twist or release the existing alarm from its mounting bracket according to its design.
If it’s battery-powered, remove it from the bracket.
If it’s hardwired, carefully lower the detector far enough to access the electrical connector.
What You Should See: A battery-powered detector will typically separate completely from the mounting bracket. A hardwired detector will remain connected to a wiring harness after being removed from its bracket.
If Yours Looks Different: Don’t pull or force the detector away from the ceiling. Look for a locking tab, security pin, or release mechanism.
Step 2: Disconnect the Old Detector
For a battery-powered detector, remove the old batteries and set the detector aside.
For a hardwired detector, confirm the circuit is off before disconnecting the wiring harness.
Some replacement detectors use a compatible plug while others require the supplied connector to be installed.
Follow the smart detector manufacturer’s wiring instructions exactly.
What You Should See: The old detector should be completely removed while the electrical wiring, if present, remains safely accessible.
Step 3: Remove the Old Mounting Bracket
Unscrew the existing mounting plate from the ceiling or electrical box.
Compare it with the bracket supplied with your smart detector.
Even if the brackets look similar, use the new manufacturer’s bracket unless the instructions specifically state that the existing one is compatible.
What You Should See: A clean mounting location with the electrical box or mounting holes accessible.
Step 4: Install the New Mounting Bracket
Position the smart detector’s mounting bracket against the ceiling.
For hardwired installations, route the wiring or connector through the center opening.
Secure the bracket using the appropriate screws.
Make sure it sits flat and doesn’t move.
What You Should See: The mounting bracket should be firmly secured and ready to accept the smart detector.
Step 5: Connect the Wiring
If you’re installing a hardwired smart smoke detector, connect the manufacturer’s wiring harness according to the supplied wiring diagram.
Typical hardwired alarms may include hot, neutral, and interconnect conductors, but wiring configurations vary.
Don’t rely solely on wire color to identify conductors.
Secure all connections and carefully position the wiring back inside the electrical box.
What You Should See: All required connections should be secure with no loose conductors or exposed copper outside the connectors.
If Yours Looks Different: If the wiring doesn’t match the manufacturer’s diagram or you’re unsure how the existing interconnect system works, stop and call a licensed electrician.
Step 6: Install the Backup Battery
Install the required backup battery if it isn’t already built into the detector.
Make sure the battery is fully seated and installed in the correct orientation.
Some smart detectors use sealed batteries that don’t require this step.
What You Should See: The detector may beep, illuminate, or otherwise indicate that battery power is available.
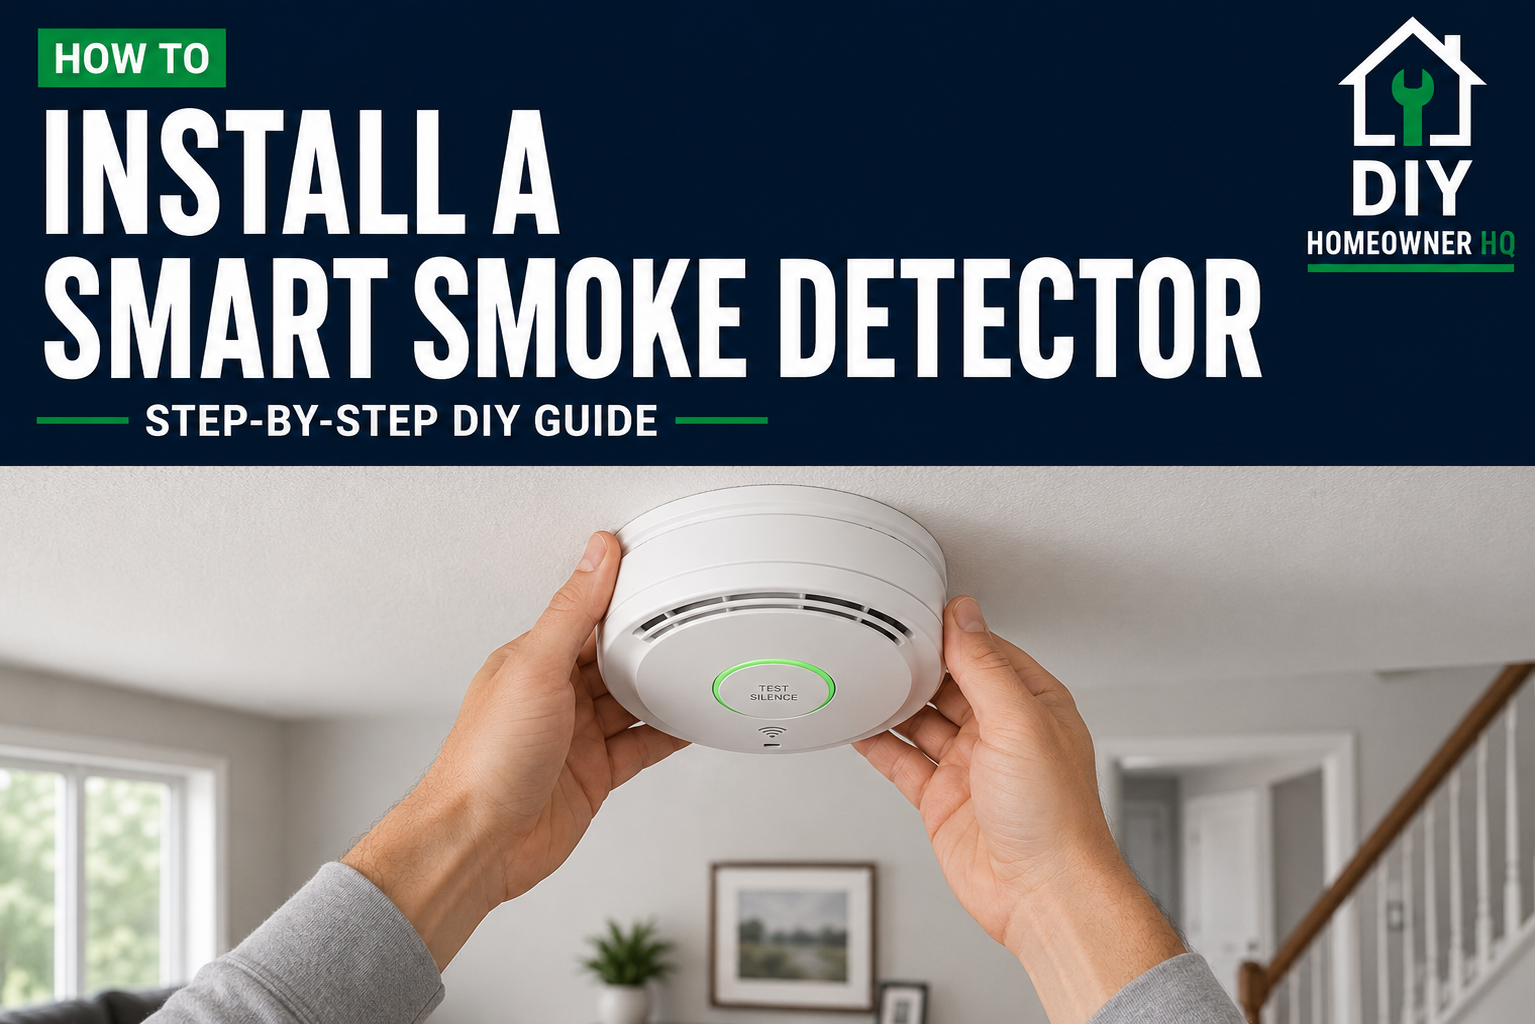
Step 7: Attach the Smart Smoke Detector
Connect the wiring harness to the detector if you’re installing a hardwired model.
Carefully position the detector against the mounting bracket.
Twist or lock it into place according to the manufacturer’s instructions.
Give it a gentle check to make sure it’s securely attached.
What You Should See: The detector should sit firmly and evenly against the ceiling without hanging or rocking.
Step 8: Restore Power
For a hardwired detector, turn the circuit breaker back on.
Watch the detector for its normal power indicator.
Allow it to complete any startup sequence before beginning setup.
What You Should See: The detector should indicate that it has power and is ready for setup or testing.
If Yours Looks Different: If the detector doesn’t power on, turn the breaker back off and check the wiring and connector before proceeding.
Step 9: Connect the Detector to the App
Open the manufacturer’s app on your smartphone.
Follow the instructions to add the detector to your account.
Depending on the model, setup may include:
- Connecting to Wi-Fi
- Scanning a QR code
- Naming the detector by room
- Connecting additional detectors
- Enabling smartphone notifications
- Configuring voice alerts
- Connecting to a compatible smart-home platform
What You Should See: The detector should appear online in the app without warning or connection errors.
Step 10: Test the Smart Smoke Detector
Use the detector’s physical test button to perform the manufacturer’s recommended test.
Don’t rely solely on the app to confirm that the alarm itself works.
The alarm should sound loudly during the test.
If the system includes interconnected alarms, confirm that they respond as expected.
Our How to Test a Smoke and Carbon Monoxide Detector guide covers routine testing in more detail.
What You Should See: The detector should sound properly and the app should show the detector as functioning normally.
Step 11: Test Smart Notifications
After completing the physical alarm test, check your smartphone.
Confirm that the app is communicating with the detector and that enabled notifications are working.
Also verify that the detector has been assigned to the correct room.
If you have multiple smart detectors, clearly naming each location can make emergency alerts much more useful.
❌ Common Mistakes
Problem: Buying a smart detector without checking existing wiring or interconnect compatibility.
Solution: Verify compatibility before removing your existing alarms.
Problem: Installing a detector in the wrong location.
Solution: Follow the detector manufacturer’s placement instructions and applicable local requirements. Use our Where to Install Smoke and Carbon Monoxide Detectors guide as a homeowner-friendly starting point.
Problem: Assuming the app proves the alarm itself works.
Solution: Perform the manufacturer’s physical test after installation.
Problem: Removing multiple existing detectors at once.
Solution: Replace alarms one at a time whenever practical so the home isn’t unnecessarily left without working protection.
Problem: Ignoring interconnected-alarm compatibility.
Solution: Confirm that the new detector works properly with the home’s existing alarm system before installation.
💡 Pro Tip
Give every smart detector a specific room name such as “Upstairs Hallway” or “Primary Bedroom.” If an alarm activates later, you’ll immediately know which detector triggered the alert.
❓ FAQs
Can I install a smart smoke detector myself?
Battery-powered models are generally straightforward. Replacing a compatible hardwired detector can also be manageable for homeowners who are comfortable safely shutting off power and making the required connections.
Do smart smoke detectors need Wi-Fi?
Wi-Fi is generally required for remote notifications and other connected features. The alarm’s core safety functions should follow the manufacturer’s design even if the internet connection is unavailable.
Can I replace one hardwired smoke detector with a smart detector?
Potentially, but you need to verify electrical and interconnect compatibility with the rest of the alarm system.
Should I install a smoke detector or a combination smoke and CO detector?
That depends on the location, your home’s existing alarm layout, manufacturer requirements, and applicable codes. Combination units can provide both types of detection in a single device where appropriate.
How often should I test my smart smoke detector?
Follow the manufacturer’s testing schedule and instructions. Smart monitoring features aren’t a substitute for physically testing the alarm.
Why is my new smoke detector chirping?
Possible causes include battery problems, installation issues, power problems, or device warnings. Our How to Stop a Smoke Detector From Chirping guide covers the most common causes.
Can a smart smoke detector send an alert when I’m away from home?
Many models can send smartphone notifications when connected to the internet, although specific features vary by manufacturer and model.
👷 When to Call a Professional
Call a licensed electrician if you encounter unfamiliar wiring, damaged conductors, an incompatible electrical box, unexplained power problems, or an interconnected alarm system you aren’t confident modifying.
You should also get professional help if you’re unsure whether the new detector is compatible with the rest of your home’s alarm system.