
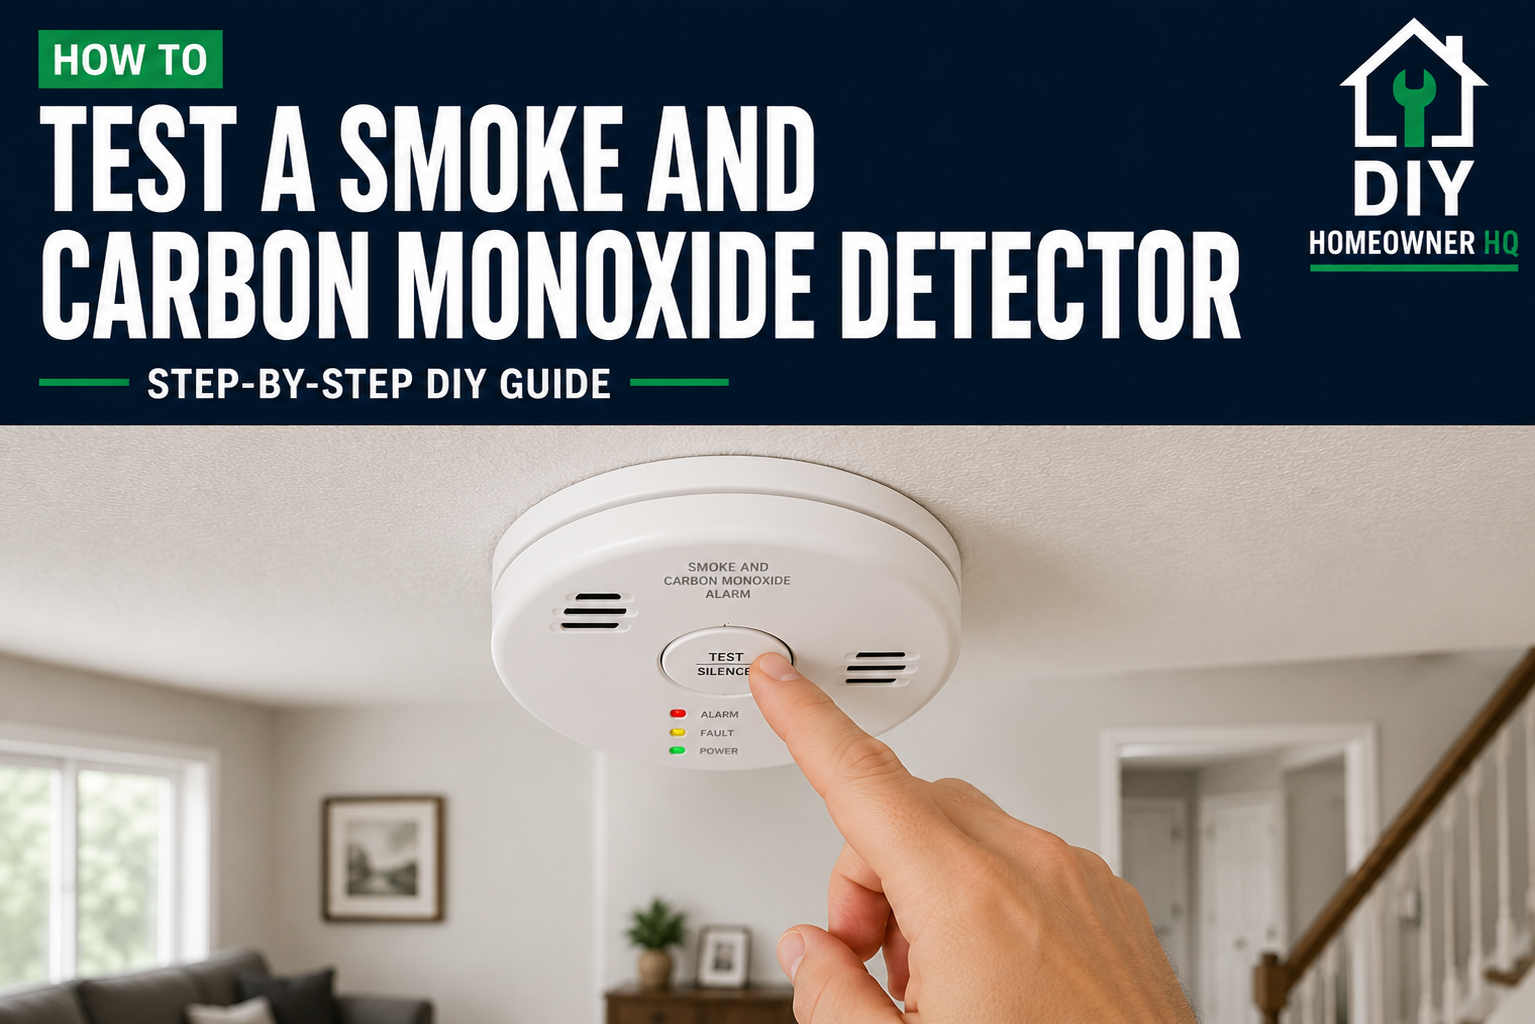
Safety First
Testing smoke and carbon monoxide detectors is simple, but never use real smoke, an open flame, vehicle exhaust, or another source of carbon monoxide to test them.
Use the detector’s TEST button and follow the manufacturer’s instructions. Warn everyone in the home before testing because the alarm will be loud.
If a detector doesn’t sound during the test, don’t assume it’s still providing protection. Check the battery and power source, then replace the detector if it still fails to test properly.
If a carbon monoxide detector sounds during normal operation—not while you’re intentionally testing it—treat it as a potential CO emergency, move everyone to fresh air, and follow the detector manufacturer’s emergency instructions.
Time
5-10 Minutes
Difficulty
Easy
Cost
$0
🧰 Tools & Materials
Tools
- Stepladder, if needed
- Flashlight
- Vacuum with a soft brush attachment, if the detector needs cleaning
Materials
- Fresh replacement batteries, if needed
- Manufacturer-approved test aerosol only if specifically recommended for your detector
Before You Start
Know What You’re Testing
Your home may have:
- Smoke detectors
- Carbon monoxide detectors
- Combination smoke and carbon monoxide detectors
- Battery-powered alarms
- Hardwired alarms with battery backup
- Interconnected alarms
If you’re unsure whether your alarms are positioned correctly throughout the home, see Where to Install Smoke and Carbon Monoxide Detectors before testing the entire system.
Look at the front and back of each detector to determine what type it is.
A combination alarm should have separate indicators or alarm patterns for smoke and carbon monoxide. Check the manufacturer’s instructions if you’re unfamiliar with the sounds.
💡 Pro Tip: If you have several detectors, test them all during the same walkthrough. It’s much easier than trying to remember which ones you’ve already checked.
Check the Detector’s Age
While you’re testing, check the manufacture or replacement date printed on each detector.
Smoke and carbon monoxide sensors have limited service lives. The exact replacement interval depends on the manufacturer and model.
If a detector has reached its stated replacement age, replace it even if the TEST button still works. Follow our guide on How to Replace a Smoke Detector or How to Replace a Carbon Monoxide Detector for step-by-step instructions.
Step 1: Warn Everyone Before Testing
Let everyone in the house know you’re about to test the alarms.
Smoke and carbon monoxide alarms are intentionally loud, and interconnected systems may activate detectors throughout the home.
Keep pets in mind as well. The alarm may startle them.
What You Should See: Everyone should know that the upcoming alarm is only a test.
Step 2: Inspect the Detector
Before pressing anything, look at the detector.
Check for:
- Physical damage
- Heavy dust
- Missing or open battery compartments
- Warning lights
- Fault indicators
- End-of-life messages
- Discoloration or damage
Make sure nothing is covering or blocking the detector’s vents.
If Yours Looks Different: If the detector displays a fault or end-of-life warning, check the manufacturer’s instructions before assuming a successful button test means the detector is still usable.
Step 3: Check the Power Indicator
If your detector has a status light or digital display, check it before testing.
Hardwired alarms commonly have an indicator showing that AC power is available.
Battery-powered models may use periodic flashes to indicate normal operation.
Indicator colors and patterns vary, so use the manufacturer’s instructions to determine what yours should display.
Problem: A hardwired detector appears to have no power.
Check whether the circuit breaker has tripped. If the breaker repeatedly trips or you can’t determine why the detector has lost power, have the circuit inspected.
Step 4: Press and Hold the TEST Button
Stand securely on a stepladder if you can’t comfortably reach the detector from the floor.
Locate the TEST or TEST/SILENCE button.
Press and hold it according to the manufacturer’s instructions until the alarm activates.
The sound will be loud.
What You Should See: The detector should produce its test alarm while the button is held or complete its automatic test sequence.
Problem: Nothing happens when you press TEST.
Check the battery and power source. If the detector still doesn’t respond after you’ve confirmed it has power, replace it.
💡 Pro Tip: Don’t test a detector by holding a lighter, candle, match, or other flame underneath it. The TEST button is the safe starting point.
Step 5: Listen to the Alarm Pattern
Pay attention to the sound the detector produces.
Combination smoke and carbon monoxide alarms may use different alarm patterns or voice announcements to distinguish between hazards.
Don’t worry about memorizing every pattern from every manufacturer. Instead, check your detector’s instructions so everyone in the household understands what its different alerts mean.
What You Should See: The alarm should sound clearly and loudly without weak, distorted, or intermittent operation.
Step 6: Check Interconnected Alarms
If your alarms are interconnected, listen for the other detectors in the home when you activate the test.
Depending on the system, pressing TEST on one alarm may cause the interconnected alarms to sound as well.
Walk through the house and make sure the expected alarms are responding.
If Yours Looks Different: If one detector remains silent while the others sound, check its power, battery, compatibility, and interconnection according to the manufacturer’s instructions.
Step 7: Test Carbon Monoxide Detection Correctly
For a carbon monoxide or combination detector, use the manufacturer’s TEST button or prescribed testing procedure.
Never attempt to create carbon monoxide yourself using a vehicle, generator, grill, fireplace, or other fuel-burning equipment.
Also understand that pressing TEST generally checks the alarm’s electronics, sounder, and power system. Whether it performs a full sensor test depends on the specific detector.
If the manufacturer recommends a particular approved test product or procedure, follow those instructions exactly.
Step 8: Replace Weak or Dead Batteries
If a detector doesn’t test correctly or indicates a low battery, install the correct replacement battery.
Pay attention to polarity and make sure the battery is fully seated.
Close the battery compartment completely.
Then press the TEST button again.
What You Should See: The detector should complete a normal test after the fresh battery is installed.
Problem: The detector still doesn’t work with a new battery.
If you’ve confirmed the battery is installed correctly and the detector still fails its test, replace the detector.
Step 9: Clean the Detector if Needed
Dust and debris can accumulate around the detector’s openings.
Use a vacuum with a soft brush attachment to gently clean around the exterior vents according to the manufacturer’s cleaning instructions.
Don’t spray household cleaners, water, or compressed chemicals into the detector.
What You Should See: The detector’s openings should be clear of visible dust, cobwebs, and debris.
Step 10: Repeat the Test Regularly
Once you’ve confirmed the detector is operating, make testing part of your normal home-maintenance routine.
Follow the manufacturer’s recommended testing schedule. Many manufacturers recommend testing alarms at least monthly.
If your detectors use replaceable batteries, replace them according to the manufacturer’s instructions and whenever the detector signals a low battery.
💡 Pro Tip: Pick an easy date to remember—such as the first weekend of every month—and test every detector in the house at once.
🛑 Common Mistakes to Avoid
- Testing a smoke detector with an open flame
- Trying to produce actual carbon monoxide for a CO-detector test
- Assuming a status light means the alarm works without testing it
- Ignoring a detector that doesn’t respond to the TEST button
- Forgetting to test interconnected alarms
- Removing batteries because an alarm is chirping
- Ignoring fault or end-of-life warnings
- Forgetting to check the detector’s age
- Blocking detectors with furniture or decorations
- Testing one alarm and assuming every detector in the house works
If a smoke alarm is chirping, troubleshoot the cause instead of simply removing the battery. See How to Stop a Smoke Detector From Chirping for the common causes and fixes.
❓ FAQs
How often should I test my smoke and carbon monoxide detectors?
Follow the manufacturer’s instructions for your specific alarms. Many manufacturers recommend testing them at least once a month.
Does pressing the TEST button actually test the smoke or carbon monoxide sensor?
It depends on the detector. The TEST button generally verifies important alarm electronics, power, and the sounder, but the exact self-test functions vary by model.
Should I use smoke to test my smoke detector?
Use the manufacturer’s recommended testing method. Don’t use matches, candles, or open flames. If your manufacturer specifically recommends an approved smoke-alarm test aerosol, follow those instructions.
How can I test a carbon monoxide detector with actual CO?
Don’t intentionally create carbon monoxide yourself. Never use vehicle exhaust, generators, grills, or other combustion equipment as a test source. Follow the detector manufacturer’s approved testing procedure.
What if my detector doesn’t beep when I press TEST?
Check its battery and power source. If it still doesn’t respond after you’ve confirmed proper power, replace the detector.
Do hardwired detectors still need to be tested?
Yes. Being connected to household power doesn’t guarantee that the detector, backup battery, sounder, or interconnected system is operating correctly.
Should all of my interconnected alarms sound during a test?
That depends on the alarm system and manufacturer. Check the instructions for your interconnected alarms and verify that the system responds as designed.
📞 When to Call a Professional
Call a licensed electrician if:
- A hardwired detector has lost power
- The detector circuit repeatedly trips its breaker
- You find damaged or burned wiring
- Interconnected hardwired alarms aren’t communicating correctly
- A newly installed hardwired detector won’t operate
- You’re unsure whether the detectors are properly interconnected
If a smoke or carbon monoxide detector sounds when you aren’t intentionally testing it, don’t assume it’s a malfunction.
For a smoke alarm, treat it as a possible fire emergency.
For a carbon monoxide alarm, move everyone to fresh air and follow the detector manufacturer’s emergency instructions.
Related DIY Guides
How to Replace a Smoke Detector
How to Replace a Carbon Monoxide Detector
How to Stop a Smoke Detector From Chirping