
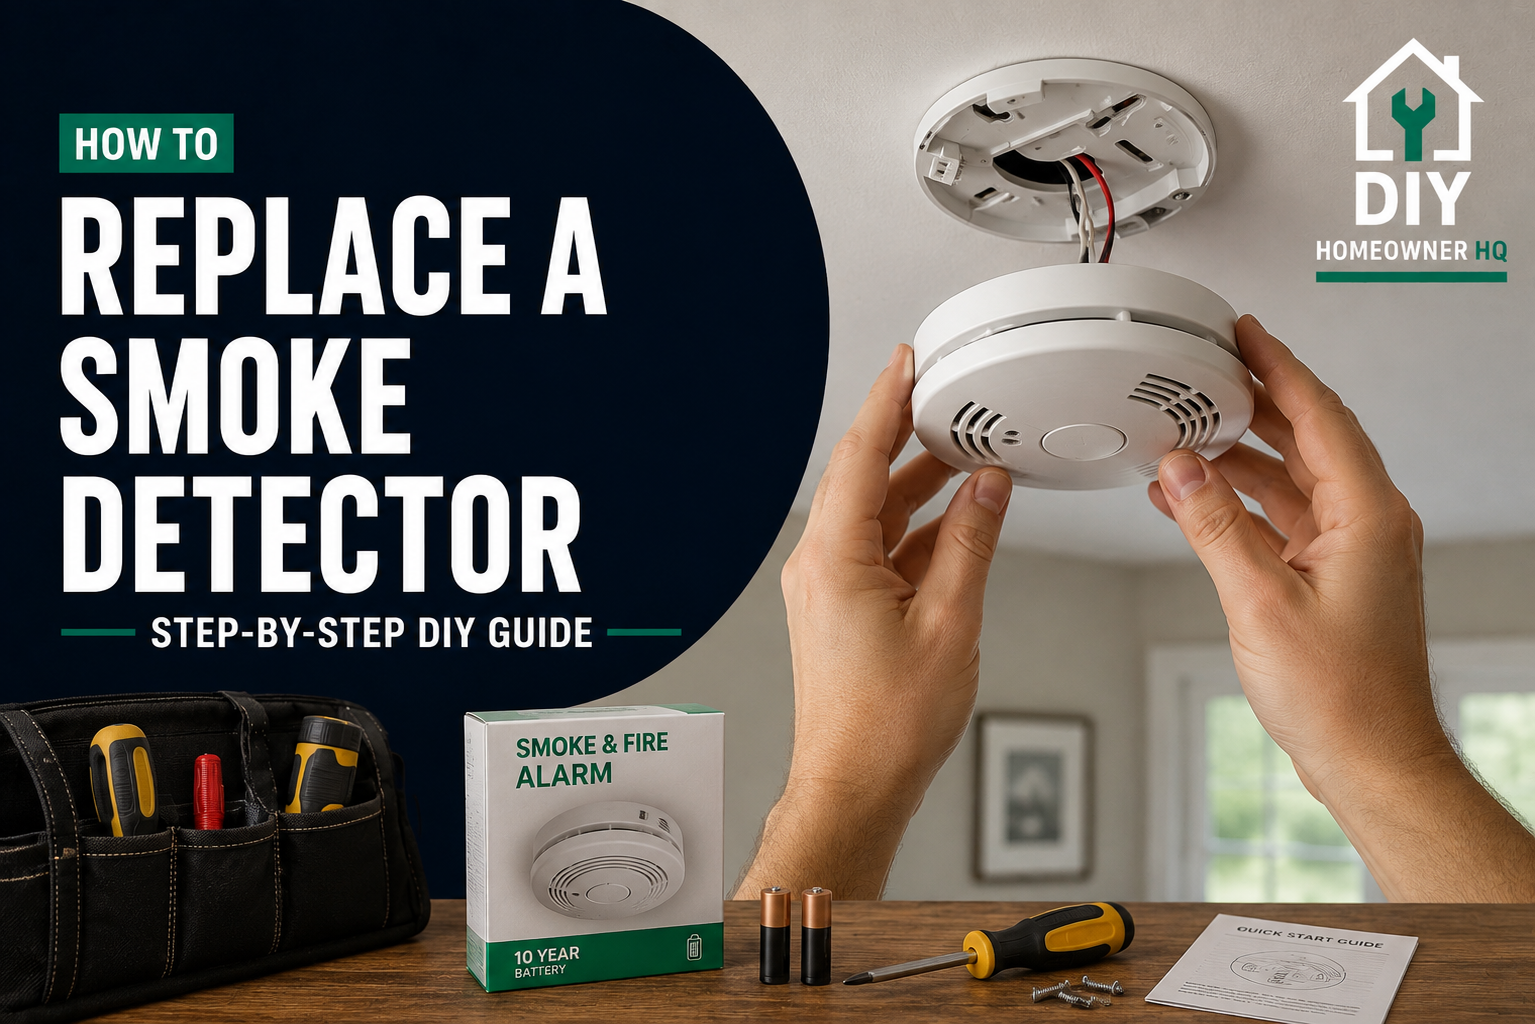
Safety First
Smoke detectors are an important part of your home’s fire-safety system, so make sure the replacement is compatible with your existing setup.
For a battery-only detector, remove the old unit and install the replacement according to the manufacturer’s instructions.
For a hardwired smoke detector, turn off power at the breaker before removing the alarm or disconnecting any wiring. Verify the power is off before touching the electrical connector or wires.
If your alarms are interconnected, use a replacement that’s compatible with the system. After installation, always press the TEST button and confirm the alarm sounds properly.
Time
15-30 Minutes
Difficulty
Easy
Cost
$15-$60
🧰 Tools & Materials
Tools
- Stepladder
- Phillips screwdriver
- Flat-head screwdriver
- Non-contact voltage tester, for hardwired detectors
- Flashlight
Materials
- Replacement smoke detector
- Fresh batteries, if required
- New mounting bracket, usually included
- Compatible wiring harness, for hardwired models
Before You Buy
Check What Type of Smoke Detector You Have
Before buying a replacement, remove the existing detector from its mounting plate and determine whether it’s:
- Battery-powered
- Hardwired with battery backup
- Part of an interconnected alarm system
- A combination smoke and carbon monoxide alarm
Replacing a battery-powered detector is usually straightforward.
Hardwired detectors require more attention because the replacement must work correctly with the home’s wiring and, where applicable, the other interconnected alarms.
💡 Pro Tip: Check the manufacture date printed on the back of the detector while it’s down. Smoke alarms generally need replacement about every 10 years, but follow the manufacturer’s replacement instructions for your specific model.
Check Compatibility
If you have interconnected hardwired alarms, don’t assume every new smoke detector will work with the existing system.
Using the same manufacturer and a compatible model can sometimes allow you to reuse the existing wiring connector, but never force an incompatible plug into a new detector.
If the included wiring harness is different, it may need to be replaced.
Before You Start
- Read the replacement detector’s instructions.
- Make sure you have the correct replacement.
- Have fresh batteries ready if required.
- Set up a stable stepladder.
- If the detector is hardwired, locate its circuit breaker.
For a hardwired detector, turn the breaker OFF before disconnecting any electrical wiring.
Step 1: Test the Existing Smoke Detector
Press and hold the TEST button on the old detector before removing it.
If it sounds normally, you know the detector currently has power and can compare its operation with the replacement afterward.
If it doesn’t sound, don’t assume the detector itself is the only problem.
If Yours Looks Different: A detector that’s chirping every 30–60 seconds may simply have a low battery, be at the end of its service life, or be signaling another fault depending on the model.
If chirping is the main reason you’re considering replacement, see How to Stop a Smoke Detector From Chirping first to troubleshoot the cause.
Step 2: Turn Off Power if It’s Hardwired
If you’re replacing a hardwired detector, switch OFF the breaker supplying the smoke alarm circuit.
Use a non-contact voltage tester to verify that the electrical wiring is de-energized before disconnecting it.
Do not rely solely on the detector becoming silent as proof that the power is off because many hardwired alarms have battery backup.
What You Should See: The tester should indicate no voltage at the wiring you’ll be handling.
Step 3: Remove the Old Detector
Most smoke detectors twist counterclockwise or release from tabs on their mounting plate.
Support the detector as you remove it.
For a battery-powered model, it may simply come away from the mounting plate.
For a hardwired detector, you’ll usually see a small wiring harness connecting the alarm to the electrical box.
What You Should See: The detector should separate from the mounting plate without needing excessive force.
Problem: The detector won’t come off.
Look for a locking tab or tamper-resistant pin. Some models use these to prevent the alarm from being easily removed.
Step 4: Disconnect the Old Detector
For a battery-powered detector, remove the old battery if applicable.
For a hardwired detector, unplug the wiring connector from the back of the alarm.
If your replacement uses the same compatible connector, you may be able to reuse it according to the manufacturer’s instructions.
If the connector must be replaced, verify the circuit is de-energized before disconnecting the wiring.
Typical hardwired smoke-alarm wiring may include:
- Black → hot
- White → neutral
- Red or orange → interconnect
Wire colors and configurations can vary, so follow the detector manufacturer’s wiring instructions.
If Yours Looks Different: If you find damaged wiring, unfamiliar connections, or anything that doesn’t match the instructions, stop and have the wiring checked before proceeding.
Step 5: Replace the Mounting Bracket
Compare the old mounting bracket with the one included with the new detector.
Even detectors that look nearly identical may use different mounting plates.
If necessary, unscrew and remove the old bracket.
Position the new bracket over the electrical box or mounting holes and secure it with the supplied screws.
What You Should See: The mounting plate should sit flat and firmly against the ceiling or wall without moving.
💡 Pro Tip: Don’t throw away the old detector or bracket until the new alarm is completely installed and tested. They can be useful for comparing connections and mounting positions.
Step 6: Connect the New Detector
For a battery-powered detector, install the required battery if it isn’t already built into the unit.
For a hardwired detector, connect the compatible wiring harness to the detector.
If you’ve installed a new harness, make the connections according to the manufacturer’s wiring diagram using approved connectors.
Make sure each connection is secure before carefully tucking the wiring back into the electrical box.
What You Should See: The connector should plug firmly into the alarm without being forced, and no wiring should be pinched between the alarm and mounting plate.
Step 7: Attach the Smoke Detector
Line up the detector with the mounting bracket.
Twist or snap it into place according to the manufacturer’s instructions.
Give it a gentle check to make sure it’s securely attached.
If the alarm has a battery compartment, make sure it’s completely closed.
Problem: The detector won’t lock onto the bracket.
Don’t force it. Make sure you’re using the new detector’s mounting plate and that the wiring isn’t preventing the detector from sitting flat.
Step 8: Restore Power
For a hardwired detector, turn the circuit breaker back ON.
Look for the detector’s power indicator.
The exact light color and behavior vary by manufacturer, so check the instructions rather than relying on a particular color.
What You Should See: A hardwired detector should indicate that AC power has been restored according to the manufacturer’s instructions.
Step 9: Test the New Smoke Detector
Press and hold the TEST button until the alarm sounds.
The alarm will be loud, so warn anyone nearby before testing it.
If your smoke detectors are interconnected, check whether the other alarms sound as expected.
For a complete testing walkthrough, see How to Test a Smoke and Carbon Monoxide Detector.
What You Should See: The new detector should produce a strong alarm when the TEST button is pressed.
Problem: The detector doesn’t sound.
Check the battery, wiring connector, breaker, and installation instructions. Do not leave a nonworking detector installed.
Problem: The new detector keeps chirping.
Check that the backup battery is installed correctly, the battery tab has been removed if applicable, the detector is fully seated on its mounting plate, and the wiring harness is secure.
🛑 Common Mistakes to Avoid
- Buying an incompatible hardwired detector
- Reusing a wiring harness without confirming compatibility
- Working on hardwired connections without shutting off the breaker
- Forgetting to install or activate the backup battery
- Leaving the battery’s protective pull tab in place
- Reusing an incompatible mounting bracket
- Pinching wires behind the detector
- Installing the detector but forgetting to test it
- Ignoring the manufacture or replacement date
- Removing an alarm and leaving the location unprotected
❓ FAQs
How often should smoke detectors be replaced?
Many smoke alarms should be replaced about every 10 years. Check the manufacture date and the replacement interval specified by the manufacturer.
Can I replace a hardwired smoke detector myself?
Many homeowners can replace a compatible hardwired detector, but the circuit should be switched off and verified de-energized before electrical connections are changed. If the wiring is unfamiliar or damaged, call an electrician.
Can I replace a hardwired smoke detector with a battery-powered one?
Don’t remove or abandon required hardwired or interconnected protection without first confirming the applicable requirements for your home. Replace the alarm with the appropriate type for the existing system.
Why is my new smoke detector chirping?
Common causes include an incorrectly installed battery, an unremoved battery tab, a loose wiring connector, loss of AC power, or a fault condition. The chirp pattern can vary by model, so check the manufacturer’s instructions.
Do I have to replace every interconnected smoke detector at once?
Not necessarily, but compatibility matters. If you’re mixing models or manufacturers, verify that the replacement is approved to interconnect with the existing alarms.
Should I test the detector after replacing it?
Yes. Always use the TEST button after installation. For interconnected systems, confirm the other alarms respond as intended.
📞 When to Call a Professional
Call a licensed electrician if:
- You’re unsure which breaker supplies the smoke detectors
- You can’t verify that hardwired connections are de-energized
- The wiring is damaged or discolored
- The replacement wiring doesn’t match what you expected
- You’re unsure whether the new alarm is compatible with the interconnected system
- The detector doesn’t receive power after installation
- You need to add or relocate hardwired smoke detectors
If you’re adding or relocating alarms, see Where to Install Smoke and Carbon Monoxide Detectors for placement guidance.
Don’t leave a smoke detector disconnected or nonfunctional while troubleshooting. If you can’t complete the replacement safely, restore appropriate protection as quickly as possible.