
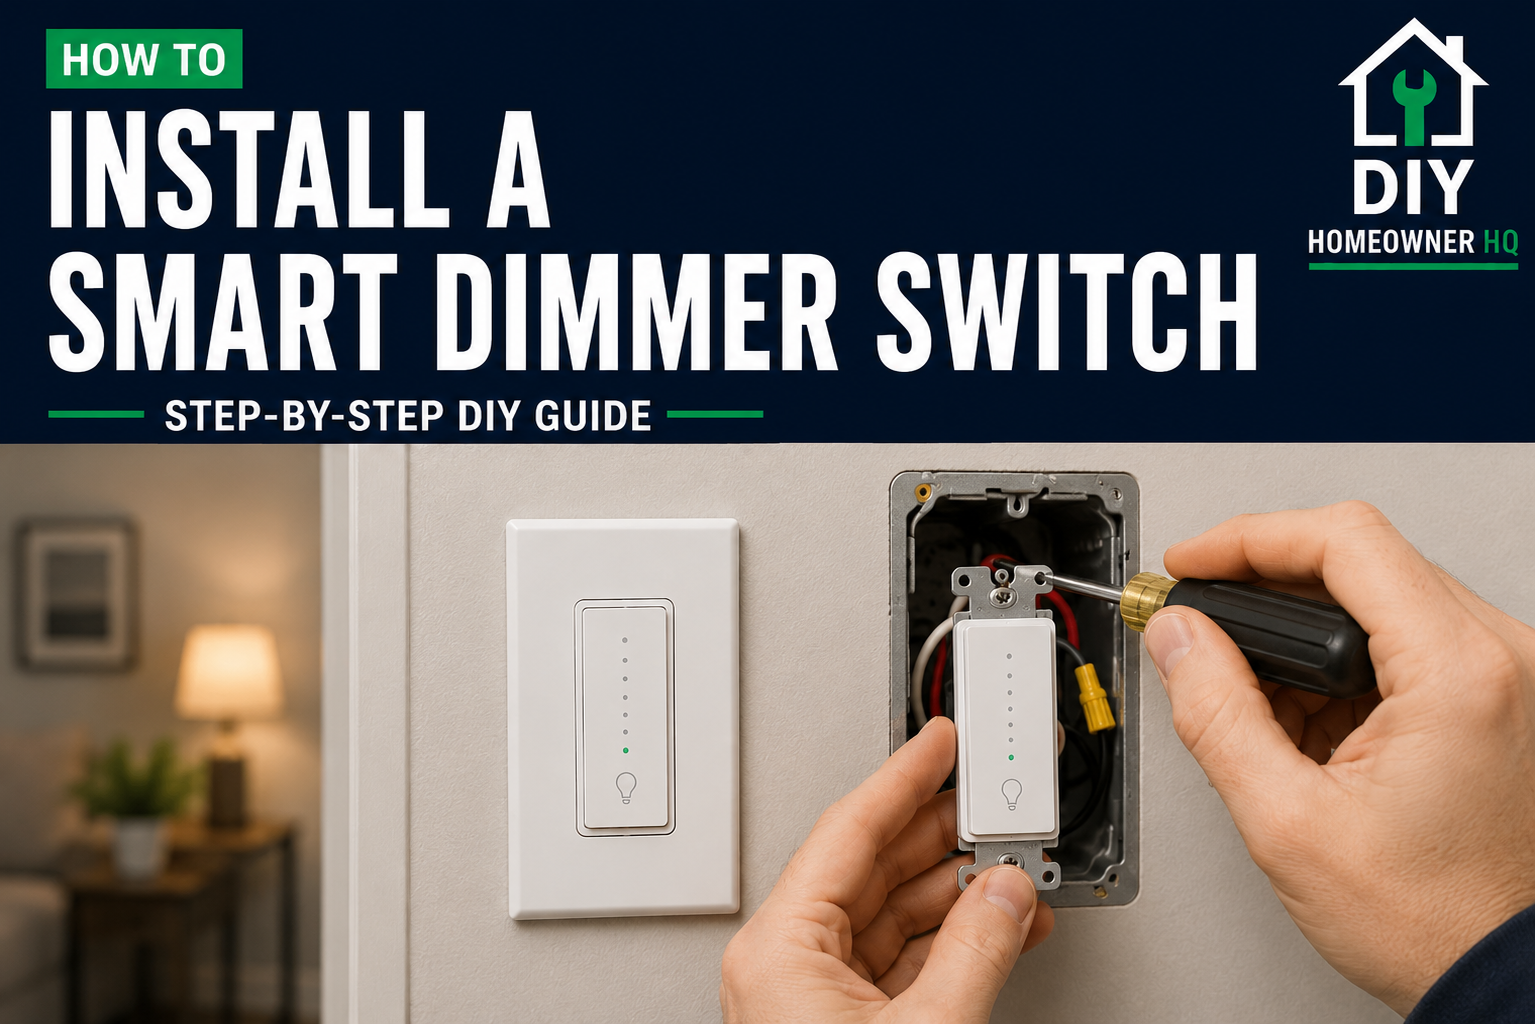
Safety First
Turn off power to the switch at the circuit breaker before removing the wall plate or touching any wiring. Verify the power is off with a non-contact voltage tester. Smart dimmers may require a neutral wire and must be compatible with the light fixture and bulbs. If the wiring doesn’t match the manufacturer’s instructions or you’re unsure which wires are line, load, neutral, or ground, stop and call a licensed electrician.
Time
30-60 Minutes
Difficulty
Moderate
Cost
$20-$75
🧰 Tools & Materials
- Smart dimmer switch
- Phillips screwdriver
- Flat-head screwdriver
- Non-contact voltage tester
- Wire stripper, if needed
- Wire connectors, if not included with the dimmer
- Smartphone or tablet
- Manufacturer’s smart-home app
- Wi-Fi network name and password
- Compatible dimmable LED bulbs or other manufacturer-approved bulbs
🔍 Signs a Smart Dimmer Switch Is a Good Upgrade
A smart dimmer can be a useful upgrade if:
- You want to adjust lighting brightness from your phone
- You want to create lighting schedules or routines
- You want voice control
- You frequently leave lights on
- You want different brightness levels throughout the day
- Your existing standard switch controls dimmable lighting
- You want smart-home control without replacing every bulb with a smart bulb
If you already have a regular dimmer installed and simply need to replace it, our How to Replace a Dimmer Switch guide covers the basic replacement process.
📝 Before You Buy
Smart dimmer switches aren’t universally compatible with every electrical setup.
Before purchasing one, check:
- Whether the dimmer requires a neutral wire
- Whether your electrical box contains a neutral
- Whether the switch is single-pole or part of a 3-way circuit
- The maximum wattage supported by the dimmer
- Whether your bulbs are dimmable
- Whether your bulb type is supported
- Whether the switch requires 2.4 GHz Wi-Fi or another connection method
- Whether the dimmer works with your preferred smart-home platform
If the light is controlled from two locations, you’ll need a smart dimmer specifically designed for that configuration. Our How to Replace a 3-Way Light Switch guide can help you understand how a 3-way circuit differs from a standard switch.
💡 Pro Tip: Check the smart dimmer manufacturer’s bulb compatibility list before buying. A bulb can be labeled “dimmable” and still perform poorly with a particular dimmer.
🏠 Before You Start
Turn the existing light on.
Go to your electrical panel and switch off the breaker controlling the light.
Return to the switch and confirm that the light no longer turns on.
Use a non-contact voltage tester at the switch before touching any conductors.
If you’re unsure which breaker controls the circuit, follow our How to Find Which Breaker Controls an Outlet or Light guide.
Take a clear photo of the existing wiring before disconnecting anything.
Do not rely solely on wire color to identify conductors.
Step 1: Remove the Wall Plate
Remove the screws holding the wall plate in place.
Set the plate and screws aside.
Don’t touch the switch terminals yet.
Use your voltage tester again around the switch and electrical box.
What You Should See: The tester should indicate that the circuit is de-energized.
If Yours Looks Different: If you detect voltage, stop and identify the correct breaker before continuing.
Step 2: Remove the Existing Switch
Remove the mounting screws at the top and bottom of the switch.
Carefully pull the switch straight out of the electrical box without disconnecting anything.
Give yourself enough room to see the existing connections.
What You Should See: The switch should pull forward while the wires remain securely connected.
Step 3: Identify the Existing Wiring
Compare the existing wiring with the wiring diagram supplied with your smart dimmer.
Depending on the switch and circuit, you may have connections for:
- Line
- Load
- Neutral
- Ground
- Traveler wires on certain 3-way installations
Many smart dimmers require a neutral connection because the switch itself needs continuous power for its electronics and wireless connection.
What You Should See: Your wiring configuration should match one of the manufacturer’s approved installation diagrams.
If Yours Looks Different: Don’t guess which conductor serves which function. Stop and have the wiring identified correctly before proceeding.
Step 4: Disconnect the Old Switch
Take another photo if necessary.
Loosen the terminal screws or remove the existing wire connectors according to the current installation.
Disconnect the old switch while keeping the wires separated and identifiable.
Be careful not to damage the copper conductors.
Step 5: Prepare the Wires
Inspect the exposed wire ends.
If necessary, trim damaged copper and strip the amount of insulation specified by the smart dimmer manufacturer.
Keep the exposed copper within the recommended length.
What You Should See: Conductors should be clean, undamaged, and ready to make secure connections.
If Yours Looks Different: Replace damaged wire connectors and don’t reuse badly nicked or damaged wire ends.
Step 6: Connect the Smart Dimmer
Follow the manufacturer’s wiring diagram exactly.
Connect each required conductor to its corresponding smart dimmer lead or terminal.
Depending on the model, this may include:
- Line
- Load
- Neutral
- Ground
Secure each connection using the method specified by the manufacturer.
Gently tug each connection to make sure it’s secure.
What You Should See: Every required conductor should be firmly connected with no loose copper extending outside the connector.
Step 7: Carefully Fold the Wires Into the Box
Smart dimmers are often deeper than standard light switches.
Carefully fold the wires into the electrical box rather than forcing the dimmer straight backward.
Position wire connectors so they fit behind or alongside the dimmer.
Don’t pinch or sharply bend conductors.
💡 Pro Tip: Take your time here. A crowded electrical box is one of the biggest challenges when installing a smart switch or dimmer.
Step 8: Mount the Smart Dimmer
Position the dimmer vertically.
Install the mounting screws and tighten them until the device sits securely against the electrical box.
Don’t overtighten the screws.
Install the wall plate.
What You Should See: The dimmer should sit straight and flush with the wall without rocking or being forced outward by the wiring.
Step 9: Restore Power
Return to the electrical panel.
Turn the breaker back on.
Watch and listen for anything unusual when power is restored.
What You Should See: The smart dimmer’s indicator light should illuminate or enter its normal startup mode.
If Yours Looks Different: If the breaker trips, the dimmer doesn’t power up, or you notice buzzing, heat, smoke, or a burning smell, turn the breaker back off immediately.
Step 10: Test the Dimmer Manually
Before setting up the smart features, test the physical controls.
Turn the light on and off.
Increase the brightness.
Lower the brightness.
Run the dimmer through several brightness levels.
What You Should See: The light should turn on and off normally and dim smoothly through its usable range.
If Yours Looks Different: Flickering, flashing, buzzing, or poor dimming performance may indicate incompatible bulbs, an incorrect dimmer setting, or another compatibility issue.
Step 11: Connect the Smart Dimmer to Wi-Fi
Download or open the manufacturer’s app.
Follow the instructions to add the smart dimmer.
You’ll typically need to:
- Put the dimmer into pairing mode
- Select the device in the app
- Choose your Wi-Fi network
- Enter your Wi-Fi password
- Wait for the dimmer to connect
- Give the device a recognizable name
The exact pairing procedure varies by manufacturer.
Step 12: Test the Smart Controls
Use the app to:
- Turn the light on
- Turn the light off
- Increase brightness
- Decrease brightness
Then test the physical dimmer again.
What You Should See: Both the wall controls and the app should operate the light normally.
Step 13: Adjust the Dimming Range
Some smart dimmers allow you to set minimum and maximum brightness levels.
If your bulbs flicker or shut off at very low brightness, use the app or dimmer controls to raise the minimum brightness setting.
Test several levels until the bulbs dim smoothly.
This can make a major difference with LED lighting.
Step 14: Set Up Smart Features
Once everything works correctly, configure any additional features you want.
Depending on the model, these may include:
- Lighting schedules
- Timers
- Scenes
- Vacation settings
- Voice control
- Sunrise and sunset routines
- Automated brightness levels
Start with one or two useful automations rather than enabling everything at once.
❌ Common Mistakes
Problem: The smart dimmer won’t power on.
Solution: Verify the breaker is on and check that the wiring matches the manufacturer’s diagram. Some smart dimmers require a neutral connection to operate.
Problem: The lights flicker when dimmed.
Solution: Confirm the bulbs are dimmable and compatible with the smart dimmer. Adjust the minimum brightness setting if supported.
Problem: The dimmer works manually but won’t connect to Wi-Fi.
Solution: Troubleshoot the wireless connection separately from the electrical installation. Confirm the network meets the manufacturer’s requirements and repeat the pairing procedure.
Problem: The dimmer won’t fit inside the electrical box.
Solution: Carefully reorganize the conductors and wire connectors. Never force the dimmer into an overcrowded box.
Problem: The breaker trips after installation.
Solution: Turn the breaker back off immediately. Recheck the installation before restoring power again. If you’re unsure what caused the trip, call an electrician.
💡 Pro Tip
Get the dimmer working perfectly as a regular wall control before worrying about Wi-Fi, voice assistants, schedules, or automations.
Troubleshooting one system at a time makes it much easier to determine whether a problem is electrical, bulb-related, or network-related.
❓ FAQs
Do smart dimmer switches need a neutral wire?
Many do, but not all. Check the requirements for your specific model before purchasing or installing it.
Can I install a smart dimmer without a neutral wire?
Certain smart dimmers are specifically designed for installations without a neutral. Don’t simply omit a required neutral connection from a model that requires one.
Do I need special light bulbs for a smart dimmer?
You need bulbs that are compatible with dimming and with the particular dimmer. LED bulb compatibility is especially important.
Can I use smart bulbs with a smart dimmer switch?
Usually, conventional dimmable bulbs are the better choice unless both products are specifically designed to work together. Cutting or varying power to many smart bulbs can interfere with their electronics and wireless connection.
Why do my LED bulbs flicker with the new dimmer?
The bulbs may be incompatible with the dimmer, the minimum brightness may be set too low, or there may be another installation issue.
Can I install a smart dimmer on a 3-way light?
Yes, if the smart dimmer is designed for that application and installed according to its specific wiring instructions.
Does a smart dimmer still work if the Wi-Fi goes out?
Most smart dimmers continue to function as physical wall controls when Wi-Fi or internet service is unavailable, although remote features may stop working.
👷 When to Call a Professional
Call a licensed electrician if:
- You can’t confidently identify the wiring
- The wiring doesn’t match the manufacturer’s diagrams
- There are damaged or burned wires
- The electrical box is excessively crowded
- The breaker trips after installation
- The dimmer becomes unusually hot
- You hear crackling or unusual buzzing
- You smell burning
- You’re working with an unfamiliar multi-location circuit
- You’re uncomfortable completing any part of the installation