
Safety First
If the smart switch is already installed, you generally do not need to remove the wall plate or touch any wiring just to connect it to Wi-Fi. Leave the electrical components in place and follow the manufacturer’s pairing/reset procedure. If you do need to access the wiring, turn off the circuit at the breaker and verify power is off first.
Time
5-15 Minutes
Difficulty
Easy
Cost
$0
🧰 Tools & Materials
- Smartphone or tablet
- Manufacturer’s smart-home app
- Home Wi-Fi network name and password
- Installed smart light switch
- Access to your Wi-Fi router, if troubleshooting is needed
🔍 Signs Your Smart Light Switch Needs to Be Connected to Wi-Fi
You may need to connect or reconnect your smart light switch if:
- You just installed the switch
- The switch works manually but not through the app
- You recently changed your Wi-Fi network or password
- The switch shows as offline in the app
- Voice controls have stopped working
- You replaced or reset your router
- The switch’s indicator light is blinking or showing a connection error
If the switch itself still needs to be installed, start with our How to Install a Smart Light Switch guide before attempting Wi-Fi setup.
📝 Before You Start
Check the instructions for your specific smart switch because pairing procedures vary between manufacturers.
Before beginning:
- Make sure the smart switch has power
- Connect your phone to your home Wi-Fi
- Turn on Bluetooth if the manufacturer requires it
- Install the manufacturer’s app
- Create or sign in to your account
- Keep your phone near the switch during setup
- Have your Wi-Fi password ready
Many smart switches use a 2.4 GHz Wi-Fi network for initial setup. Check your switch’s specifications before troubleshooting the network.
💡 Pro Tip: If your router combines 2.4 GHz and 5 GHz under one network name, don’t immediately start changing router settings. Try the manufacturer’s normal setup procedure first. Many modern systems handle the connection automatically.
Step 1: Make Sure the Smart Switch Has Power
Press the smart switch manually.
Confirm that it can turn the connected light on and off.
Look for an indicator light on the switch.
What You Should See: The switch should operate the light normally and show some indication that it has power.
If Yours Looks Different: If the switch doesn’t operate manually, you may have an installation or electrical problem rather than a Wi-Fi problem. Review our How to Fix a Light Switch That Isn’t Working guide before continuing.
Step 2: Connect Your Phone to Wi-Fi
Open the Wi-Fi settings on your phone.
Connect to the home network you want the smart switch to use.
Stay near the smart switch and router during initial setup if possible.
What You Should See: Your phone should show a stable connection to your home Wi-Fi network.
Step 3: Open the Manufacturer’s App
Open the app used with your smart switch.
Sign in or create an account if necessary.
Look for an option such as:
- Add Device
- Add Product
- Set Up Device
- Pair Device
- A “+” symbol
Select the appropriate smart switch or lighting device.
Step 4: Put the Smart Switch Into Pairing Mode
Follow the manufacturer’s instructions to activate pairing mode.
This commonly involves holding one of the switch’s buttons for several seconds, but the exact procedure varies by model.
Don’t repeatedly press or reset the switch unless the manufacturer instructs you to.
What You Should See: An indicator light will typically begin blinking or change its pattern to show that the switch is ready to pair.
If Yours Looks Different: Check the manufacturer’s pairing instructions. Different blinking patterns can indicate different setup modes or errors.
Step 5: Add the Switch in the App
Return to the manufacturer’s app.
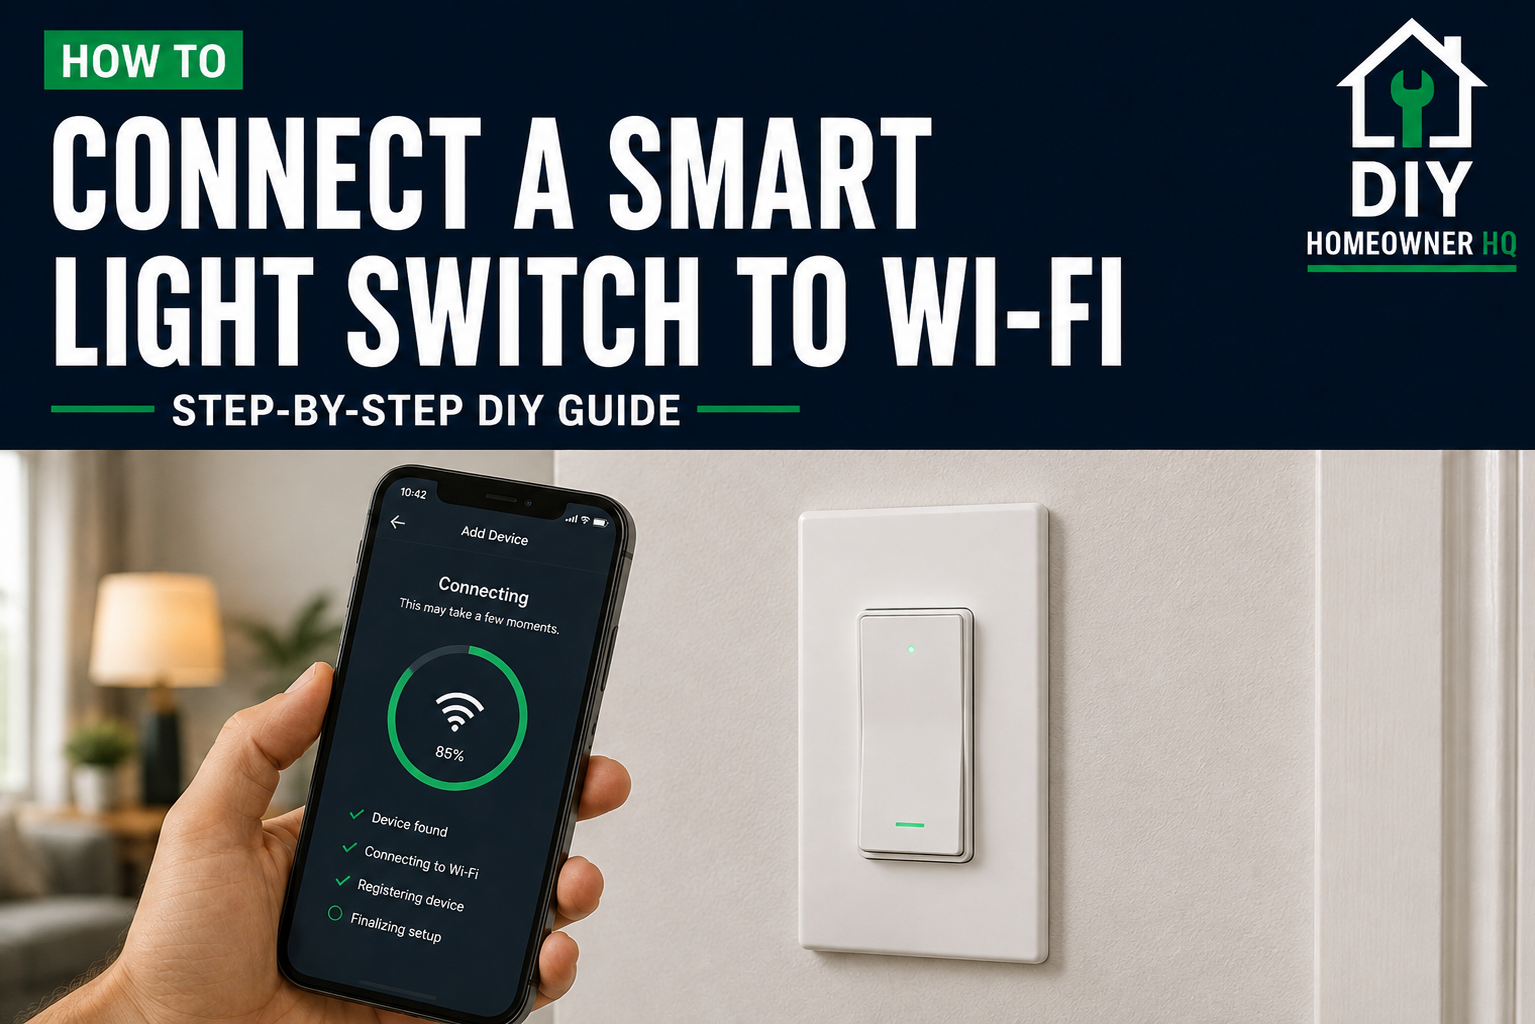
Follow the prompts to locate and add the smart switch.
The app may use Bluetooth temporarily to find the switch before transferring your Wi-Fi information.
Keep your phone close to the switch while this happens.
What You Should See: The app should recognize the smart switch and move you to the network setup screen.
Step 6: Enter Your Wi-Fi Information
Select your home Wi-Fi network if prompted.
Enter the Wi-Fi password carefully.
Double-check capitalization and special characters before continuing.
Allow the app time to send the network information to the switch.
What You Should See: The app should begin connecting or registering the smart switch.
Step 7: Wait for the Connection to Finish
Don’t close the app or reset the switch while setup is in progress.
Pairing can take a minute or two depending on the device and network.
Watch the switch’s indicator light and the progress shown in the app.
What You Should See: The app should confirm that the smart switch has successfully connected.
If Yours Looks Different: If setup fails, try the connection again before resetting anything. Confirm that your Wi-Fi password is correct and that the phone has a strong network connection.
Step 8: Name the Smart Switch
Give the switch a clear name based on its location or function.
Examples include:
- Kitchen Lights
- Porch Light
- Bedroom Light
- Living Room Lights
- Hallway Light
Clear names become especially useful if you later connect the switch to a voice assistant or larger smart-home system.
Step 9: Test the Switch From Your Phone
Use the app to turn the light off.
Wait a few seconds and turn it back on.
Then test the physical wall switch.
What You Should See: Both the app and the wall switch should control the light normally, and the app should accurately display whether the light is on or off.
Step 10: Test the Connection Away From Wi-Fi
If the manufacturer supports remote control, temporarily turn off Wi-Fi on your phone and use cellular data.
Open the app and try controlling the switch again.
What You Should See: A properly configured cloud-connected smart switch should respond remotely if that feature is supported.
Step 11: Connect Other Smart-Home Services
If desired, connect the switch to a compatible smart-home platform or voice assistant.
Follow the manufacturer’s instructions for linking accounts and authorizing the device.
Once connected, test a simple command to make sure everything communicates correctly.
💡 Pro Tip: Use simple, distinct device names. Calling a switch “Kitchen Lights” is usually much easier for voice control than leaving the manufacturer’s default device name.
❌ Common Mistakes
Problem: The smart switch won’t enter pairing mode.
Solution: Follow the exact button sequence and timing specified by the manufacturer. Holding the wrong button or holding it too long may trigger a factory reset instead.
Problem: The app finds the switch but won’t connect it to Wi-Fi.
Solution: Double-check your network password and verify that your Wi-Fi setup meets the switch manufacturer’s requirements.
Problem: The switch worked before changing routers but now shows offline.
Solution: Reconnect the switch using the new network credentials. If the Wi-Fi name or password changed, the switch usually won’t reconnect automatically.
Problem: The switch works manually but not through the app.
Solution: Check whether the switch appears online in the app and confirm your home’s internet connection is working.
Problem: The switch frequently goes offline.
Solution: Check Wi-Fi signal strength near the switch. Walls, electrical boxes, distance from the router, and other obstacles can weaken the connection.
💡 Pro Tip
After everything is working, avoid factory-resetting the switch unless troubleshooting instructions specifically require it. A factory reset can erase the network connection and other settings, forcing you to repeat the setup process.
❓ FAQs
Why won’t my smart light switch connect to Wi-Fi?
Common causes include an incorrect Wi-Fi password, weak signal strength, the switch not being in pairing mode, network compatibility issues, or an incomplete setup in the manufacturer’s app.
Does a smart light switch need 2.4 GHz Wi-Fi?
Many models use 2.4 GHz Wi-Fi, but requirements vary. Check the specifications for your particular switch before changing router settings.
Do I need to turn off the breaker to connect a smart switch to Wi-Fi?
Normally, no. If the switch is already installed and working, Wi-Fi pairing is typically completed through the switch controls and smartphone app without accessing the wiring.
Can I still use the light switch if the Wi-Fi goes down?
Most properly installed smart switches continue to work as physical wall switches without an internet connection, although remote and cloud-based features may be unavailable.
Why is the light on my smart switch blinking?
A blinking indicator may mean the switch is in pairing mode, has lost its network connection, or is reporting another status. Check the manufacturer’s instructions for the meaning of the specific light pattern.
What happens if I change my Wi-Fi password?
The smart switch may need to be reconnected using the new network credentials.
Should I reset the smart switch if it won’t connect?
Try the manufacturer’s normal reconnection steps first. A factory reset should generally be a later troubleshooting step because it can erase the switch’s existing settings.
👷 When to Call a Professional
Connecting an already-installed smart switch to Wi-Fi normally doesn’t require an electrician.
However, stop and call a licensed electrician if the switch doesn’t operate manually, becomes unusually hot, makes buzzing or crackling sounds, produces a burning smell, or shows other signs of an electrical problem.
If the problem is limited to Wi-Fi pairing or the manufacturer’s app, contact the smart switch manufacturer’s technical support instead.