
Safety First
If water is leaking near electrical outlets, appliances, or the electrical panel, do not step into standing water or touch electrical equipment. Shut off power only if you can safely reach the breaker panel. Never force a stuck or badly corroded shutoff valve—it can break and cause a larger leak. If your home does not have an accessible main shutoff, contact a plumber or your water utility rather than operating the utility-owned street valve yourself.
Time
10-20 Minutes
Difficulty
Easy
Cost
$0-$20
🧰 Tools & Materials
Tools
- Flashlight
- Adjustable wrench, only if your shutoff valve is designed to be operated with one
- Flathead screwdriver, if your valve has a slotted head
- Phone for taking a reference photo
Materials
- Towel or small bucket
- Valve identification tag or permanent marker
- Penetrating oil, only if recommended for the valve and used before an emergency
Signs You May Need to Shut Off the Main Water Supply
Shutting off the main water supply stops water from entering the plumbing throughout your house. You may need to do this when:
- A pipe has burst or developed a major leak
- Water is leaking and the nearby fixture valve will not close
- You are replacing a plumbing fixture without working shutoff valves
- A supply line has broken
- Plumbing work requires the entire system to be drained
- You need to stop uncontrolled water while waiting for a plumber
For repairs involving only one fixture, use its individual shutoff valve when possible. For example, you normally would not need to shut off the entire house when following How to Fix a Leaky Bathroom Faucet if both valves beneath the sink work properly.
Before You Start
First, determine whether your home receives water from a municipal water system or a private well.
Homes connected to a municipal system usually have a main shutoff valve shortly after the water service line enters the house. There may also be a utility-owned valve near the street or water meter. Do not operate the utility valve unless your water provider allows homeowners to do so.
A home with a private well normally has a pressure tank, pressure switch, pump controls, and one or more shutoff valves. Turning off a valve alone may not prevent the well pump from continuing to build pressure. Shut off power to the well pump at the correct breaker before draining or opening the plumbing system.
If you are shutting off and draining the water for an extended repair, check the instructions for your water heater, boiler, whole-house humidifier, fire-sprinkler system, and other water-fed equipment. Some equipment must be turned off or isolated before the plumbing is drained.
💡 Pro Tip: Locate and label your main shutoff before you have a leak. Make sure every adult in the home knows where it is and how it operates.
Step 1: Check for a Fixture Shutoff Valve
If the problem is limited to one toilet, sink, appliance, or other fixture, look for a nearby shutoff valve first.
Common locations include:
- Beneath a sink
- Behind a toilet
- Behind or beside a washing machine
- Near a water heater
- Beneath an access panel for a tub or shower
Turn a wheel-style fixture valve clockwise until it stops, or rotate a quarter-turn lever so it is perpendicular to the connected pipe.
If a toilet valve will not close completely or starts leaking when moved, the procedure in How to Replace a Toilet Shut-Off Valve explains how that valve is addressed after the home’s main water supply is safely controlled.
What You Should See: Water should stop flowing from the affected fixture after the remaining pressure drains.
If Yours Looks Different: If the fixture has no accessible valve, the valve will not move, or water continues flowing, proceed to the main house shutoff.
Step 2: Locate the Main Water Shutoff Valve
Follow the incoming water service line to the point where it enters your house.
Depending on the home, the main shutoff may be located:
- Along the front foundation wall in a basement
- In a crawlspace near the point where the water line enters
- In a utility room
- Near the water heater
- In the garage
- Inside a mechanical closet
- On an exterior wall in a warm climate
- In an underground meter or valve box near the street
Look for a larger pipe with a lever-style ball valve or round-handled gate valve. The main shutoff is normally installed before the plumbing branches to individual fixtures.
Do not confuse the main shutoff with a valve serving only the water heater, irrigation system, or one section of the house.
What You Should See: One valve should control the incoming cold-water line before it divides into smaller supply lines.
If Yours Looks Different: Some homes have several valves together or an older plumbing layout that is difficult to follow. Do not turn unidentified valves connected to gas piping, fire sprinklers, boilers, or other mechanical equipment.
Step 3: Identify the Type of Shutoff Valve
Most homes have either a lever-operated ball valve or a round-handled gate valve.
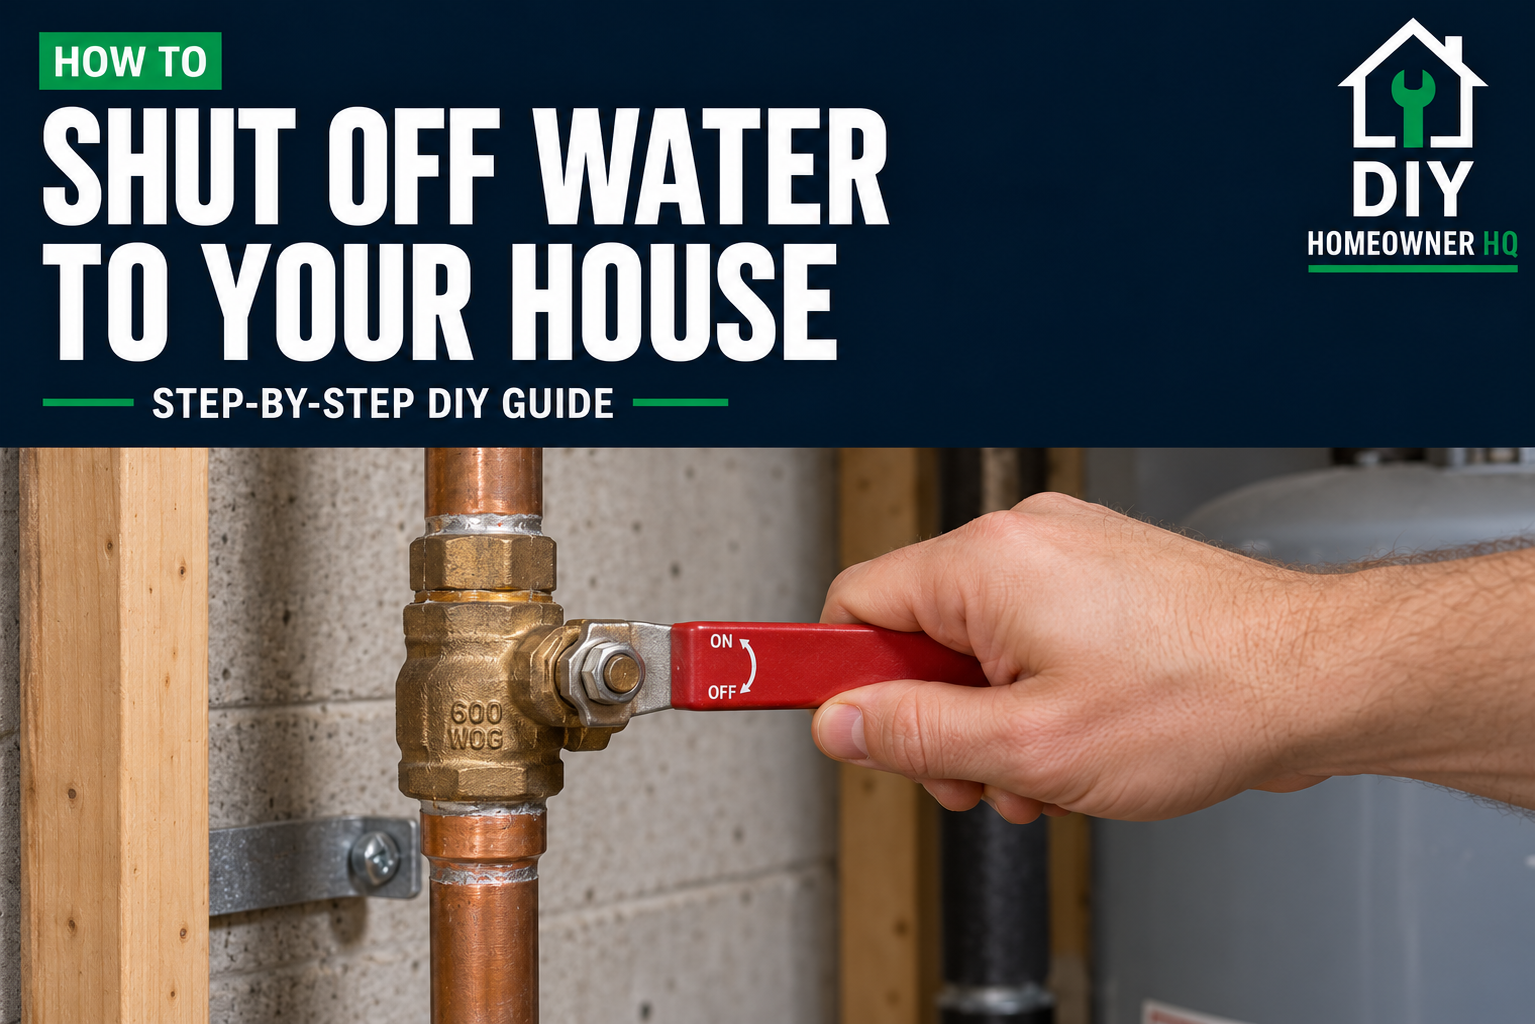
A ball valve has a straight lever handle and requires only a quarter turn:
- Handle parallel with the pipe means the valve is open.
- Handle perpendicular to the pipe means the valve is closed.
A gate valve usually has a round handle that turns several times:
- Turn it clockwise to close the valve.
- Turn it counterclockwise to open the valve.
Older homes may have other valve styles. Examine the valve carefully before applying force.
What You Should See: The valve should be securely attached to the main supply pipe without heavy corrosion, cracking, or active leakage.
If Yours Looks Different: If the handle is missing, the valve is heavily corroded, or you cannot confidently identify how it works, leave it alone and contact a plumber.
Step 4: Close the Main Shutoff Valve
For a ball valve, move the lever slowly through one-quarter turn until it is perpendicular to the pipe.
For a gate valve, turn the round handle clockwise using steady, gentle pressure. Stop when it is closed; do not overtighten it.
Watch the valve body, handle stem, and nearby pipe connections while operating the valve. Stop if the valve begins twisting the pipe, cracking, or leaking significantly.
Do not use a wrench to force a standard lever or wheel handle. Additional leverage can break an old valve or damage the pipe.
What You Should See: The handle should move into the closed position without the valve body or pipe moving.
If Yours Looks Different: A gate-valve handle may turn without closing the valve if its internal parts have failed. A ball-valve handle that will not move may be seized. Do not continue forcing either type.
💡 Pro Tip: If an older valve moves normally but produces a small drip around its stem, place a towel underneath it and monitor the area. Do not disassemble or aggressively tighten a pressurized main valve.
Step 5: Relieve Pressure and Confirm the Water Is Off
Open a cold-water faucet at the lowest level of the house. Water may initially flow from pressure already stored inside the plumbing.
Open another faucet on an upper level to let air enter the system if you need to drain more of the piping.
Allow the water to run until it slows to a drip or stops. Avoid opening a hot-water faucet if you have not confirmed that the water heater can safely remain in service while the supply is off.
Check the original leak or plumbing fixture again before beginning any repair.
What You Should See: Water flow should steadily weaken and stop after the remaining pressure leaves the pipes.
If Yours Looks Different: A brief trickle may be water draining from higher sections of pipe. Strong, continuous flow after several minutes usually means the main valve did not close completely, you operated the wrong valve, or another water source is feeding the system.
Step 6: Restore the Water Supply Slowly
Finish the repair and make sure every disconnected pipe, supply line, and fixture connection has been properly reassembled.
Close most faucets, but leave one cold-water faucet partially open to let trapped air escape.
Slowly reopen the main valve:
- Rotate a ball-valve handle until it is parallel with the pipe.
- Turn a gate-valve handle counterclockwise until fully open, then follow the valve manufacturer’s instructions. Do not leave it partially open unless it is designed for flow control.
Listen for water filling the pipes. Once the open faucet produces a steady stream without sputtering, close it.
Inspect the main valve, repaired area, supply connections, and nearby fixtures for leaks. If the work involved a toilet, watch for continued filling or leakage using the checks described in How to Fix a Leaky Toilet.
What You Should See: Water pressure should return gradually, air should clear from the faucet, and every inspected connection should remain dry.
If Yours Looks Different: Shut the water off again if a connection leaks, a pipe moves, or you hear severe banging. Correct the problem before repressurizing the system.
If Something Goes Wrong
Problem: You cannot find the main shutoff valve.
Solution: Follow the visible water service line from the meter or foundation entry point. Check the basement, crawlspace, garage, utility room, and exterior wall. Review your home inspection report or contact your water utility or a plumber if the valve remains inaccessible.
Problem: The valve handle will not move.
Solution: Do not force it with a wrench or pipe. A seized valve or weakened pipe can break under additional leverage. Have a plumber service or replace the valve.
Problem: The valve closes, but water continues flowing.
Solution: Wait several minutes to rule out water draining from the pipes. If strong flow continues, verify that you closed the correct valve. The main valve may have failed internally if it is correctly identified but cannot stop the water.
Problem: The valve begins leaking around its handle.
Solution: Keep the area contained with a towel or bucket and monitor the leak. If it continues or worsens, contact a plumber. Do not remove the handle or packing nut while the line remains pressurized.
Problem: The pipes bang when the water is restored.
Solution: Close the main valve again and reopen it more slowly. Leave a cold-water faucet partially open so trapped air can escape as the plumbing refills.
Problem: Cloudy or discolored water appears afterward.
Solution: Run the cold water from a bathtub spout or another fixture without a small aerator until it clears. Remove and rinse faucet aerators if sediment has reduced the flow.
🛑 Common Mistakes to Avoid
- Waiting for an emergency before locating the main shutoff
- Confusing a fixture, irrigation, or water-heater valve with the main valve
- Forcing a seized or corroded valve
- Using a wrench to gain leverage on an ordinary valve handle
- Operating the utility-owned curb stop without permission
- Forgetting to switch off a private well pump when appropriate
- Beginning a repair before confirming that water flow has stopped
- Draining the system without considering the water heater or boiler
- Reopening the main valve too quickly
- Failing to inspect the main valve and repaired connections after restoring pressure
❓ FAQs
Where is the main water shutoff valve usually located?
It is commonly installed near the point where the water service line enters the house. Check the basement, crawlspace, garage, utility room, mechanical closet, or an exterior wall near the water meter.
Which direction turns the water off?
Turn a round gate-valve handle clockwise. Rotate a ball-valve lever one-quarter turn until the handle is perpendicular to the pipe.
How can I tell whether the water is completely off?
Open a cold-water faucet and wait for the stored pressure to drain. The main supply is controlled when the water slows to a drip or stops instead of continuing at normal pressure.
Should I shut off the water at the street?
Not unless your water utility permits homeowners to operate that valve. Street-side curb stops and some meter valves belong to the utility and may require a special tool. Contact the utility or a plumber when the indoor main valve cannot control the water.
Do I need to turn off my water heater?
Not for every brief shutoff. However, turn off or isolate the water heater as directed by its manufacturer if the tank may be drained, the repair will last an extended time, or the work affects the water-heater piping. Never energize an electric water heater unless its tank is full.
Should I shut off the main water when leaving for vacation?
Doing so can reduce damage from some plumbing leaks, but it may affect water heaters, boilers, well systems, fire sprinklers, humidifiers, and other equipment. Review the requirements for every connected system before shutting off the supply for an extended period.
How often should I test the main shutoff valve?
Inspect it periodically and operate it according to the valve manufacturer’s recommendations. If it is difficult to move, heavily corroded, or unable to stop the water completely, arrange to have it serviced before an emergency occurs.
📞 When to Call a Professional
Contact a licensed plumber if:
- You cannot locate or confidently identify the main shutoff
- The valve is seized, damaged, or badly corroded
- The valve begins leaking when operated
- The handle turns without stopping the water
- The pipe moves or twists with the valve
- Your only shutoff is a utility-owned curb stop
- The home has an unfamiliar well, boiler, or fire-sprinkler arrangement
- Water continues flowing after the correct valve is closed
- The main shutoff needs to be repaired or replaced
If water is actively causing damage and the indoor valve does not work, call your water utility’s emergency number or a plumber immediately.