
Safety First
Keep the room well ventilated while painting, and wear eye protection and a dust mask when sanding or repairing walls. If your home was built before 1978, test existing paint for lead before sanding or scraping it.
Time
4-6 Hours
Difficulty
Easy
Cost
$40-$100
🧰 Tools & Materials
Tools
- Paint roller and roller frame
- Extension pole
- 2- to 2½-inch angled paintbrush
- Paint tray
- Putty knife
- Sanding sponge or 180–220 grit sandpaper
- Clean rags
Materials
- Interior wall paint
- Primer, if needed
- Spackle or patching compound
- Painter’s tape
- Drop cloths
🔎 Signs Your Walls Are Ready for a Fresh Coat
- The existing color looks faded or outdated
- Walls have scuffs, stains, or discoloration
- Previous touch-ups no longer blend
- You’re changing the color of the room
- The existing paint is firmly bonded but simply needs refreshing
📝 Before You Buy
In many cases, previously painted walls can be painted again without priming the entire room.
Primer is more important when covering stains, repairing bare drywall, making a dramatic color change, or painting over a slick surface that may cause adhesion problems.
Choose an interior paint in the sheen you want and estimate enough for two coats if you’re making a noticeable color change.
🛠️ Before You Start
Move furniture away from the walls and protect the floor with drop cloths. Remove outlet and switch covers, then clean dust, fingerprints, grease, and other buildup from the walls.
Inspect the existing paint before continuing. Peeling, bubbling, or loose paint should be repaired instead of simply painted over. Follow our How to Fix Peeling Paint guide before repainting damaged areas.
Step 1: Repair Holes and Imperfections
Fill nail holes, dents, and small damaged areas with spackle or patching compound. For small fastener holes, our How to Repair and Paint Nail Holes guide walks through the repair in more detail.
Allow the repairs to dry, then sand them smooth and remove the dust.
What You Should See: Repairs should feel level with the surrounding wall without noticeable raised edges.
If Yours Looks Different: Peeling or bubbling areas may indicate an adhesion or moisture problem that should be corrected before repainting.
Step 2: Clean and Lightly Sand Where Needed
Wipe down dirty or greasy areas so the new paint has a clean surface to bond to.
If the existing finish is glossy, lightly sand it to dull the sheen. You usually don’t need to sand an entire wall if the existing paint is clean, sound, and already has a relatively flat finish.
💡 Pro Tip: Kitchens, bathrooms, and areas around light switches often need more cleaning than the rest of the room.
Step 3: Prime Where Necessary
Spot-prime repaired areas, bare drywall, stains, and other exposed surfaces.
If you’re making a dramatic color change or painting over a particularly slick finish, priming the entire wall may help provide more consistent coverage. If you’re covering a much darker existing color, see our How to Paint Over a Dark Color guide for the full process.
What You Should See: Repaired and problem areas should be sealed so they don’t absorb the new paint differently from the surrounding wall.
Step 4: Cut In Around the Edges
Use an angled brush to paint along the ceiling, corners, baseboards, windows, doors, and other areas the roller can’t easily reach.
Work on one wall at a time so you can begin rolling while the cut-in paint is still relatively fresh.
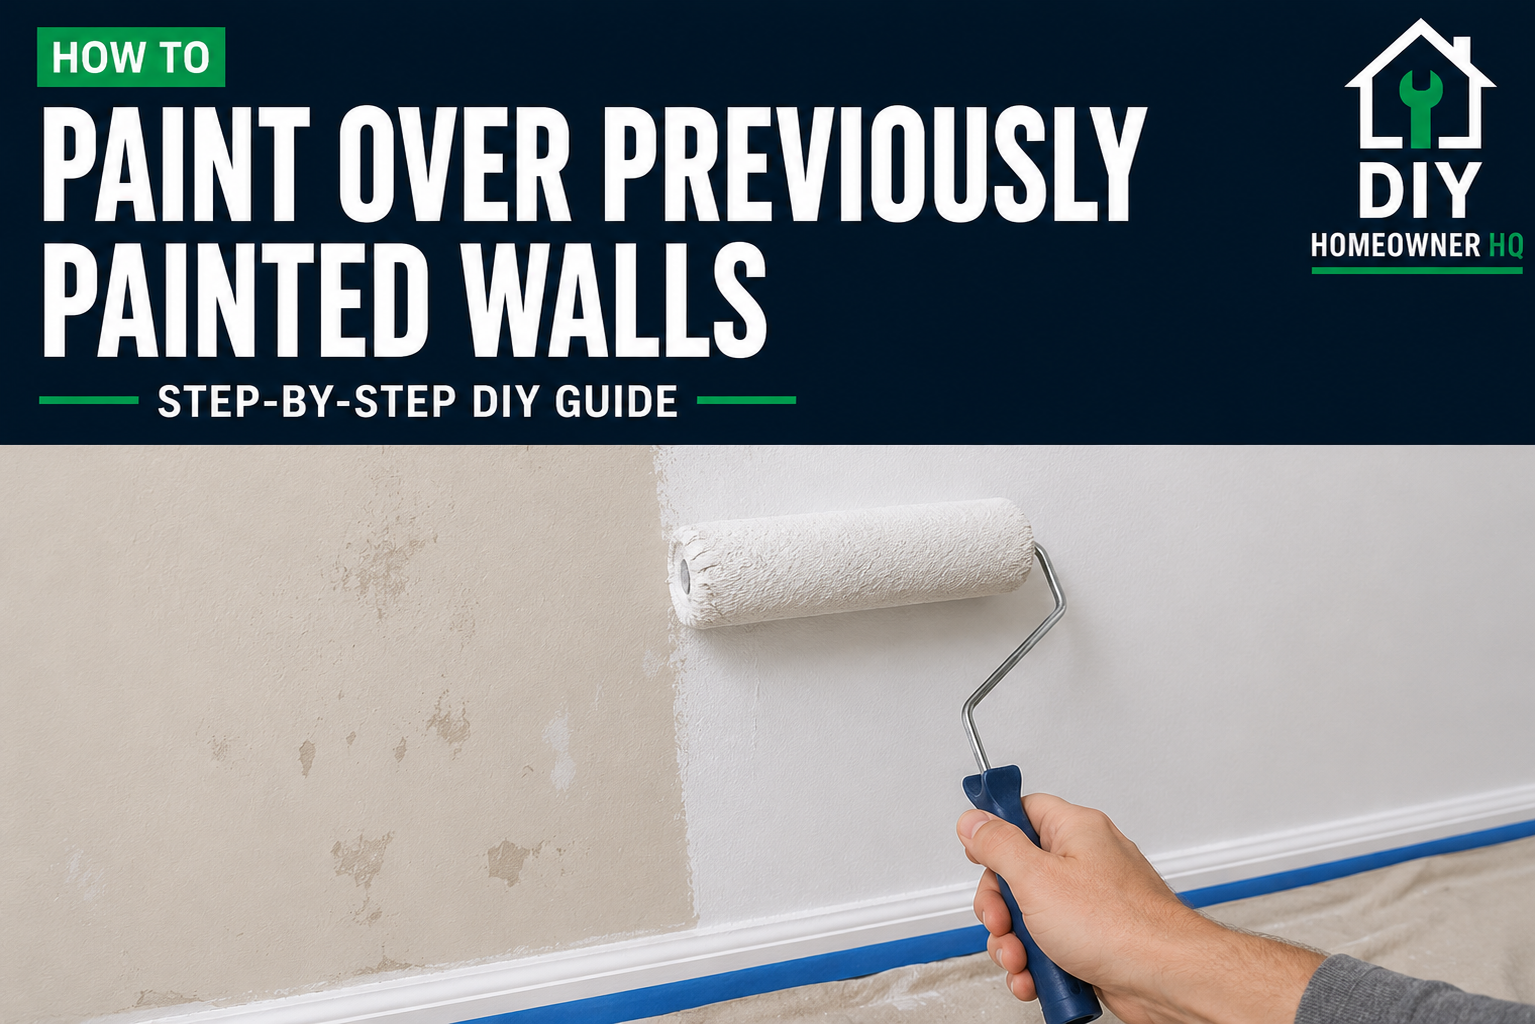
Step 5: Roll the Walls
Load the roller evenly and remove excess paint in the tray.
Roll the wall in manageable sections, overlapping each pass slightly to maintain consistent coverage. Finish each section with light strokes in the same direction.
What You Should See: The first coat should have consistent coverage without heavy roller lines, drips, or obvious missed spots.
If Yours Looks Different: Patchy coverage after the first coat is normal when making a significant color change. Don’t compensate by applying the paint too heavily.
Step 6: Apply the Second Coat
Allow the first coat to dry for the manufacturer’s recommended recoat time.
Apply the second coat using the same cutting-in and rolling technique. Check the wall from several angles for thin spots before finishing.
💡 Pro Tip: Two thin coats generally provide a smoother, more consistent finish than trying to cover the old color with one heavy coat.
Step 7: Remove Tape and Reassemble the Room
Carefully remove painter’s tape before the paint becomes fully hardened.
Once the walls are dry, reinstall outlet and switch covers and move furniture back into place.
⚠️ Common Mistakes to Avoid
- Painting over dirty or greasy walls
- Painting directly over peeling paint
- Skipping repairs to holes and dents
- Skipping primer over bare drywall or stains
- Applying paint too heavily
- Overworking paint after it begins drying
- Assuming every previously painted wall needs a full coat of primer
❓ Frequently Asked Questions
Do I need to prime previously painted walls?
Not always. If the existing paint is clean, firmly bonded, and compatible with the new paint, you can often repaint without priming the entire wall.
Do I need to sand walls before repainting?
Usually only where the surface is rough, repaired, or particularly glossy. Walls in good condition often need little or no sanding.
Can I paint directly over old paint?
Yes, as long as the existing coating is clean, firmly attached, and properly prepared.
How many coats of paint will I need?
Two coats are common, particularly when changing colors. Similar colors may sometimes cover adequately with fewer coats depending on the paint and surface.
What if I’m painting latex paint over old oil-based paint?
Proper preparation is especially important. Clean and dull the old finish and use an appropriate bonding primer before applying the new coating.
☎️ When to Call a Professional
Consider professional help if the walls have widespread peeling, recurring moisture damage, extensive drywall repairs, or suspected lead-based paint that will need to be disturbed.