
Safety First
Wear eye protection and a dust mask when scraping, sanding, or cleaning exterior siding. Use ladders only on firm, level ground and never overreach—move the ladder instead. Keep clear of overhead electrical lines, and don’t paint wet siding or work during rain, strong winds, or extreme heat. If the home was built before 1978 and you’ll disturb existing paint, consider testing for lead before scraping or sanding.
Time
2-5 Days
Difficulty
Moderate
Cost
$150-$500
🧰 Tools & Materials
Tools
- Paint roller frame
- Exterior roller covers
- 2–3-inch angled paintbrush
- Extension pole
- Paint tray or bucket with roller grid
- Paint scraper
- Putty knife
- Sanding block or sanding sponge
- Caulk gun
- Garden hose
- Stiff-bristle cleaning brush
- Ladder, if needed
Materials
- Exterior paint compatible with your siding
- Exterior primer, if needed
- Exterior paintable caulk
- Exterior patching compound, if needed
- Painter’s tape
- Drop cloths or plastic sheeting
- Exterior cleaning solution
- Stir sticks
Signs It’s Time to Paint Your Siding
Your siding may be ready for fresh paint if:
- The color is noticeably faded.
- The finish looks chalky or dull.
- Paint is cracking, peeling, or flaking.
- Bare wood or previously coated material is exposed.
- Caulk around windows and trim is failing.
- Previous touch-ups no longer blend.
- The exterior simply needs a color update.
Peeling paint isn’t always just an age problem. Persistent moisture behind the siding can cause new paint to fail again.
Before You Buy
First, identify what type of siding you have.
Common paintable siding materials include:
- Wood
- Engineered wood
- Fiber cement
- Aluminum
- Previously painted vinyl
Choose an exterior paint specifically compatible with your siding material.
Vinyl deserves extra attention. Some manufacturers limit how dark you should paint vinyl siding because excessive heat absorption can contribute to warping. Follow the siding and paint manufacturers’ recommendations before making a dramatic color change.
For wood and fiber-cement siding, 100% acrylic exterior paint is a common choice.
Primer is especially important over:
- Bare wood
- Exposed siding material
- Repairs
- Stains
- Heavily weathered surfaces
- Areas where old paint has been scraped away
💡 Pro Tip: Buy enough paint for the entire project at once when possible. Large exterior surfaces make slight differences between batches much easier to notice.
Before You Start
Check the weather forecast before beginning.
The siding needs to remain within the temperature and moisture conditions specified by the paint manufacturer during application and drying.
Avoid starting immediately before:
- Rain
- Heavy dew
- Extreme heat
- Strong wind
- Very cold temperatures
Walk around the house and inspect the siding closely.
Look for:
- Rotten wood
- Loose siding
- Cracks
- Failed caulk
- Peeling paint
- Mildew or algae
- Water damage
- Insect damage
Repair those problems before painting.
Step 1: Clean the Siding
Remove dirt, dust, pollen, mildew, cobwebs, and other buildup.
A garden hose and stiff-bristle brush are sufficient for many homes. Use an exterior cleaning product where necessary.
Work from the top downward and rinse thoroughly.
If using a pressure washer, use caution. Excessive pressure can damage siding, force water behind it, or scar wood.
Allow the siding to dry completely before moving on.
What You Should See: Clean siding without loose dirt, chalky residue, mildew, or obvious surface contamination.
If Yours Looks Different: If the siding remains soft, rotten, swollen, or damaged after cleaning, repair or replace the affected material before painting.
Step 2: Scrape, Sand, and Repair Damaged Areas
Remove loose, peeling, and flaking paint with a scraper. If peeling is widespread or keeps returning, see How to Fix Peeling Paint to help identify and correct the underlying problem before applying a new finish.
You don’t necessarily need to remove every bit of firmly bonded existing paint.
Feather rough edges with sandpaper so there isn’t a sharp ridge between bare material and the remaining paint.
Repair damaged siding where appropriate.
Replace rotten boards rather than trying to hide deterioration with paint.
Remove sanding and scraping debris before continuing.
What You Should See: Remaining paint should be firmly attached, and transitions around scraped areas should feel reasonably smooth.
If Yours Looks Different: If large sections of paint release easily while scraping, the existing coating may have a broader adhesion or moisture problem that needs attention before repainting.
💡 Pro Tip: Exterior paint is only as durable as the surface underneath it. Spending extra time on loose paint now can save you from watching your new finish peel later.
Step 3: Caulk and Prime Where Needed
Inspect joints around:
- Window trim
- Door trim
- Corner boards
- Penetrations
- Previously caulked seams
Remove failed caulk and replace it with an exterior-grade paintable caulk where appropriate.
Don’t automatically seal drainage openings or every siding joint. Some siding systems are designed to allow water to drain and materials to move.
Prime bare siding, repairs, stains, and other areas that require it.
Allow the caulk and primer to dry according to their instructions.
What You Should See: Bare areas should be sealed with primer, and appropriate trim joints should have clean, intact caulk.
If Yours Looks Different: If you’re unsure whether a particular siding seam should be caulked, check the siding manufacturer’s installation guidance rather than sealing it automatically.
Step 4: Protect Windows, Doors, and Landscaping
Cover nearby surfaces you don’t want painted.
Protect windows, light fixtures, house numbers, outdoor outlets, concrete, decking, plants, and shrubs. If you’re refreshing the entire exterior and plan to paint the front door as well, it’s usually easier to treat it as a separate project rather than trying to paint it along with the siding.
Use drop cloths below the area you’re painting.
Avoid leaving plants tightly wrapped in plastic for extended periods, especially in direct sunlight.
Move outdoor furniture and other obstacles away from the house.
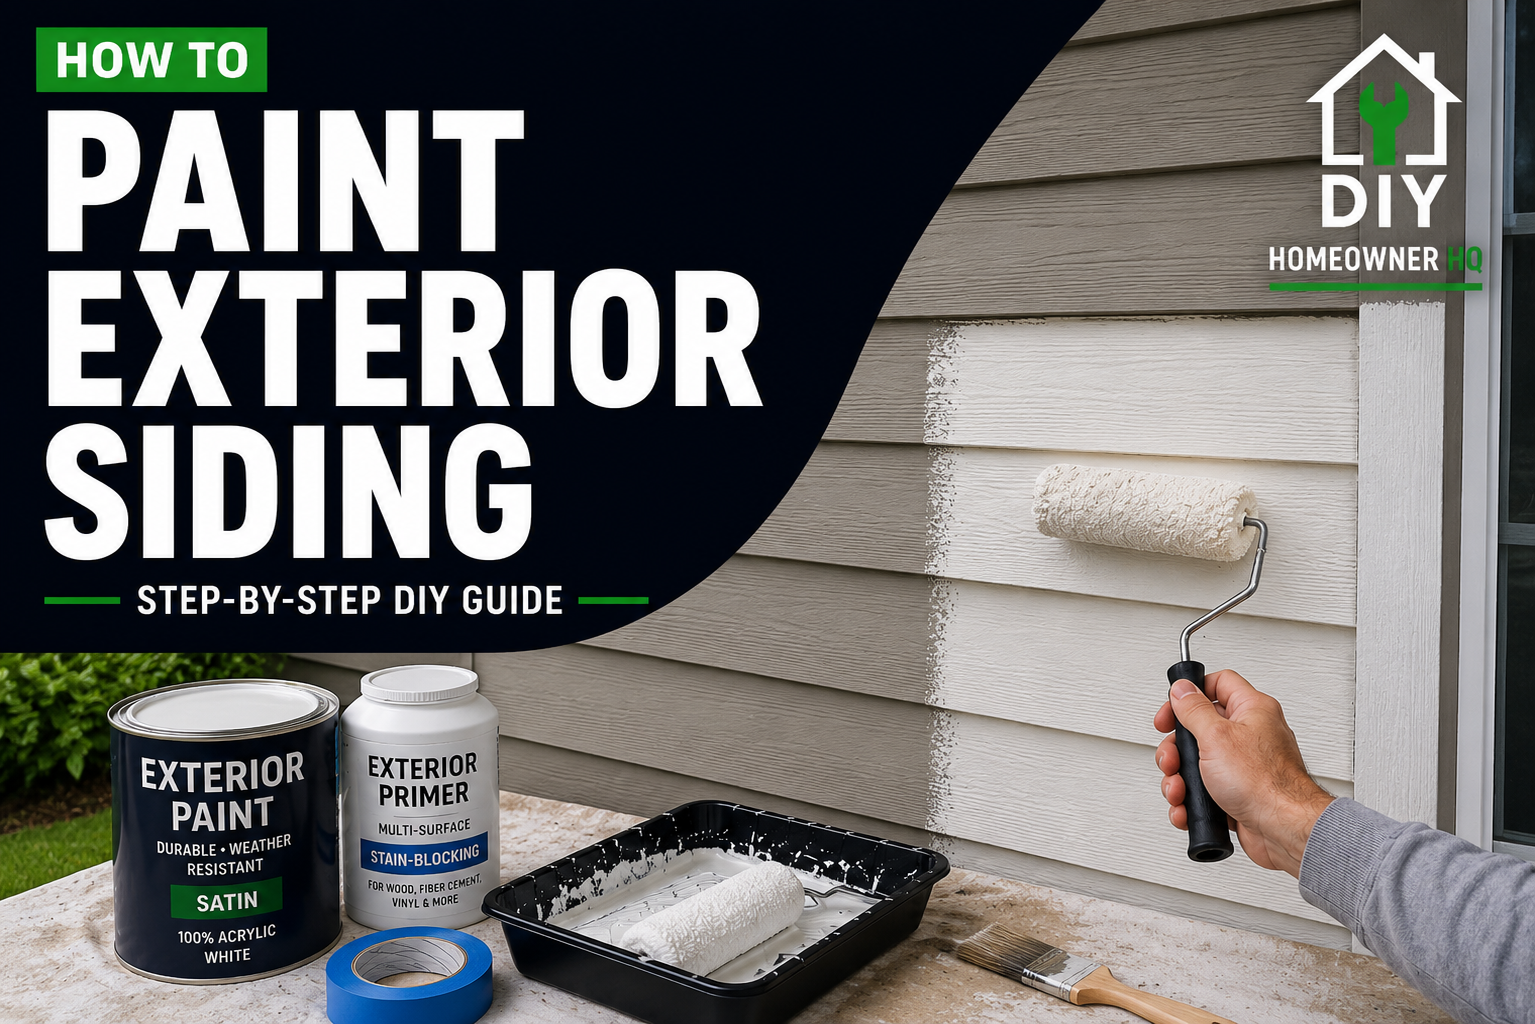
Step 5: Cut In and Apply the First Coat
Stir the exterior paint thoroughly.
Use an angled brush to cut in around windows, doors, corners, trim, and areas the roller can’t easily reach.
Then roll the larger siding surfaces where appropriate.
Work in manageable sections and maintain a wet edge.
On horizontal lap siding, work with the direction of the siding and pay attention to the lower edges of each course.
Don’t overload the roller or brush.
What You Should See: The first coat should have reasonably even coverage without heavy runs, missed edges, or thick paint buildup.
If Yours Looks Different: If the paint isn’t adhering or appears to bead on the surface, stop. The siding may still be wet, dirty, chalky, or incompatible with the coating you’re using.
💡 Pro Tip: Follow the shade when possible. Painting siding that’s extremely hot from direct sunlight can make the paint dry too quickly and become harder to work with.
Step 6: Inspect and Apply the Second Coat
Allow the first coat to dry for the full recoat time specified by the paint manufacturer.
Walk around the painted area and look for:
- Thin coverage
- Missed edges
- Runs
- Visible repairs
- Dark areas showing through
- Paint collecting along siding joints
Correct dried drips or rough areas before applying the next coat. If you find noticeable runs or hardened paint buildup, follow How to Fix Paint Drips and Runs before applying another coat.
Apply the second coat using the same method.
What You Should See: Once dry, the siding should have consistent color and coverage without obvious thin areas.
If Yours Looks Different: If the previous color still shows through after everything is completely dry, another coat may be needed in those areas.
Step 7: Remove Protection and Inspect the Exterior
Remove painter’s tape and protective coverings carefully.
Check around windows, doors, corners, fixtures, and trim for missed areas.
Look at the siding from several angles and from farther away. Large exterior walls can reveal uneven areas that are difficult to notice while standing directly beside them.
Touch up only after the paint has dried enough to accurately judge the finish.
Keep sprinklers and other sources of water away from freshly painted siding until the coating has had adequate time to dry and cure.
🛑 Common Mistakes to Avoid
- Painting dirty or chalky siding.
- Painting siding before it has completely dried.
- Painting over rotten or damaged wood.
- Skipping preparation on peeling paint.
- Using interior paint outside.
- Using paint that isn’t compatible with the siding material.
- Automatically caulking every siding seam.
- Painting in direct extreme heat.
- Painting when rain is expected too soon.
- Applying excessively heavy coats.
- Overreaching from a ladder instead of repositioning it.
- Using excessive pressure when pressure washing siding.
Troubleshooting Common Exterior Painting Problems
Problem: The new paint is peeling.
Poor surface preparation, moisture, incompatible coatings, or painting over unstable existing paint can all cause peeling. Determine why the coating failed before repainting.
Problem: The paint is bubbling or blistering.
Heat or moisture trapped beneath the coating can cause blisters. Allow the area to dry and determine whether moisture is entering from behind the siding before repairing the finish.
Problem: The paint is drying too quickly while I’m working.
The siding may be too hot or exposed to direct sun. Move to a shaded side of the house and return once the surface temperature is within the paint manufacturer’s recommended range.
Problem: I can still see the old color.
Allow the paint to dry completely before judging coverage. Dramatic color changes may require another coat.
Problem: The siding looks chalky even after cleaning.
Some heavily weathered surfaces require more thorough cleaning or a compatible primer before they’ll accept new paint properly.
❓ FAQs
What type of paint should I use on exterior siding?
It depends on the siding material. Use an exterior coating specifically approved for wood, fiber cement, aluminum, vinyl, or whatever material is installed on your home.
Do I need to prime the entire house?
Not always. Sound previously painted siding may only need spot priming where material is bare or repaired. Heavily weathered or problematic surfaces may benefit from full priming.
Can I paint vinyl siding?
Many types of vinyl siding can be painted with compatible exterior paint, but color selection matters. Follow the siding and paint manufacturers’ recommendations, particularly when choosing a darker color.
Should I pressure wash before painting?
You can, but it isn’t always necessary. A hose and cleaning brush can work well. If you pressure wash, use enough care to avoid damaging the siding or forcing water behind it.
How long should siding dry after washing?
There isn’t one drying time that works for every home. Weather, siding material, humidity, and how much water was used all matter. The siding must be completely dry before painting.
Should exterior siding get two coats?
Two finish coats often provide better color consistency and durability, especially after significant preparation or a color change. Follow the paint manufacturer’s recommendations.
Can I paint exterior siding in direct sunlight?
It’s usually easier to get a consistent finish when the siding isn’t extremely hot. Follow the temperature limits for your specific paint and work around the house with the shade when practical.
📞 When to Call a Professional
Consider calling a professional if:
- Significant sections of siding are rotten or damaged.
- Paint failure appears to be caused by ongoing moisture.
- Large portions of the house require extensive scraping.
- The house requires working from tall ladders, scaffolding, or a roof.
- Electrical service lines are close to the areas being painted.
- You suspect older exterior paint may contain lead and aren’t comfortable disturbing it.
- The siding material requires specialized preparation or coatings.
- You’re unable to safely access upper stories.
Related DIY Guides
How to Paint Over a Dark Color