
Safety First
Keep the room well ventilated while painting. Wear eye protection when sanding or scraping old paint, and use a dust mask when creating sanding dust. Keep drop cloths flat and walking areas clear to prevent trips. If the home was built before 1978 and you may disturb old painted surfaces, consider testing for lead paint before sanding or scraping.
Time
3-5 Hours
Difficulty
Easy
Cost
$30-$100
🧰 Tools & Materials
Tools
- 2–2½-inch angled paintbrush
- Small paint tray or paint cup
- Putty knife
- Sanding sponge or fine-grit sandpaper
- Caulk gun
- Clean rags
- Vacuum or shop vacuum
- Utility knife
Materials
- Interior trim paint
- Painter’s tape
- Drop cloth
- Paintable caulk
- Wood filler or spackle
- Primer, if needed
- Degreasing cleaner or mild soap
Signs It’s Time to Paint Your Baseboards
Your baseboards may be ready for fresh paint if:
- They’re covered in scuffs and scratches.
- The paint has yellowed or become dingy.
- Previous touch-ups are noticeable.
- Nail holes or dents need repair.
- The paint is chipped or peeling.
- You’ve recently painted the walls and the old baseboards now stand out.
- New flooring has been installed and the trim needs to be refreshed.
Before You Buy
For most baseboards, satin or semi-gloss interior trim paint works well.
Semi-gloss is especially common because it’s durable, easy to clean, and stands up well to shoes, vacuum cleaners, toys, and everyday bumps.
You usually won’t need much paint. A quart can be enough for the baseboards in an average-size room, depending on their size, condition, and how many coats are needed.
Check what type of paint is currently on the baseboards before painting. Very glossy existing paint should be cleaned and lightly sanded so the new paint can bond properly.
Primer may be needed over:
- Bare wood
- Large repairs
- Dark stains
- Previously unpainted trim
- Areas where the existing paint has been sanded down to the wood
- Difficult glossy surfaces
💡 Pro Tip: If you’re painting the entire room, paint the baseboards after the ceiling and walls. It’s much easier to finish with a clean trim line than to protect freshly painted baseboards while rolling the walls.
Before You Start
Move furniture away from the walls and vacuum around the baseboards.
Inspect the trim closely.
Look for:
- Nail holes
- Dents
- Loose caulk
- Gaps between the wall and baseboard
- Peeling paint
- Heavy scuffs
- Damage near corners
Don’t skip this inspection. Fresh semi-gloss paint can actually make dents and rough repairs more noticeable.
Step 1: Clean and Lightly Sand the Baseboards
Vacuum dust from the top edge of the baseboards and along the floor.
Wipe the trim with a damp cloth and mild cleaner to remove dirt, fingerprints, and grime.
Pay extra attention around doorways and high-traffic areas.
Allow the baseboards to dry.
If the existing finish is glossy, lightly sand the surface with fine-grit sandpaper or a sanding sponge. You aren’t trying to remove all the old paint—just dull the slick surface enough to help the new paint stick.
Remove all sanding dust afterward.
What You Should See: The baseboards should be clean, smooth, and slightly dull rather than dirty or slick.
If Yours Looks Different: If paint is peeling or flaking, remove the loose material and feather the rough edges smooth before continuing.
Step 2: Repair Holes, Dents, and Gaps
Fill nail holes and small dents with wood filler or an appropriate patching compound. For a closer look at getting these repairs smooth before painting, see How to Fill Nail Holes in Wood Trim.
Allow the filler to dry, then sand the repair smooth.
Inspect the seam where the top of the baseboard meets the wall. If there are small gaps, follow How to Fix Gaps in Baseboards or apply a thin bead of paintable caulk and smooth it.
Don’t caulk large unexplained gaps or areas where the baseboard itself is loose.
What You Should See: Nail holes should disappear, repaired areas should feel smooth, and the upper edge of the baseboard should have a clean transition into the wall.
If Yours Looks Different: If the baseboard moves when you press against it, secure the trim before filling or caulking around it.
💡 Pro Tip: Run your hand across repaired areas after sanding. Your fingers will often catch a ridge or depression that’s difficult to see.
Step 3: Tape and Protect the Surrounding Surfaces
Place a drop cloth along the wall.
If needed, apply painter’s tape to the floor directly beneath the baseboard.
Press the edge firmly so paint can’t easily work underneath it.
If the walls are already painted and you aren’t comfortable cutting in freehand, you can also tape along the wall above the baseboard.
Be especially careful with painter’s tape on recently painted walls. Make sure the wall paint has cured enough for tape according to the paint and tape manufacturers.
What You Should See: The flooring and surrounding surfaces should be protected without gaps along the areas you’re painting.
If Yours Looks Different: If the tape won’t stick because the surface is dusty, clean and dry the area before trying again.
Step 4: Prime Bare or Repaired Areas
You don’t necessarily need to prime every inch of previously painted baseboard.
Spot-prime:
- Bare wood
- Filled repairs
- Stains
- Areas sanded through the existing finish
If the entire baseboard has a difficult glossy finish or you’re making a dramatic color change, priming the whole surface may make sense.
Allow the primer to dry completely.
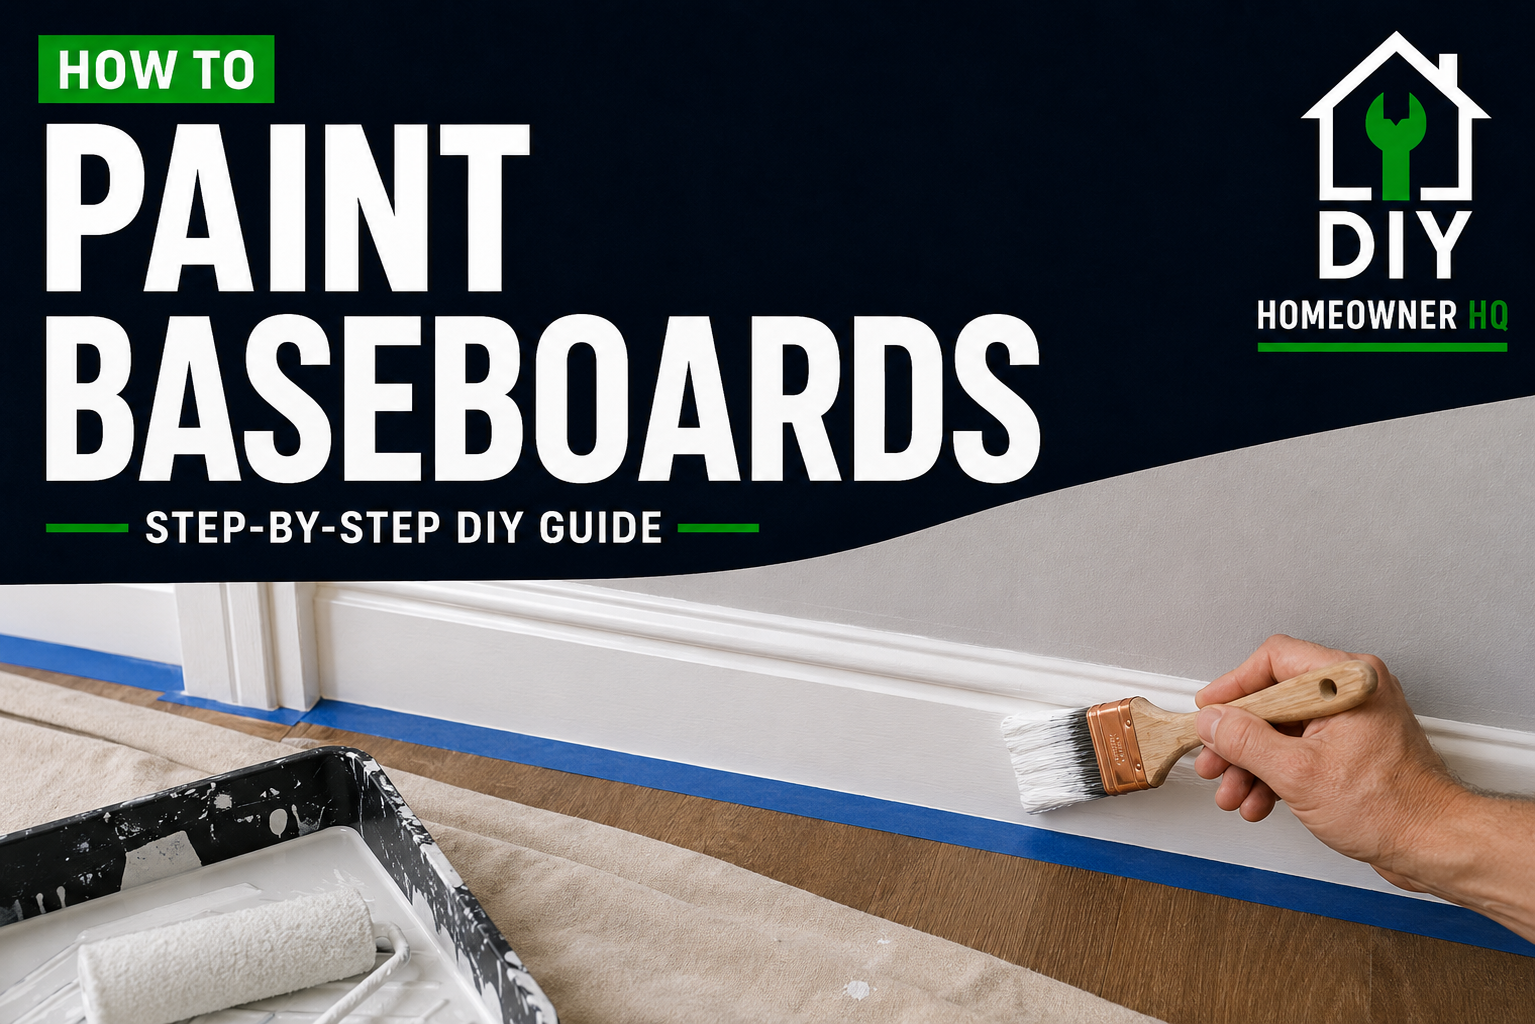
Step 5: Apply the First Coat
Stir the paint thoroughly and pour a small amount into a paint cup or tray.
Load the angled brush with paint, but don’t overload it.
Start along the top edge of the baseboard and establish a clean line against the wall. Then paint the face of the trim using long, controlled strokes.
Work in manageable sections.
Whenever possible, finish your brush strokes in the same direction.
Avoid repeatedly brushing paint once it begins to set up.
What You Should See: The baseboard should have a thin, even coat without heavy drips, runs, or thick brush ridges.
If Yours Looks Different: If the brush is leaving deep grooves, you may have too much paint on it or may be continuing to brush the area after the paint has started drying.
💡 Pro Tip: Two thin coats usually produce a smoother finish than trying to make the baseboard completely white with one heavy coat.
Step 6: Let the Paint Dry and Inspect the Finish
Allow the first coat to dry for the full recoat time listed on the paint container.
Once dry, inspect the baseboards from several angles.
Look for:
- Thin spots
- Visible repairs
- Drips
- Brush marks
- Paint buildup in corners
- Areas where the old color shows through
If you find a dried drip or rough spot, lightly sand it smooth and remove the dust before continuing.
Problem: The first coat looks streaky.
That’s usually not a reason to add more paint immediately. Let it dry completely. The second coat will often even out the color and finish.
Step 7: Apply the Second Coat
Apply another thin, even coat using the same technique.
Work along the top edge carefully, then smooth the paint across the face of the baseboard.
Avoid excessive brushing.
The second coat should provide the final color and consistent sheen.
What You Should See: Once dry, the baseboard should have a smooth, consistent finish without obvious thin areas.
If Yours Looks Different: If certain areas remain noticeably uneven after the second coat has completely dried, lightly sand any roughness and apply another thin coat only where necessary.
Step 8: Remove the Tape and Clean Up
Carefully remove the painter’s tape.
Pull it slowly back over itself rather than straight away from the surface.
If dried paint has bridged across the edge of the tape, lightly score the paint line with a sharp utility knife before removing the tape.
Inspect the edges for small areas that need touching up.
Remove the drop cloth and allow the paint to cure before aggressively cleaning the baseboards or pushing furniture tightly against them.
🛑 Common Mistakes to Avoid
- Painting over dusty or dirty baseboards.
- Skipping sanding on a very glossy existing finish.
- Painting over peeling paint.
- Using non-paintable caulk.
- Applying one excessively heavy coat.
- Overloading the brush.
- Continuing to brush paint after it starts drying.
- Forgetting to prime bare wood or significant repairs.
- Removing painter’s tape carelessly.
- Putting furniture back against freshly painted trim too soon.
Troubleshooting Common Baseboard Painting Problems
Problem: I can see brush marks after the paint dries.
Heavy brush marks usually come from applying too much paint or repeatedly brushing an area as it dries. Lightly sand the rough area after it’s completely dry, remove the dust, and apply another thin coat.
Problem: Paint is peeling off with the painter’s tape.
The paint may have dried across the tape edge. Carefully score the edge before removing the remaining tape. Also make sure you’re using tape appropriate for the surface underneath it.
Problem: The new paint isn’t sticking well.
The baseboard may have been dirty, greasy, or too glossy. Allow the paint to dry, remove any poorly adhered material, clean and lightly sand the surface, and use primer if necessary.
Problem: I can still see nail holes after painting.
Paint won’t hide poorly filled holes. Allow the paint to dry, refill the depression, sand it smooth, prime the repair if necessary, and repaint it.
Problem: There’s a visible gap between the baseboard and wall.
Small cosmetic gaps can usually be filled with paintable caulk. Larger gaps or loose trim may indicate that the baseboard needs to be secured or repaired instead.
❓ FAQs
Should I use a brush or roller to paint baseboards?
An angled brush gives you the most control around the top edge, corners, and detailed trim. A small roller can work on wide, flat baseboards, but you’ll usually still need a brush for the edges.
What paint finish is best for baseboards?
Satin and semi-gloss are both common. Semi-gloss provides a durable, washable finish and is especially popular for trim.
Do I need to sand baseboards before painting?
Not always. Clean baseboards with a sound, dull finish may need very little sanding. Glossy, rough, peeling, or repaired surfaces should be sanded as needed before painting.
Do I need primer?
Not necessarily. Previously painted baseboards in good condition can often be repainted without full priming. Bare wood, repairs, stains, and difficult surfaces are more likely to need it.
Should I caulk baseboards before or after painting?
For small gaps along painted trim, use paintable caulk before applying your finish coats.
How long should I wait between coats?
Follow the recoat time on your specific paint. Temperature, humidity, ventilation, and the type of paint can all affect drying time.
Should I paint baseboards before or after the walls?
When repainting an entire room, painting the walls first and finishing with the baseboards usually makes it easier to create a clean final trim line.
📞 When to Call a Professional
Consider calling a professional if:
- Large sections of baseboard are rotten or severely damaged.
- Water damage keeps returning.
- The trim is pulling away from the wall throughout the room.
- Extensive baseboard repairs or replacement are needed before painting.
- You suspect older painted surfaces may contain lead and aren’t comfortable working around them.
- You want a furniture-smooth sprayed finish that would require equipment and preparation beyond a typical homeowner project.