
Safety First
Wear eye protection and hearing protection when cutting door trim with a miter saw or using a finish nailer. Keep your hands well away from the saw blade, let the blade reach full speed before making the cut, and wait for it to stop before lifting it back up.
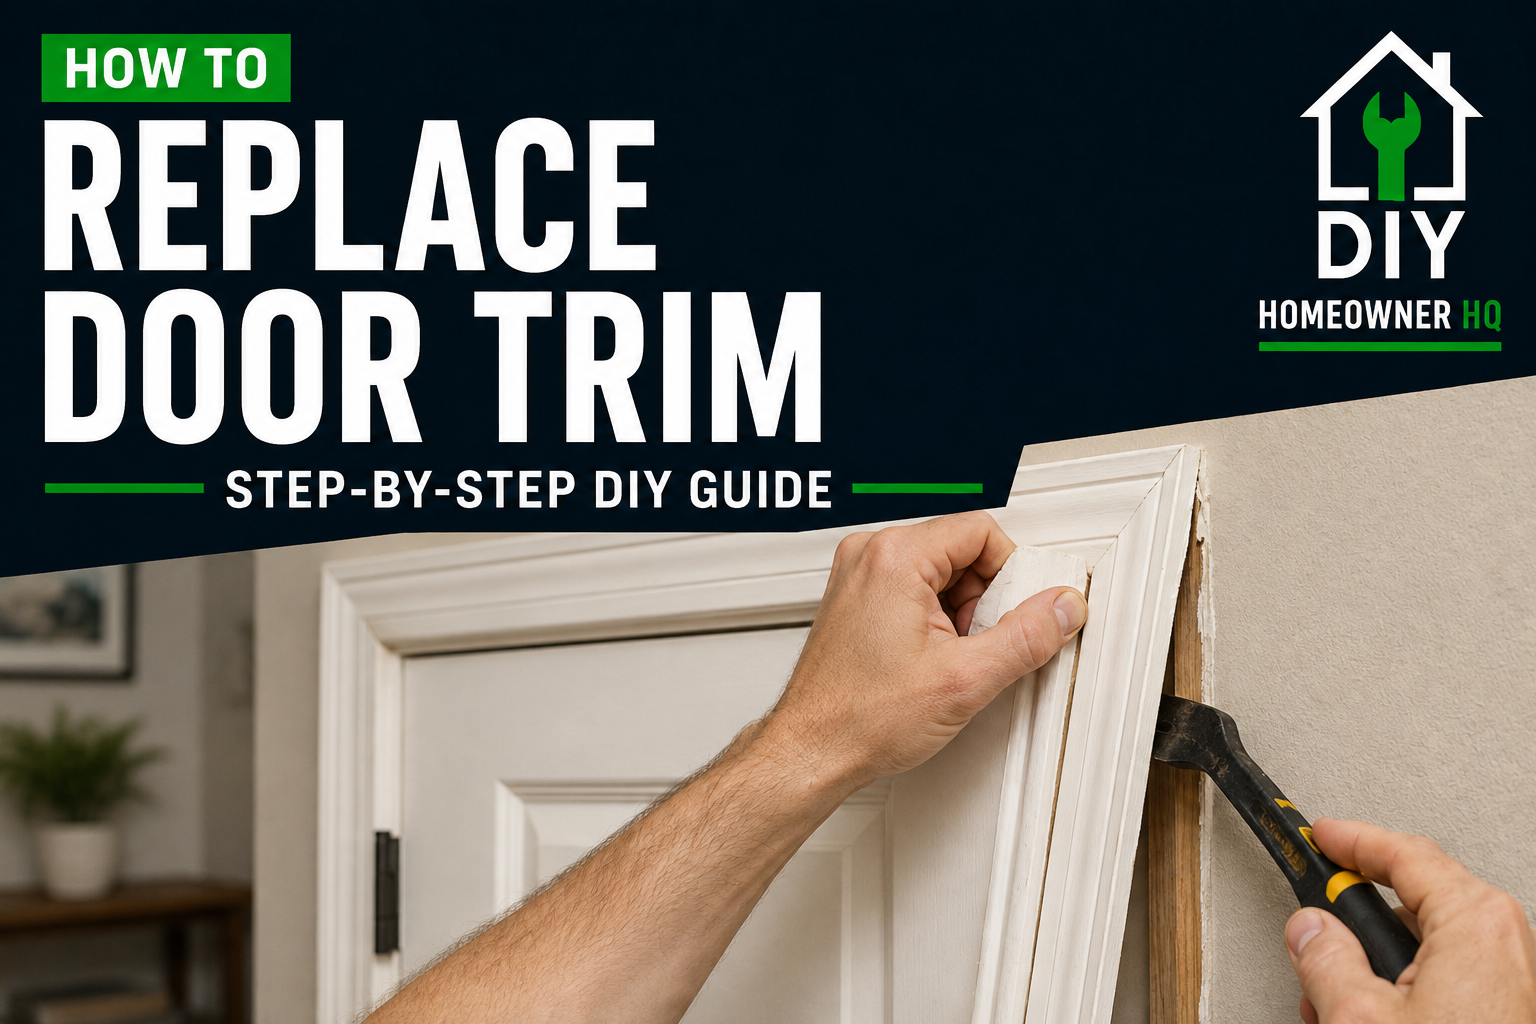
When removing the old casing, score the caulk and paint along the edges first with a utility knife. This helps prevent the trim from tearing drywall paper or pulling paint away from the wall. Pry gradually instead of forcing the entire piece off at once.
If you’re using a pneumatic or cordless nailer, keep your free hand away from the area being nailed—finish nails can sometimes deflect through the wood.
Time
2-4 Hours
Difficulty
Moderate
Cost
$25-$75
🧰 Tools & Materials
Tools
- Tape measure
- Pencil
- Combination square
- Utility knife
- Small pry bar
- Hammer
- Miter saw
- Finish nailer or hammer and nail set
- Level
- Caulk gun
- Sanding block or fine-grit sandpaper
- Eye protection
- Hearing protection
Materials
- Door casing
- Finish nails
- Wood glue
- Paintable caulk
- Wood filler
- Primer and paint, if using unfinished or primed trim
- Wood shims, if needed
If you’re replacing trim around only one side of an interior door, three pieces of casing are usually all you need: two vertical side pieces and one horizontal head piece.
Signs It’s Time to Replace Door Trim
Door trim can last for decades, so cosmetic wear alone doesn’t always mean it needs to be replaced.
Replacement makes sense when:
- The casing is cracked or split beyond what can reasonably be repaired.
- Sections are missing or badly chipped.
- The trim has pulled away from the wall.
- Water damage has caused swelling or deterioration.
- Previous repairs have left the trim heavily damaged.
- You’re changing the trim style throughout the room.
- The casing was damaged while replacing or repairing the door.
- The existing trim has large gaps or poorly fitting joints that can’t be reasonably repaired.
If the trim is simply loose, you may only need to renail and recaulk it rather than replace it.
If the casing only has a small crack or split, you may be able to repair the damaged wood trim instead of replacing the entire piece. Replacement makes more sense when sections are missing, badly damaged, rotted, or no longer fit properly.
Before You Buy
Measure the width and thickness of your existing casing before shopping.
If you’re replacing trim around only one door and want it to match the rest of the house, bring a short piece of the old casing with you when possible.
Pay attention to:
- Width
- Thickness
- Profile
- Material
- Paint-grade versus stain-grade trim
Common materials include finger-jointed pine, solid wood, and MDF.
MDF is commonly used for painted interior trim because it’s smooth and inexpensive, but it doesn’t handle moisture as well as some wood or synthetic products.
If the existing casing meets baseboards, also look at how the two profiles come together. Installing much thicker or thinner casing can make that transition awkward.
Buy a little extra material. A bad miter cut can quickly turn a perfectly measured piece into scrap.
Before You Start
Look closely at the existing trim before removing anything.
Notice the small amount of door jamb visible between the edge of the casing and the inside of the opening. This is called the reveal.
A consistent reveal is one of the things that makes finished door trim look straight and professional. A typical reveal is around 1/8 to 1/4 inch.
Also inspect where the casing meets the wall.
Older homes rarely have perfectly flat walls or perfectly square door openings. If the existing trim has small gaps or unusual cuts, there may be a reason.
Before removing it, take a picture of the entire doorway. That gives you a reference for how the original pieces fit together.
Step 1: Score Around the Existing Trim
Use a sharp utility knife to score along the edges where the casing meets the wall and door jamb.
Cut through:
- Paint
- Caulk
- Multiple layers of old paint, if present
Take your time around the wall side.
If you pry the casing away without cutting this seam first, the trim can pull paint or drywall paper away with it.
What You Should See: The painted or caulked seam should be separated from the casing before you begin prying.
If Yours Looks Different: If the trim has been painted many times, you may need to make several light passes with the utility knife rather than trying to cut through everything at once.
Step 2: Carefully Remove the Old Casing
Start somewhere you can create a small gap between the casing and wall.
Slide a thin pry bar behind the trim and gently pull it outward.
Work your way along the board instead of trying to remove the entire piece from one spot.
If possible, place a thin scrap of wood behind the pry bar to protect the drywall.
Continue until the casing comes free.
Repeat for the remaining pieces.
Old casing commonly has nails extending through the back after removal. Be careful where you place your hands.
What You Should See: The casing should gradually separate without taking large sections of drywall or jamb material with it.
If Yours Looks Different: If one section refuses to move, stop pulling harder. Look for another nail or an area where paint or caulk is still holding the trim.
💡 Pro Tip: If you plan to reuse or match the old casing, label the back of each piece as you remove it—left, right, and top.
Step 3: Remove Nails and Clean the Opening
Remove any remaining nails from the jamb or wall.
Scrape away loose caulk and paint buildup that would prevent the new casing from sitting flat.
Don’t aggressively gouge the drywall.
Run your hand along the jamb and surrounding wall to feel for raised areas.
This is also a good opportunity to inspect for damage that was hidden behind the old casing.
Look for:
- Cracked jamb material
- Loose drywall
- Water staining
- Rot
- Large gaps
- Previous repairs
What You Should See: You should have a reasonably clean, flat surface around the door opening.
If Yours Looks Different: A gap between the jamb and wall framing is normal and is one of the areas casing is intended to conceal. You don’t need to make the hidden opening look finished.
Step 4: Mark the Reveal
Set a combination square to the reveal you want—typically somewhere around 1/8 to 1/4 inch—and make small marks along the jamb.
Mark both sides and across the top.
These marks give you a consistent line for positioning the inside edge of the casing.
Don’t rely entirely on the edge of the jamb itself. Minor imperfections can make the trim wander.
What You Should See: You should have a consistent reference line around the door opening.
If Yours Looks Different: If the jamb isn’t perfectly straight, focus on creating a reveal that looks visually consistent when you’re standing in front of the door.
💡 Pro Tip: Make several small reveal marks rather than drawing one heavy pencil line around the entire jamb. They’ll be easier to cover with the casing.
Step 5: Measure and Cut the First Side Piece
Hold a piece of casing against one side of the door with its inside edge aligned to your reveal marks.
Let the bottom sit where it will meet the floor or baseboard.
Mark where the inside edge reaches the reveal line across the top of the jamb.
For traditional mitered casing, this mark establishes the short point of your 45-degree cut.
Take the casing to the miter saw and make the cut.
Keep your hands well away from the blade and let the blade stop completely before raising it.
Return the piece to the doorway and test the fit.
What You Should See: The casing should follow your reveal marks and the upper miter should terminate at the corner of the top reveal.
If Yours Looks Different: If your trim uses square butt joints, rosettes, or another decorative style, you may not need 45-degree miters at all. Match the joint style you’re installing.
Step 6: Tack the First Side Casing in Place
Position the first side piece along your reveal marks.
Check that it sits flat against both the jamb area and wall.
Tack it in place with a few finish nails rather than fully nailing it immediately.
This gives you a little room to make adjustments when fitting the top piece.
Don’t place your free hand directly beside the nailer’s path. Finish nails can occasionally follow the wood grain and exit through the side.
What You Should See: The casing should stay in position while still allowing minor adjustments near the top.
Step 7: Cut and Fit the Head Casing
Cut one 45-degree miter on the head casing.
Hold that miter against the installed side piece and align the bottom edge of the head casing with your reveal marks.
Instead of relying entirely on a tape measure, mark the location of the opposite corner directly on the trim.
Then cut the second miter.
This mark-and-fit approach helps account for door openings that aren’t perfectly square.
Test fit the head casing before nailing it.
What You Should See: The first miter should close tightly and the head casing should follow the reveal across the top of the door.
If Yours Looks Different: If the miter has a small gap even though both cuts are exactly 45 degrees, the wall or jamb may not be perfectly square. Slightly adjusting the cut can produce a better joint than forcing the pieces together.
Step 8: Measure and Cut the Second Side
Hold the second side casing against the door.
Align its inside edge with your reveal marks and position the bottom correctly.
Mark the top cut directly against the installed head casing whenever possible.
Cut the miter and test fit the piece.
Don’t nail it permanently until you’re happy with both upper corners.
What You Should See: All three pieces should fit together with a consistent reveal and reasonably tight joints.
If Yours Looks Different: If one piece sits flat against the jamb but rocks away from the wall, the jamb and drywall may not be flush. A thin shim behind the casing can sometimes correct the difference.
Step 9: Glue the Miter Joints
Once you’re satisfied with the fit, pull the joints apart slightly and apply a small amount of wood glue to the mating surfaces of the miters.
Bring the pieces back together.
Wipe away excess glue before it dries.
Glue helps the joint behave like one piece instead of allowing the two trim boards to move independently.
Don’t use so much glue that it runs down the finished face of the casing.
What You Should See: The mitered faces should meet tightly without a thick line of glue between them.
Step 10: Nail the Casing Securely
Once everything is aligned, finish fastening the casing.
The inside portion of the casing should be secured to the jamb, while the outer portion is secured into suitable material behind the wall edge.
Space the nails consistently along the trim rather than concentrating several in one area. Traditional installation methods use smaller finish nails at the jamb and longer nails toward the wall/framing side.
Set the nail heads slightly below the surface if you’re hand nailing.
Keep checking the miter joints as you work.
What You Should See: The casing should sit securely without visible movement, while the miter joints remain closed.
If Yours Looks Different: If nailing the casing causes a miter to open, stop. The wall may be uneven behind that area. Shim the casing if necessary rather than forcing it against the wall.
Step 11: Fill the Nail Holes and Caulk the Edges
Fill visible nail holes with wood filler. For the full process, see How to Fill Nail Holes in Wood Trim.
Allow it to dry and sand it smooth.
For painted trim, apply a thin bead of paintable caulk where the casing meets the wall.
Caulk can also hide very small imperfections where painted trim meets the jamb.
Don’t use caulk to disguise a badly fitting miter. Fix the joint first whenever possible.
Smooth the caulk and remove excess before it skins over.
What You Should See: Nail holes should disappear and the transition between the casing and wall should look clean and continuous.
If Yours Looks Different: If you’re installing stain-grade wood, don’t automatically caulk every edge. Caulk usually doesn’t blend naturally with stained trim.
Step 12: Paint and Inspect the Finished Trim
Prime any bare wood or exposed filler as needed.
Apply your finish paint and allow it to dry. If you’re repainting all of the casing rather than simply touching up the repaired areas, follow How to Paint Trim for the complete prep and painting process.
Then inspect the entire doorway from several feet away.
Look at:
- The reveal on both sides
- The reveal across the top
- Both miter joints
- Nail holes
- Caulk lines
- The transition into the baseboards
- Any gaps between the casing and wall
Finally, open and close the door several times.
Replacing casing shouldn’t change how the door operates.
What You Should See: The casing should look evenly spaced around the jamb, the corners should fit cleanly, and the door should open and close exactly as it did before.
🛑 Common Mistakes to Avoid
- Prying off the old casing without scoring the paint and caulk first
- Buying replacement trim without checking the existing width and thickness
- Measuring every piece only with a tape instead of test fitting
- Assuming the door opening is perfectly square
- Forgetting to establish a consistent reveal
- Fully nailing the first piece before checking the remaining joints
- Trying to close a bad miter with caulk
- Overtightening or overnailing thin trim
- Ignoring an uneven wall that causes the casing to rock
- Putting your hand beside a finish nailer while firing
- Cutting all three pieces before test fitting the first one
- Painting before filling and sanding the nail holes
Troubleshooting
Problem: My 45-degree miters don’t close.
The door opening or wall may not be perfectly square. Test fit the pieces and make very small adjustments to the miter angle rather than assuming every corner needs exactly 45 degrees.
Problem: The casing sits flat at the jamb but sticks away from the wall.
The jamb may extend slightly past the drywall, or the wall may be uneven. Depending on the difference, you may need to adjust the jamb, relieve the back of the casing, or correct the fit before nailing.
Problem: The casing sits against the wall but there’s a gap near the jamb.
The jamb may be recessed behind the drywall. Thin shims or a jamb extension may be needed if the difference is significant.
Problem: I cut one piece too short.
Don’t try to hide a substantial mistake with caulk. If the gap is noticeable, recut the piece. This is exactly why buying extra casing is worthwhile.
Problem: The drywall tore when I removed the old trim.
Remove loose drywall paper, seal or repair the damaged area as appropriate, and make sure the surface is stable before installing the new casing. Much of the repaired area may ultimately be hidden behind the trim.
Problem: The new casing doesn’t meet the baseboard cleanly.
Your replacement casing may be a different thickness or profile. Depending on the style, you may need to adjust the baseboard termination, use a plinth block, or choose casing that better matches the existing trim.
❓ FAQs
What is the trim around a door called?
The decorative trim around a door opening is generally called casing. It covers the transition between the door jamb and the finished wall.
Do I need a nail gun to replace door trim?
No. A hammer, finish nails, and nail set work fine. A finish nailer simply makes the installation faster and can reduce visible hammer marks.
What angle do you cut door trim?
Traditional mitered casing usually uses approximately 45-degree cuts at the upper corners. However, real door openings aren’t always perfectly square, so slight adjustments may be necessary for tight joints.
What is the reveal on door trim?
The reveal is the small portion of the door jamb intentionally left visible between the jamb edge and the casing. A consistent reveal—commonly around 1/8 to 1/4 inch—helps the installation look balanced.
Should I caulk around door trim?
Painted interior casing is commonly caulked where it meets the wall to create a clean finished edge. Stain-grade trim is usually handled differently because visible caulk can stand out.
Can I replace door trim without removing the door?
Yes. For a typical casing replacement, the door can stay installed.
Should I paint the trim before or after installing it?
Either method works. Prepainting can reduce the amount of careful cutting-in required later, but you’ll usually still need to fill nail holes, touch up the finish, and possibly apply a final coat after installation.
📞 When to Call a Professional
Consider calling a carpenter or trim professional if:
- The door jamb is badly damaged.
- You discover significant rot or water damage.
- The wall and jamb are severely out of alignment.
- The casing is part of complicated historic or custom millwork.
- You’re trying to match expensive stain-grade wood.
- The door itself has shifted or no longer operates correctly.
- Removing the trim reveals framing or structural damage.
- You aren’t comfortable making repeated precision cuts with a miter saw.
For a typical interior doorway, replacing casing is very manageable for a homeowner willing to measure carefully, test fit each piece, and make small adjustments rather than rushing the cuts.