
Safety First
Use caution with utility knives or scissors when removing and trimming weatherstripping. Keep fingers clear of the window sash and tracks to avoid pinching them.
Time
30-60 Minutes
Difficulty
Easy
Cost
$10-$30
🧰 Tools & Materials
Tools
- Utility knife or scissors
- Flathead screwdriver or putty knife
- Tape measure
Materials
- Replacement window weatherstripping
🔍 Signs It’s Time to Replace Window Weatherstripping
- You feel drafts around the window.
- The weatherstripping is cracked, torn, or flattened.
- You can see gaps around the closed sash.
- The window rattles when closed.
🛒 Before You Buy
Windows use several different types of weatherstripping. Remove a small piece of the existing material and match its size and profile when buying the replacement.
💡 Pro Tip: Take the old weatherstripping with you to the store. Matching the original style is usually much easier than guessing.
🔧 Before You Start
Open the window and inspect where the existing weatherstripping is installed. Take a quick picture before removing it so you know exactly where the replacement belongs.
Step 1: Remove the Old Weatherstripping
Carefully pull or pry the old weatherstripping from the window sash or frame.
Clean away dirt, adhesive, and loose material.
Step 2: Measure and Cut the Replacement
Measure the section being replaced and cut the new weatherstripping to length.
Avoid stretching it while measuring or installing it.
Step 3: Install the New Weatherstripping
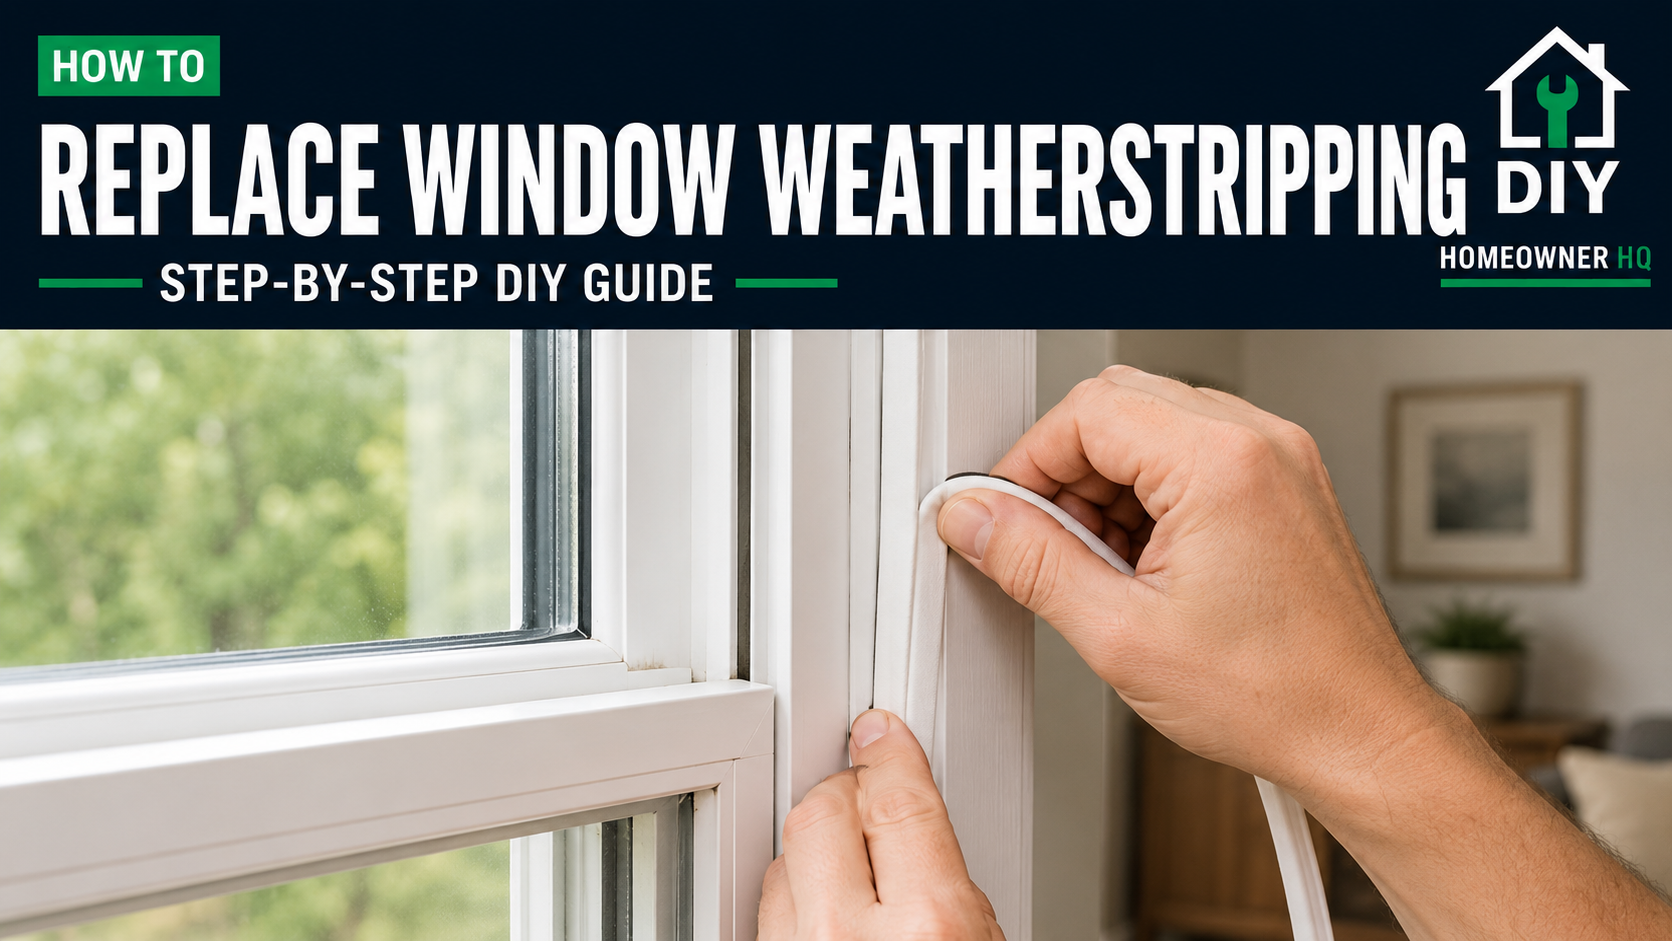
Press, slide, or stick the new weatherstripping into its original location depending on the style.
What You Should See: The weatherstripping should sit evenly without bunching, twisting, or leaving gaps.
If Yours Looks Different: Some windows use manufacturer-specific weatherstripping. If a standard replacement doesn’t fit properly, look for one designed for your window brand or model.
Step 4: Test the Window
Close and lock the window.
It should seal firmly while still opening, closing, and locking normally.
⚠️ Common Problems
Problem: The window is difficult to close.
The weatherstripping may be too thick or not fully seated.
Problem: There’s still a draft.
Check the corners for gaps and make sure the weatherstripping contacts the door evenly. If the draft is coming from underneath the door instead of the top or sides, see How to Install a Door Sweep.
❓ FAQs
Can I replace only one damaged section?
Yes, if the rest of the weatherstripping is still in good condition.
Should weatherstripping make the window tight?
It should create a snug seal without preventing the window from operating normally.
📞 When to Call a Professional
If drafts remain after replacing the weatherstripping, the window may have an alignment, installation, or frame problem.