
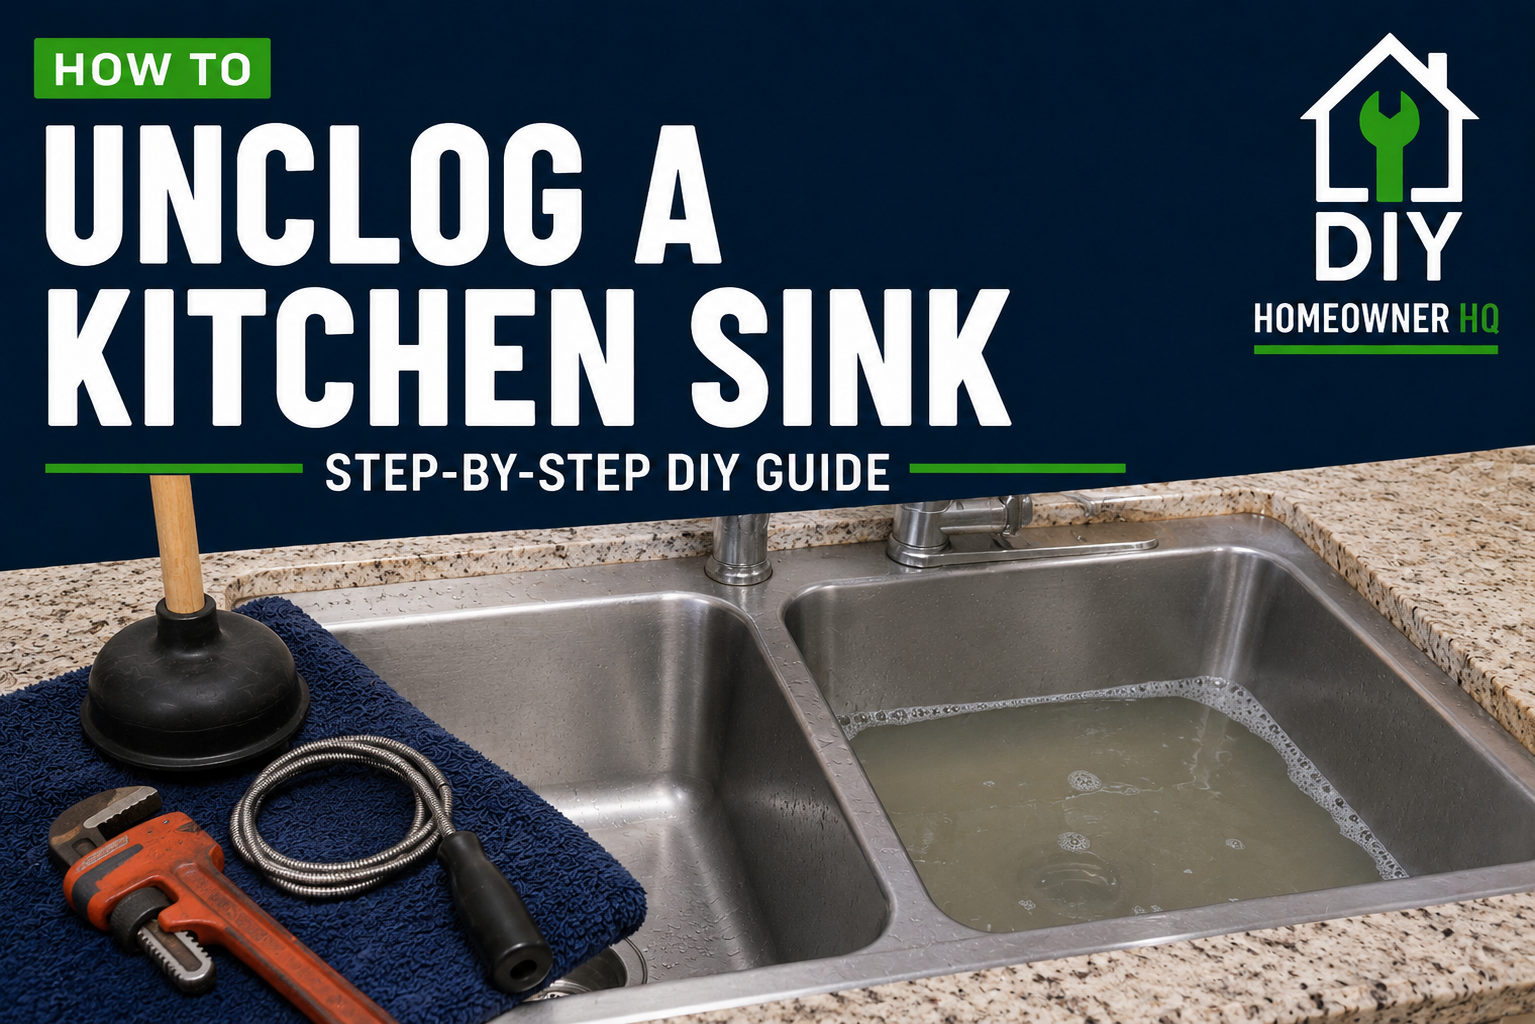
Safety First
Before working on a clogged kitchen sink, do not use a plunger, remove the P-trap, or snake the drain if chemical drain cleaner is sitting in the sink or drain. It can splash onto your skin or into your eyes when the clog releases. If your sink has a garbage disposal, turn off power to the disposal before reaching into the drain or working underneath the sink. Never put your hand inside the disposal, even with the power off. Wear gloves when handling standing water and drain debris.
Time
30-60 Minutes
Difficulty
Easy
Cost
$0-$35
🧰 Tools & Materials
Tools
- Rubber gloves
- Bucket or shallow pan
- Cup-style sink plunger
- Channel-lock pliers
- Flashlight
- Hand-operated drain snake or auger
- Allen wrench for the garbage disposal, if applicable
Materials
- Old towels or rags
- Paper towels
- Plastic bag for debris
- Replacement P-trap washers, if needed
Signs Your Kitchen Sink Is Clogged
Kitchen sink clogs often develop gradually before the drain stops completely.
Common signs include:
- Water drains noticeably slower than it used to.
- Water pools in the sink while the faucet is running.
- The sink takes several minutes to empty.
- Water backs up into the other basin of a double sink.
- You hear gurgling as the sink drains.
- The garbage disposal runs but water does not drain.
- Food particles or dirty water come back up through the drain.
- The sink has stopped draining completely.
Kitchen clogs are commonly caused by grease, food particles, soap residue, and other debris collecting inside the P-trap or drainpipe.
Before You Start
First, determine what type of plumbing you have underneath the sink.
Open the cabinet and look for the P-trap, the curved section of pipe directly below the sink.
If you have a garbage disposal, determine which sink basin connects to it.
On a double-bowl sink, the two drains usually connect before entering a single P-trap. This matters because plunging one basin without blocking the other can simply push water back and forth between the two sinks.
Clear everything out of the cabinet before you begin. Place towels underneath the plumbing and keep a bucket nearby.
If there is standing water in the sink, scoop out most of it before removing any plumbing.
If your sink has a garbage disposal, check whether the disposal itself is the problem before taking apart the drain.
Turn the disposal on briefly.
If you hear the motor running normally but the water does not drain, the blockage is likely in the drain plumbing.
If the disposal only hums, does nothing, or repeatedly trips its reset button, stop treating the problem as a simple drain clog. The disposal may be jammed.
If chemical drain cleaner has already been poured into the sink, do not plunge the drain or remove the P-trap until you have followed the product manufacturer’s instructions.
💡 Pro Tip: Take a quick photo of the plumbing underneath your sink before removing anything. If you get turned around during reassembly, you will have a reference showing exactly how everything was connected.
Step 1: Remove Standing Water and Visible Debris
Put on gloves and remove as much standing water from the sink as possible.
Leave just enough water to cover the bottom edge of the plunger if you plan to plunge the drain.
Remove the drain strainer or basket if it lifts out.
Use a flashlight to look into the drain opening. Remove any food, grease buildup, or debris you can safely reach near the top.
If you have a garbage disposal, do not put your fingers into the disposal opening.
Even with the power turned off, sharp components inside can cause injury.
What You Should See: The drain opening should be clear of obvious debris, even if water still will not flow through the plumbing.
Step 2: Plunge the Sink
Place a cup-style plunger directly over the clogged drain.
If you have a double-bowl sink, tightly seal the drain in the second basin with a stopper or wet rag. Otherwise, the pressure from the plunger may simply escape through the other drain.
Make sure there is enough water around the plunger to create a seal.
Push down and pull up firmly 10–15 times without breaking the seal.
Lift the plunger and watch the water.
Repeat the process a few times if necessary.
What You Should See: If the clog breaks loose, the standing water may suddenly swirl and drain quickly.
If Yours Looks Different: If your sink has a garbage disposal, you may need to plunge the opposite basin while sealing the disposal opening. The exact setup depends on which side of the sink is backing up.
💡 Pro Tip: On a double sink, sealing the second drain is critical. If water jumps up in the other basin every time you plunge, you are losing pressure through that drain.
Step 3: Check the Garbage Disposal
If your sink has a garbage disposal and the clog remains, make sure the disposal is not jammed.
Turn off power to the disposal before working on it. For the safest approach, unplug it under the sink if it has a plug or turn off the appropriate circuit breaker.
Look into the disposal with a flashlight. Do not reach inside.
With power to the disposal disconnected, if you can see an obvious object, use tongs or needle-nose pliers to remove it without reaching your hand into the disposal.
Many disposals have a hex-shaped opening on the bottom of the unit. Insert the manufacturer’s disposal wrench or the correct-size Allen wrench and move it back and forth to free the grinding mechanism.
Once it moves freely, remove the wrench, restore power, and press the disposal’s reset button if it has tripped.
Run cold water and briefly test the disposal.
What You Should See: The disposal should spin normally and water should begin flowing through it.
If Yours Looks Different: Not every garbage disposal has the same reset or manual-turning arrangement. If you cannot identify how yours is designed to be freed, check the manufacturer’s instructions rather than forcing anything.
If the disposal works normally but the sink remains clogged, continue to the P-trap.
Step 4: Remove and Clean the P-Trap
Place a bucket or shallow pan directly underneath the P-trap.
Even if you removed the standing water from the sink, water will still be trapped inside this section of pipe.
Loosen the slip nuts at both ends of the P-trap.
Plastic slip nuts can often be loosened by hand. If necessary, use channel-lock pliers gently.
Support the P-trap with one hand as you loosen the second nut.
Lower the trap into the bucket.
Remove any grease, food, or debris inside it. Take it to another sink or outside and rinse it thoroughly.
Inspect the washers and slip nuts while everything is apart. Replace any washer that is cracked, hardened, distorted, or damaged.
What You Should See: The inside of the P-trap should be completely open once it is cleaned.
If Yours Looks Different: Older sinks may have metal traps with corroded fittings that do not loosen easily. Avoid crushing or twisting thin metal piping with pliers. If the trap is severely corroded, replacing it may be easier than trying to reuse it.
💡 Pro Tip: Before cleaning the trap, look inside it to see whether you actually found the clog. A trap packed with debris tells you where the problem was. A mostly clean trap suggests the blockage is probably farther down the drain line.
Step 5: Check the Drainpipe in the Wall
With the P-trap removed, shine a flashlight into the pipe leading into the wall.
If you can see obvious buildup near the opening, remove what you can reach without pushing it farther into the pipe.
Do not stick screwdrivers, coat hangers, or other rigid objects deep into the drain.
If the P-trap was relatively clean and the sink was still clogged, the blockage is likely farther inside this pipe.
That is when a drain snake becomes useful.
What You Should See: The pipe may contain some residue around the walls, but there should not be a solid mass immediately blocking the opening.
Step 6: Snake the Drain
Feed the end of a hand-operated drain snake into the drainpipe leading into the wall.
Advance the cable slowly while rotating the handle.
You may feel resistance as the cable moves through bends in the plumbing.
When you reach the clog, the cable may become harder to advance or feel slightly springy.
Continue rotating while gently working the cable forward and backward.
Do not aggressively force it.
Feed several feet of cable into the drain if necessary.
Once you feel the blockage break loose or the cable begins moving more freely, slowly retract the snake while continuing to rotate it.
Remove any grease, food, or debris caught on the cable.
Run the snake through the pipe a second time if you removed a substantial amount of buildup.
What You Should See: The snake should gradually advance farther into the drain. You may pull back grease, sludge, food particles, or other debris.
If Yours Looks Different: If the snake stops against something solid almost immediately, pull it back slightly and rotate it while trying again. You may be hitting a bend or fitting rather than the clog.
Step 7: Reinstall the P-Trap
Reinstall the P-trap in the same orientation it was originally installed.
Make sure each slip-joint washer is positioned correctly. The tapered side of a typical slip-joint washer should face toward the fitting it seals against.
Thread the slip nuts onto the connections by hand.
Make sure the pipes are properly aligned before tightening anything. A P-trap should fit together without needing to force the pipes into position.
Hand-tighten the slip nuts until snug.
If a connection leaks during testing, you can tighten it slightly more with channel-lock pliers.
Avoid overtightening plastic fittings. Excessive force can distort washers, crack nuts, or damage the pipe.
What You Should See: The P-trap should sit naturally between the sink drain and wall pipe without being twisted, stretched, or pulled sideways.
If Yours Looks Different: If the pipes no longer seem to line up, loosen the other slip-joint connections slightly and adjust the pieces until everything fits naturally. Do not force misaligned plumbing together.
Step 8: Test the Sink and Check for Leaks
Place the bucket underneath the P-trap before testing.
Run the faucet at a moderate flow for one to two minutes.
Watch how quickly the sink drains.
While the water is running, use a dry paper towel to wipe around every P-trap connection you disturbed. Even a small leak will show up quickly on dry paper.
If everything remains dry, partially fill the sink with several inches of water.
Release the stopper and let the larger volume of water drain all at once.
This provides a better test of both the drain and the P-trap connections.
If you have a garbage disposal, run cold water and briefly operate it as part of the final test.
What You Should See: Water should drain quickly without backing up into either basin, and every connection underneath the sink should remain completely dry.
If Something Goes Wrong
Problem: The sink drains better but is still slow
The clog may only be partially cleared. Remove the P-trap again and make another pass with the drain snake, feeding the cable farther into the wall pipe.
Problem: Water backs up into the other side of a double sink
The clog is probably downstream from where the two sink drains connect. Cleaning the P-trap and snaking the drainpipe beyond it is usually more effective than repeatedly plunging one basin.
Problem: The P-trap is clean but the sink is still completely clogged
The blockage is likely farther inside the drain line. Snake the pipe entering the wall rather than continuing to work on the trap.
Problem: The P-trap leaks after reassembly
Check that the washer is installed correctly and that the pipes are properly aligned. Loosen the connection, reposition the washer and pipe, and retighten it.
Do not try to stop a slip-joint leak by simply tightening the nut as hard as possible.
Problem: The garbage disposal hums but does not spin
Turn off power to the disposal. The grinding mechanism may be jammed. Free it using the manufacturer’s recommended method before testing it again.
If the disposal remains stuck or repeatedly trips its reset button, the problem may be with the disposal rather than the drain.
Problem: The drain snake will not advance
Pull the cable back several inches, rotate it, and try again. You may be hitting a bend in the drain.
If the snake repeatedly stops at the same point and cannot move farther without significant force, stop rather than risking damage to the piping.
Problem: The sink clogs again shortly after you clear it
There may be significant grease buildup farther down the drain line. A longer auger or professional drain cleaning may be necessary if repeated snaking only provides temporary relief.
Problem: Other drains are backing up too
A clog affecting multiple fixtures is unlikely to be isolated to the kitchen sink. Stop working on the sink itself and consider having the larger drain system inspected.
🛑 Common Mistakes to Avoid
- Pouring multiple chemical drain cleaners into the sink.
- Plunging or opening the P-trap after using chemical drain cleaner.
- Reaching into a garbage disposal with your hand.
- Working on a garbage disposal without disconnecting its power.
- Forgetting to seal the second drain when plunging a double sink.
- Removing the P-trap without placing a bucket underneath it.
- Overtightening plastic slip nuts.
- Reusing a damaged or distorted slip-joint washer.
- Forcing misaligned drainpipes together.
- Pushing grease and debris farther into the drain instead of removing it.
- Forcing a drain snake when it repeatedly hits a solid obstruction.
❓ FAQs
What is the most common cause of a clogged kitchen sink?
Grease, food particles, soap residue, and other kitchen debris can gradually build up inside the P-trap and drainpipe until water can no longer flow freely.
Should I use boiling water to unclog a kitchen sink?
Very hot tap water can help flush minor greasy residue, but boiling water is not necessary and may not be appropriate for every plumbing system. A physical clog is better addressed by plunging, cleaning the P-trap, or snaking the drain.
Can I use chemical drain cleaner in a kitchen sink?
Chemical cleaners are generally not the best first option. They may not remove heavy grease or food clogs and can create an additional hazard when you later need to open the plumbing.
Why does my kitchen sink clog when I run the garbage disposal?
The disposal may be pushing water and food into a partially blocked drain. If the disposal itself runs normally, the clog is often in the P-trap or drainpipe downstream from it.
Can I snake a kitchen sink without removing the P-trap?
Sometimes, but removing the P-trap usually gives you much better access to the drainpipe leading into the wall and allows you to check whether the clog is inside the trap first.
Do I need plumber’s tape on P-trap connections?
Typically, no. Standard slip-joint P-trap connections seal with their washers rather than thread-sealing tape.
Why is my P-trap leaking after I put it back together?
The washer may be backward, damaged, or sitting crooked, or the pipes may be misaligned. Repositioning the connection usually works better than simply tightening the nut harder.
What if both sides of my kitchen sink are clogged?
Because both basins usually share the same drain, a blockage farther downstream can cause both sides to back up. Cleaning the P-trap and snaking the drainpipe leading into the wall are common next steps.
📞 When to Call a Professional
A clogged kitchen sink that requires plunging, cleaning the P-trap, or using a small hand snake is still a reasonable homeowner project.
Consider calling a plumber if:
- The drain remains completely blocked after the P-trap has been cleaned and the line has been snaked.
- The snake repeatedly hits an obstruction you cannot get past.
- The clog returns shortly after being thoroughly cleared.
- Multiple fixtures in the house are draining slowly or backing up.
- Water backs up into another fixture when you use the kitchen sink.
- The drainpipes are severely corroded or begin leaking while you work.
- The blockage appears to be farther down the branch or main drain line.
A deeper blockage may require a longer drain machine, specialized cleaning equipment, or a camera inspection to determine what is restricting the pipe.