
Safety First
Before working inside the toilet tank, turn off the water supply at the shut-off valve behind or beside the toilet and flush the toilet to lower the water level. Toilet tank components are generally safe to work on, but avoid overtightening plastic parts or connections—they can crack and cause leaks. If the shut-off valve will not close completely, stop and address the valve before removing any water-supply components.If the valve won’t fully shut off the water, follow our guide on How to Replace a Toilet Shut-Off Valve before continuing.
Time
20-45 Minutes
Difficulty
Easy
Cost
$5-$30
🧰 Tools & Materials
- Adjustable wrench
- Sponge or small towel
- Bucket
- Replacement flapper — if needed
- Replacement fill valve — if needed
- Replacement fill valve seal or washer — if needed
- Replacement flush valve — only if the existing one is damaged
- Food coloring — optional, for testing for a leaking flapper
- Tape measure — helpful for checking the tank water level and replacement parts
💡 Pro Tip: Don’t buy replacement parts until you’ve identified what is actually causing the toilet to run. A worn flapper may cost only a few dollars, while replacing the entire fill valve unnecessarily adds work and expense.
Signs Your Toilet Needs Attention
A running toilet isn’t always obvious. Sometimes you’ll hear water constantly flowing, while other times the toilet may quietly refill every few minutes.
Common signs include:
- Water continuously running inside the tank
- The toilet randomly refills when nobody has used it
- Water constantly flowing into the overflow tube
- You have to jiggle the handle to make the toilet stop running
- The flapper doesn’t close completely after flushing
- The tank takes unusually long to refill
- Your water bill has increased without an obvious reason
Even a slow, intermittent leak can waste a significant amount of water, so it’s worth tracking down the cause.
Before You Start
Remove the toilet tank lid and set it somewhere safe where it cannot be knocked over or cracked.
Flush the toilet once while watching the components inside the tank. Pay attention to the flapper, chain, fill valve, float, water level, and overflow tube.
Most running toilets are caused by one of three things:
- A flapper that isn’t sealing
- A fill valve that isn’t shutting off
- A water level that is set too high
Identifying which one is happening before replacing anything can save you time and money.
💡 Pro Tip: If you’re unsure whether the flapper is leaking, add a few drops of food coloring to the tank and wait about 10–15 minutes without flushing. If colored water appears in the bowl, water is leaking past the flapper.
Step 1: Remove the Tank Lid and Inspect the Toilet
Carefully lift the tank lid straight up and place it on a towel or another protected surface.
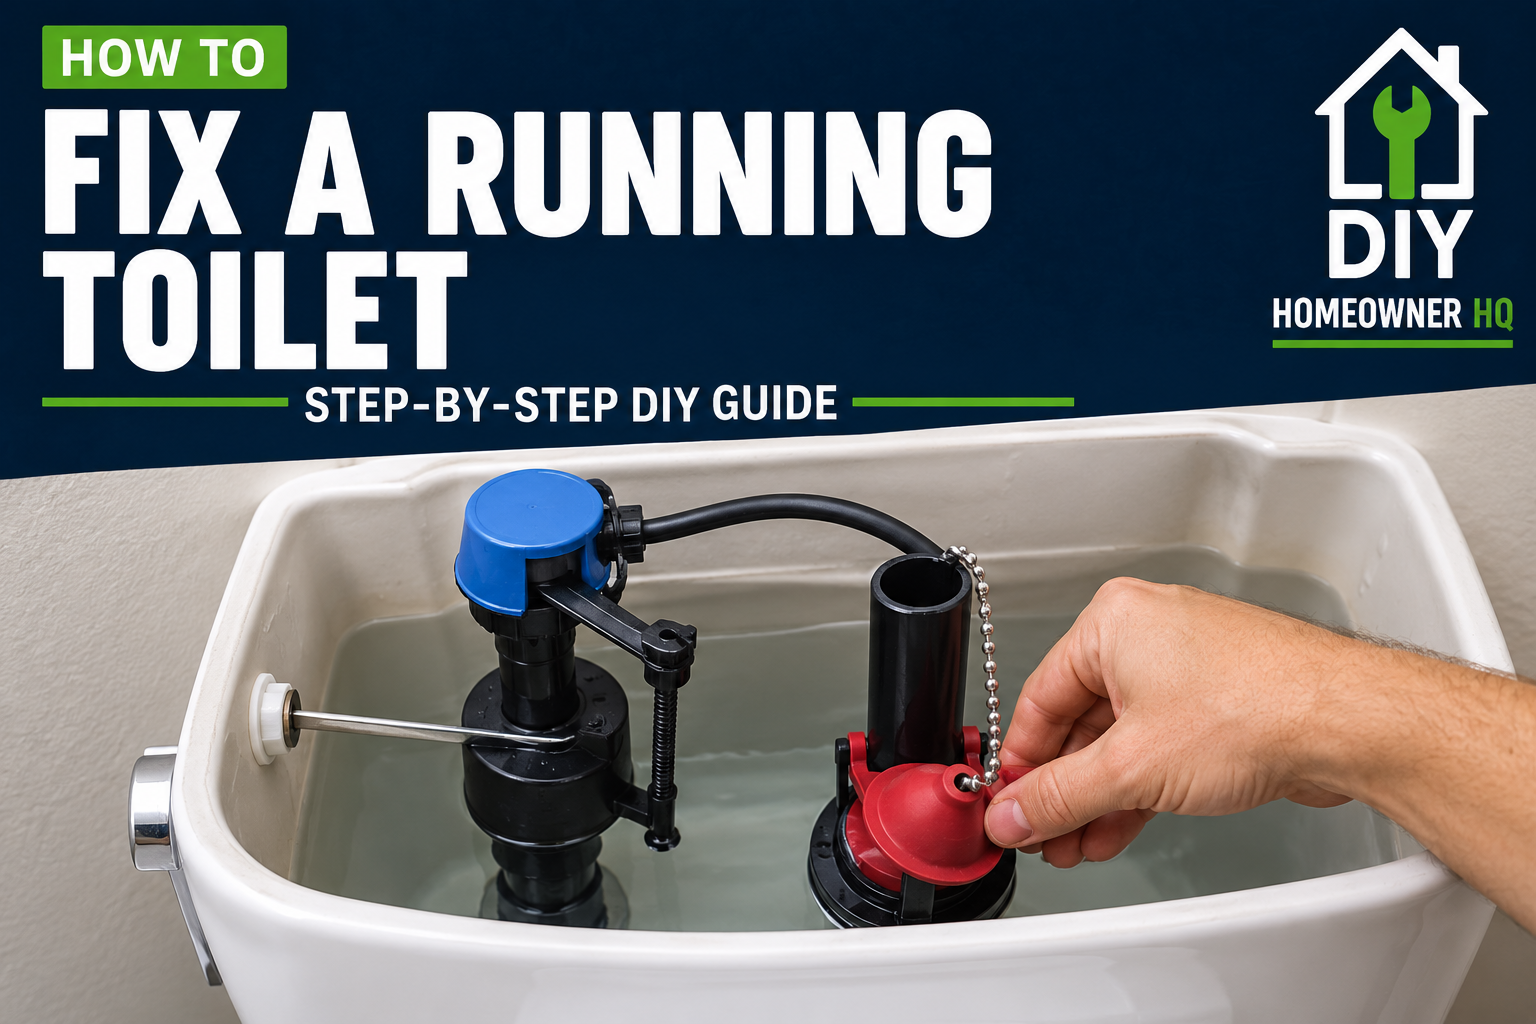
Flush the toilet and watch what happens inside the tank. The flapper should lift, water should drain into the bowl, and then the flapper should fall back into place. The fill valve should refill the tank and eventually shut off.
What You Should See: Once the tank reaches its normal water level, the fill valve should stop completely and water should no longer be flowing.
If Yours Looks Different: If water continues entering the tank or flowing into the overflow tube, the problem is likely related to the fill valve or water-level adjustment.
Step 2: Check the Flapper
Look at the rubber flapper located at the bottom of the tank.
Make sure it sits flat against the flush valve opening when the toilet is not being flushed. Mineral buildup, deterioration, warping, or debris can prevent it from making a watertight seal.
Gently press down on the flapper while the toilet is running.
What You Should See: If the running stops when you press down on the flapper, the flapper is probably not sealing correctly.
If Yours Looks Different: If pressing the flapper down makes no difference, move on to checking the chain and water level.
Step 3: Check the Flapper Chain
Inspect the chain connecting the flush handle lever to the flapper.
The chain should have a small amount of slack when the flapper is closed. If it is too tight, it can hold the flapper slightly open. If it is too loose, it can become tangled or get caught underneath the flapper.
Adjust the chain connection on the flush lever if necessary.
What You Should See: The flapper should close completely without the chain pulling on it.
If Yours Looks Different: If the chain is rusted, damaged, or constantly tangling, replacing the flapper assembly is usually the simplest solution.
💡 Pro Tip: After adjusting the chain, flush the toilet several times. A chain that works once but catches during another flush still needs adjustment.
Step 4: Check the Tank Water Level
Look at the water level inside the tank after it finishes filling.
The water should normally stop about 1 inch below the top of the overflow tube, although some toilets have a marked waterline inside the tank that should be followed instead.
If the water rises high enough to spill into the overflow tube, the toilet will continue running.
What You Should See: The water stops below the overflow tube and remains at a steady level.
If Yours Looks Different: If water continuously flows into the overflow tube, adjust the float or fill valve.
Step 5: Adjust the Float
The float tells the fill valve when to stop adding water.
Depending on your toilet, you may have a float cup that moves up and down the fill valve or an older ball-style float attached to an arm.
Use the adjustment screw, clip, or adjustment mechanism on your fill valve to slightly lower the water level.
Flush the toilet and allow the tank to refill.
What You Should See: The fill valve shuts off before the water reaches the top of the overflow tube.
If Yours Looks Different: If the fill valve continues running even after lowering the float, the fill valve may be worn out and need replacement.
Step 6: Inspect the Fill Valve
If the water level is correct but the fill valve continues making noise or allowing water into the tank, inspect the valve for wear or debris.
Move the float up gently by hand.
What You Should See: Raising the float should cause the water to shut off completely.
If Yours Looks Different: If water continues flowing with the float raised, the fill valve is likely faulty and should be replaced.
💡 Pro Tip: Fill valves are inexpensive and commonly wear out over time. If yours is old, noisy, or inconsistent, replacement is often more reliable than repeatedly adjusting it.
Step 7: Check the Refill Tube
Locate the small flexible tube running from the fill valve to the overflow tube.
The refill tube should direct water into the overflow tube, but it should not be pushed far down inside it or submerged in the tank water.
If it sits too low, it can create a siphoning effect that causes the toilet to continue cycling.
What You Should See: The refill tube should be secured near the top of the overflow tube with an air gap above the tank water level.
If Yours Looks Different: Reposition the tube using the proper clip so it sits above the overflow tube rather than extending deeply inside it.
Step 8: Replace the Faulty Part if Necessary
If adjustment does not solve the problem, replace the component you identified during troubleshooting.
For many running toilets, this means replacing either the flapper or the fill valve.
Turn off the toilet’s water supply before removing any components connected to the water supply.
Follow the replacement part manufacturer’s instructions and make sure the new component is compatible with your toilet.
What You Should See: The replacement part should operate freely without rubbing, binding, or interfering with other components.
If Yours Looks Different: Stop and compare the old and new parts. Toilet components vary, and forcing an incompatible part into place can create additional leaks.
Step 9: Turn the Water Back On and Test
Slowly open the toilet shut-off valve and allow the tank to refill.
Watch the fill valve, flapper, and water level while the tank fills.
Flush the toilet several times and make sure everything operates normally.
What You Should See: The toilet flushes normally, the flapper closes completely, the tank refills to the correct level, and the water shuts off.
Check around the supply connection and toilet for any signs of leaking before replacing the tank lid.
💡 Pro Tip: Wait a few minutes after the final flush and listen carefully. The toilet should remain completely quiet. If you hear it refill again without being flushed, there is still a slow leak somewhere inside the tank.
If you find water around the toilet and aren’t sure where it’s coming from, use our How to Fix a Leaky Toilet guide to track down the source.
If Something Goes Wrong
The toilet still runs after replacing the flapper: Check the chain adjustment and inspect the flush valve seat for mineral buildup, damage, or an uneven sealing surface.
Water keeps flowing into the overflow tube: Lower the float adjustment. If the fill valve still won’t shut off, replace the fill valve.
The toilet periodically refills by itself: Water is likely slowly leaking from the tank into the bowl. Perform the food-coloring test to check the flapper seal.
The new flapper won’t seal: Confirm that you purchased the correct size and style for your flush valve and that the chain isn’t pulling it upward.
The tank won’t fill high enough: Raise the float adjustment slightly and verify that the shut-off valve is fully open.
Water leaks underneath the tank after replacing the fill valve: Turn the water off immediately and check the fill valve washer and supply-line connection. Make sure the connections are properly seated and avoid overtightening plastic components.
🛑 Common Mistakes to Avoid
- Replacing parts before identifying the actual problem
- Setting the flapper chain too tight
- Leaving so much chain slack that it gets caught under the flapper
- Setting the tank water level above the overflow tube
- Pushing the refill tube too far into the overflow tube
- Overtightening plastic fill-valve components
- Ignoring a toilet that periodically refills on its own
- Buying a replacement flapper without checking compatibility
❓ Frequently Asked Questions
Why does my toilet keep running after I flush it?
The most common causes are a flapper that isn’t sealing, an improperly adjusted chain, a water level that is too high, or a fill valve that isn’t shutting off correctly.
How do I know if my toilet flapper is bad?
Press gently on the flapper while the toilet is running. If the running stops, the flapper likely isn’t sealing properly. You can also use the food-coloring test to check for a slow leak into the bowl.
Why does my toilet randomly run for a few seconds?
This is often called a phantom flush. It usually happens because water is slowly leaking from the tank into the bowl, causing the fill valve to periodically turn on and replace the lost water.
Should water be going into the overflow tube?
The refill tube should send some water into the overflow tube while the tank refills, but the tank water itself should not continuously spill over the top of the overflow tube.
How high should the water be in a toilet tank?
Follow the manufacturer’s waterline mark when one is provided. Otherwise, the water level is commonly set approximately 1 inch below the top of the overflow tube.
Is it better to replace the flapper or the entire fill valve?
Replace the component causing the problem. If pressing down on the flapper stops the leak, start with the flapper. If the fill valve continues supplying water when the float is raised, the fill valve is the more likely culprit.
📞 When to Call a Professional
Most running toilets are straightforward DIY repairs, but consider calling a plumber if:
- The toilet continues running after the flapper and fill valve have been checked or replaced
- The shut-off valve will not completely stop the water
- The flush valve itself is cracked or damaged
- Water is leaking between the tank and bowl
- The toilet is leaking around its base
- You discover cracked porcelain
- You’re unsure where the water is coming from
A running toilet is usually a small repair, but an external leak or damaged toilet component should be addressed before it causes water damage.
A leak around the base often points to a failed wax seal. Our How to Replace a Toilet Wax Ring guide walks through that repair step by step.