
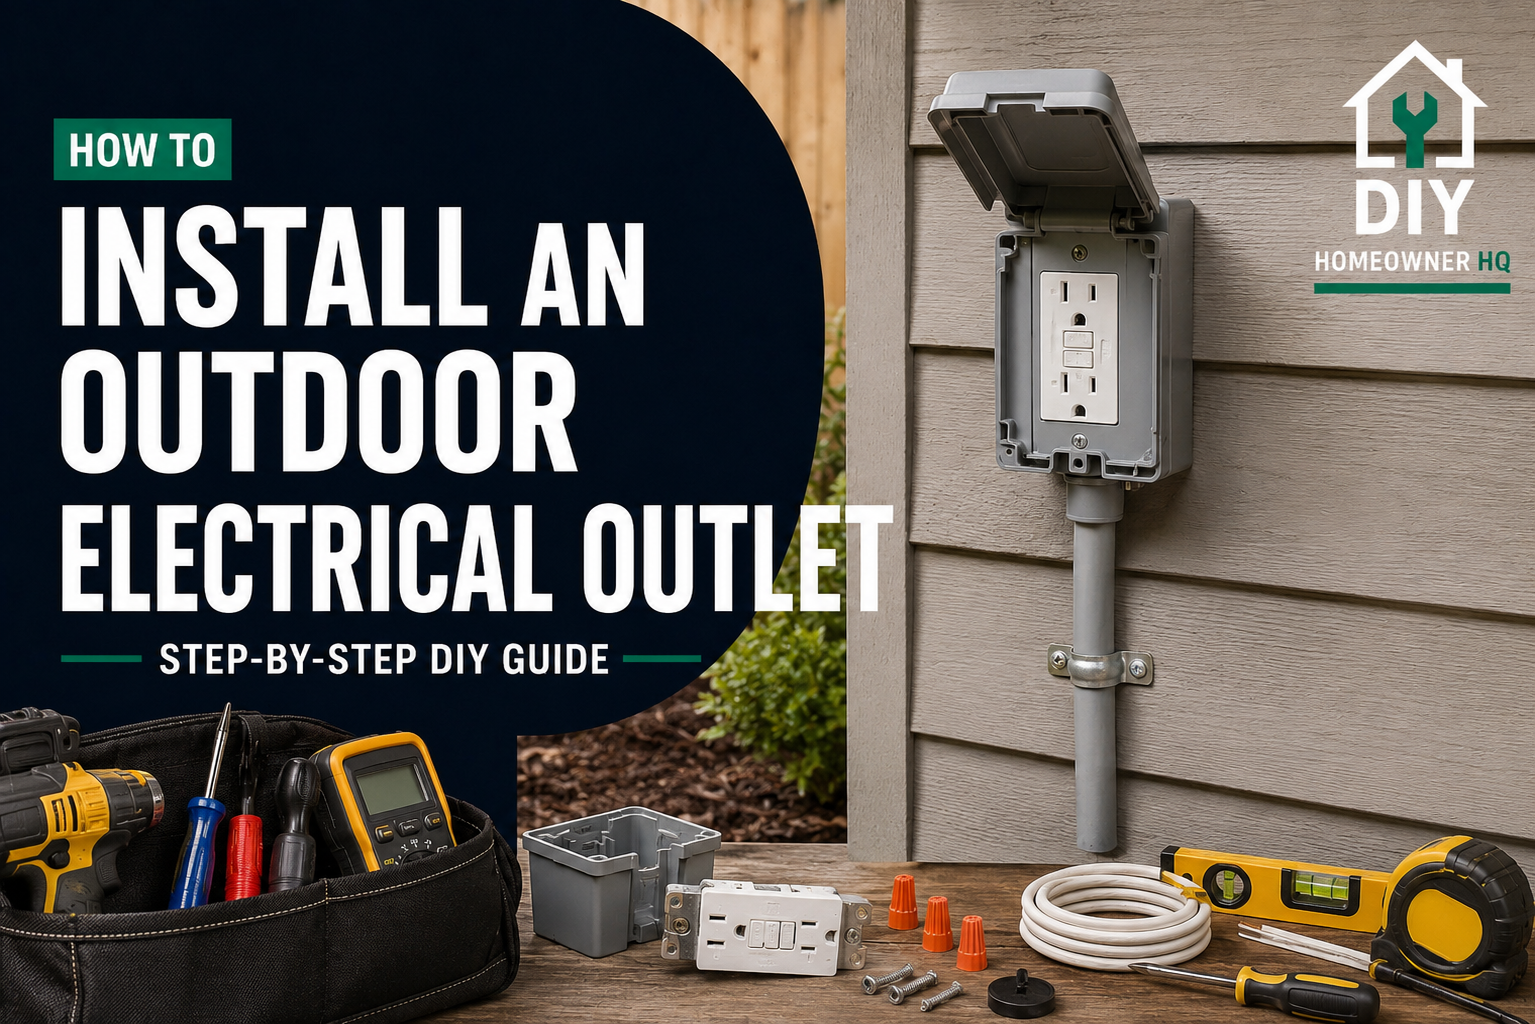
Safety First
Installing an outdoor electrical outlet involves household voltage and exposure to moisture, so both electrical safety and weather protection are critical.
Turn off power at the breaker and verify the circuit is de-energized with a voltage tester before touching any wiring. Outdoor receptacles generally require GFCI protection, a weather-resistant (WR) receptacle, and an approved weatherproof cover/enclosure appropriate for the location.
Use only wiring, boxes, fittings, and other components approved for the installation and environment. Never run standard indoor cable or connections where they’re exposed to weather or moisture.
If you’re adding a completely new circuit, working inside the electrical panel, unsure about grounding, or unsure about local electrical-code requirements, have a licensed electrician handle that portion of the installation.
Time
1-3 Hours
Difficulty
Moderate to Advanced
Cost
$30-$100
🧰 Tools & Materials
Tools
- Phillips and flat-head screwdrivers
- Non-contact voltage tester
- Wire stripper/cutter
- Drill and appropriate drill bits
- Pliers
- Utility knife
- Tape measure
- Level
- Exterior-rated sealant
- Safety glasses
Materials
- Weather-resistant (WR) GFCI receptacle
- Exterior electrical box approved for the installation
- Weatherproof in-use cover
- Approved electrical cable or conductors for the installation
- Wire connectors
- Exterior-rated fittings as required
- Grounding screw or pigtail, if required
- Exterior-rated caulk or sealant
Before You Buy
Decide Where the Outlet Will Get Power
One of the easiest ways to add an outdoor outlet is often to extend an appropriate existing circuit from an indoor receptacle located on the opposite side of the exterior wall.
But don’t automatically tap into the closest outlet.
Make sure the existing circuit is appropriate for the additional receptacle and isn’t already heavily loaded or dedicated to equipment that shouldn’t share the circuit.
If you’re planning to run a completely new circuit from the electrical panel, the project becomes considerably more advanced.
Choose Outdoor-Rated Components
Outdoor receptacles need equipment designed for damp or wet environments.
Depending on the installation, you’ll typically need:
- A weather-resistant receptacle
- GFCI protection
- An approved exterior electrical box
- A weatherproof cover
- Wiring and fittings approved for the location
Use an extra-duty in-use cover where required, especially where cords may remain plugged in outdoors.
💡 Pro Tip: Buy the box, GFCI receptacle, and cover together if possible. It’s much easier than discovering halfway through the project that the cover doesn’t fit the box correctly.
Before You Start
Determine exactly where the outlet will be installed on both sides of the wall.
Check for:
- Plumbing
- Electrical wiring
- Studs
- HVAC components
- Cabinets or built-ins
- Other hidden obstacles
Choose a location where the box can be mounted securely and properly weather-sealed.
Make sure you understand how your exterior wall is constructed before drilling through it.
Step 1: Turn Off the Power
Locate the breaker controlling the circuit you plan to extend and switch it OFF.
At the existing receptacle, use a voltage tester to confirm the power is off before removing the device.
Test more than one wire or terminal if necessary.
What You Should See: Your voltage tester should indicate that the wiring you’ll be handling is de-energized.
If Yours Looks Different: If the tester still detects voltage, stop and identify the correct breaker before continuing.
Step 2: Remove the Existing Indoor Receptacle
Remove the wall plate and the screws holding the receptacle to the electrical box.
Carefully pull the receptacle forward without touching the terminals until you’ve verified again that the wiring is de-energized.
Inspect the box and wiring.
For references, check out How to Replace a Standard Electrical Outlet.
Make sure there’s enough room in the existing box for the additional conductors and connections.
If Yours Looks Different: If the box is already crowded, damaged, or contains wiring you don’t understand, don’t force additional wiring into it. The box may need to be replaced with a larger one.
Step 3: Choose the Outdoor Box Location
Determine where the exterior box will sit relative to the indoor receptacle.
Measure carefully so you don’t accidentally drill into a stud or another obstruction.
Mark the center or cable-entry location on the exterior wall.
Before drilling, confirm the location from both sides.
💡 Pro Tip: Don’t assume the indoor and outdoor wall surfaces line up exactly. Exterior siding, sheathing, insulation, and framing can make the wall thicker than expected.
Step 4: Create the Cable Path
Drill an appropriately sized opening through the wall for the approved wiring method you’re using.
Work carefully through exterior siding and wall materials to avoid unnecessary damage.
The exact wiring method depends on the wall construction and whether any portion of the wiring will be exposed outdoors.
What You Should See: You should have a clean pathway between the existing circuit and the new exterior box location.
If Yours Looks Different: Masonry, brick, stucco, or unusually thick walls may require specialized bits, boxes, fittings, or installation methods.
Step 5: Install the Exterior Electrical Box
Mount the approved exterior electrical box securely to the wall according to the manufacturer’s instructions.
Keep the box level and make sure the cable or conduit enters through an approved fitting.
The box should sit securely without rocking or pulling away from the wall.
Seal around penetrations as appropriate for the siding and box design while maintaining any drainage provisions required by the equipment.
What You Should See: A solidly mounted exterior box with the wiring entering through an approved opening.
Step 6: Run the Wiring
Run the appropriate cable or conductors from the existing circuit to the outdoor box.
Protect the wiring from sharp edges and physical damage.
Leave enough conductor at both boxes to make secure connections without pulling the wires tight.
If Yours Looks Different: If the wiring will travel through an outdoor or wet location, don’t assume standard indoor cable is acceptable. Use a wiring method approved for that environment.
Step 7: Connect the Existing Circuit
At the indoor box, connect the new wiring to the existing circuit using an approved method.
Typically, you’ll be extending:
- Hot
- Neutral
- Ground
Use properly sized wire connectors and make sure each connection is secure.
If pigtails are needed, make the connections neatly without overcrowding the box.
Carefully return the wiring and receptacle to the box.
What You Should See: Connections should be secure with no unintended exposed copper and enough room for the receptacle to fit back into the box without excessive force.
Step 8: Connect the Outdoor GFCI Receptacle
Identify the LINE terminals on the GFCI receptacle.
For a typical installation where the GFCI is the first outdoor receptacle, connect the incoming power conductors to the LINE terminals according to the manufacturer’s instructions:
- Hot conductor → LINE hot terminal
- Neutral conductor → LINE neutral terminal
- Ground → grounding terminal
Do not use the LOAD terminals unless you’re intentionally providing downstream GFCI protection and understand the manufacturer’s wiring instructions.
What You Should See: Each conductor should be securely attached to the correct terminal with no excessive exposed copper.
Problem: The GFCI won’t reset after installation.
One common cause is accidentally connecting the incoming wires to the LOAD terminals instead of LINE. Turn the breaker off again and verify the wiring against the manufacturer’s diagram.
Step 9: Install the Receptacle and Weatherproof Cover
Carefully fold the wires into the exterior box and secure the GFCI receptacle.
Install the gasket and weatherproof cover according to the manufacturer’s instructions.
Make sure everything sits flat and seals correctly.
If exterior sealant is required around the box, apply it where appropriate without blocking intended drainage openings.
💡 Pro Tip: Don’t rely on caulk alone to make an improper electrical box suitable for outdoor use. Start with equipment that’s actually approved for the location.
Step 10: Restore Power and Test
Make sure both receptacles and covers are fully installed.
Turn the breaker back ON.
Press the RESET button on the outdoor GFCI if necessary.
Use the TEST button to verify that the GFCI trips, then press RESET again.
You can also use a receptacle tester to check the outlet.
If the outlet still has no power, see How to Fix an Outlet That Isn’t Working for additional troubleshooting steps.
What You Should See: The outlet should have power after resetting the GFCI, and pressing TEST should shut power off at the receptacle.
Problem: The outlet has no power.
Turn the breaker back off and check:
- LINE versus LOAD connections
- Wire connections
- The supplying receptacle
- The breaker
- Any upstream GFCI devices
Problem: The GFCI immediately trips.
Leave it off. There may be incorrect wiring, damaged insulation, moisture, or another electrical fault that needs to be corrected.
🛑 Common Mistakes to Avoid
- Working without turning off and verifying power
- Using a standard indoor receptacle outdoors
- Forgetting required GFCI protection
- Installing a cover that isn’t appropriate for the location
- Using wiring or fittings not approved for the environment
- Accidentally reversing LINE and LOAD on the GFCI
- Overcrowding the existing electrical box
- Drilling through the wall without checking for hidden utilities
- Failing to protect the cable where it enters the box
- Leaving gaps that allow water into the wall or electrical box
❓ FAQs
Does an outdoor outlet need to be GFCI protected?
Outdoor receptacles generally require GFCI protection. This may be provided by the outdoor GFCI receptacle itself or by another approved upstream GFCI device.
Do I need a special outlet for outdoors?
Use a receptacle rated for the environment. Modern outdoor installations commonly use weather-resistant receptacles, identified by a WR marking.
Can I tap an outdoor outlet into an indoor outlet?
Sometimes. The existing circuit must be appropriate for the additional receptacle, and the installation still needs to meet applicable electrical requirements.
Can I use regular indoor electrical cable outside?
Not where the wiring method isn’t approved for the environment. Wet and exposed locations require wiring methods and materials specifically approved for those conditions.
Why does my outdoor GFCI have LINE and LOAD terminals?
LINE receives incoming power. LOAD can provide GFCI protection to downstream devices. If you’re only powering the GFCI itself, you’ll generally use the LINE terminals.
What kind of cover should I use?
Use a weatherproof cover appropriate for the outlet’s location and intended use. Locations where cords may remain connected can require an in-use style cover that protects the receptacle even while something is plugged in.
📞 When to Call a Professional
Call a licensed electrician if:
- You need to run a new circuit from the electrical panel
- You don’t know whether the existing circuit can support another receptacle
- You find damaged or overheated wiring
- The existing electrical box is overcrowded
- You can’t identify the hot, neutral, and ground conductors
- You’re working with an unusual exterior wall construction
- The GFCI continues tripping after you’ve verified the connections
- You aren’t sure which wiring method is approved for the outdoor location
- You’re unsure about electrical-code or permit requirements for the installation
Outdoor electrical work has the added challenge of keeping electricity and moisture safely separated. If you’re uncertain about the wiring method or weatherproofing requirements, have an electrician complete the installation.
Related DIY Guides
How to Replace a Standard Electrical Outlet
How to Fix an Outlet That Isn’t Working