
Safety First
Before replacing a shower head, turn the shower completely off and make sure no water is flowing. You normally do not need to shut off your home’s main water supply for this project. When removing a stubborn shower head, hold the shower arm securely so it doesn’t twist inside the wall. Avoid using excessive force—a damaged or loosened connection behind the wall can cause a hidden leak. If the shower arm moves, cracks, or appears badly corroded, stop before continuing.
Time
15-30 Minutes
Difficulty
Easy
Cost
$20-$75
🧰 Tools & Materials
- New shower head
- Adjustable wrench
- Tongue-and-groove pliers — helpful for stubborn shower heads
- Plumber’s tape (PTFE/thread-seal tape)
- Old towel or rag
- Soft cloth
- Small brush or old toothbrush — optional for cleaning threads
💡 Pro Tip: Wrap your wrench or pliers with a cloth or towel before gripping finished metal surfaces. This helps prevent scratches on the shower arm and new shower head.
Signs It’s Time to Replace Your Shower Head
A shower head doesn’t necessarily need to break before it’s worth replacing.
Consider replacing yours if:
- Water pressure has noticeably decreased
- Spray holes are heavily clogged with mineral buildup
- Water sprays unevenly or in the wrong direction
- The shower head leaks around the connection
- The finish is corroded, cracked, or deteriorating
- The shower head no longer stays in position
- You want a different spray pattern, handheld option, or more water-efficient model
If the only problem is mineral buildup, cleaning the existing shower head may restore its performance without replacing it.
Before You Buy
Inspect the shower arm coming from the wall. If it’s badly corroded, cracked, loose, or damaged, replacing the shower arm may be necessary before installing the new shower head.
Before purchasing, decide what style works best for your bathroom:
- Fixed shower head
- Rain shower head
- Handheld shower head
- Dual shower head
- High-pressure shower head
Check the manufacturer’s installation instructions before buying. Some shower heads contain a rubber washer or gasket and may have specific requirements about where thread-seal tape should—or should not—be used.
Also consider the size and weight of the new shower head. A very large or heavy model may place additional stress on an older shower arm.
💡 Pro Tip: If you’re installing a handheld or dual shower head, check the package before leaving the store. Make sure it includes the hose, mounting bracket/diverter, washers, and any required adapters.
Before You Start
Turn the shower completely off and make sure the shower head is no longer dripping.
Place a towel over the shower floor or tub to protect the surface from dropped tools.
It’s also a good idea to cover the drain so a washer or small fitting can’t accidentally fall into it.
Inspect the shower arm coming from the wall. If it’s badly corroded, cracked, loose, or already moving inside the wall, address that problem before installing the new shower head.
Have a second wrench or pair of pliers nearby in case you need to hold the shower arm stationary while removing the old head. Supporting the arm while loosening a stubborn head is recommended to avoid twisting the arm or connection inside the wall.
Step 1: Try Removing the Old Shower Head by Hand
Grip the base of the old shower head where it connects to the shower arm.
Turn it counterclockwise.
Many shower heads are only hand-tight and will unscrew without tools.
Once it breaks loose, continue turning until you can remove it completely.
What You Should See: The threaded end of the shower arm should now be exposed.
💡 Pro Tip: Start by hand before reaching for a wrench. There’s no reason to put additional force on the shower arm if the head will loosen easily.
Step 2: Loosen a Stuck Shower Head
If the shower head won’t move by hand, wrap a towel or cloth around the shower arm to protect its finish.
Use pliers or a second wrench to hold the shower arm securely.
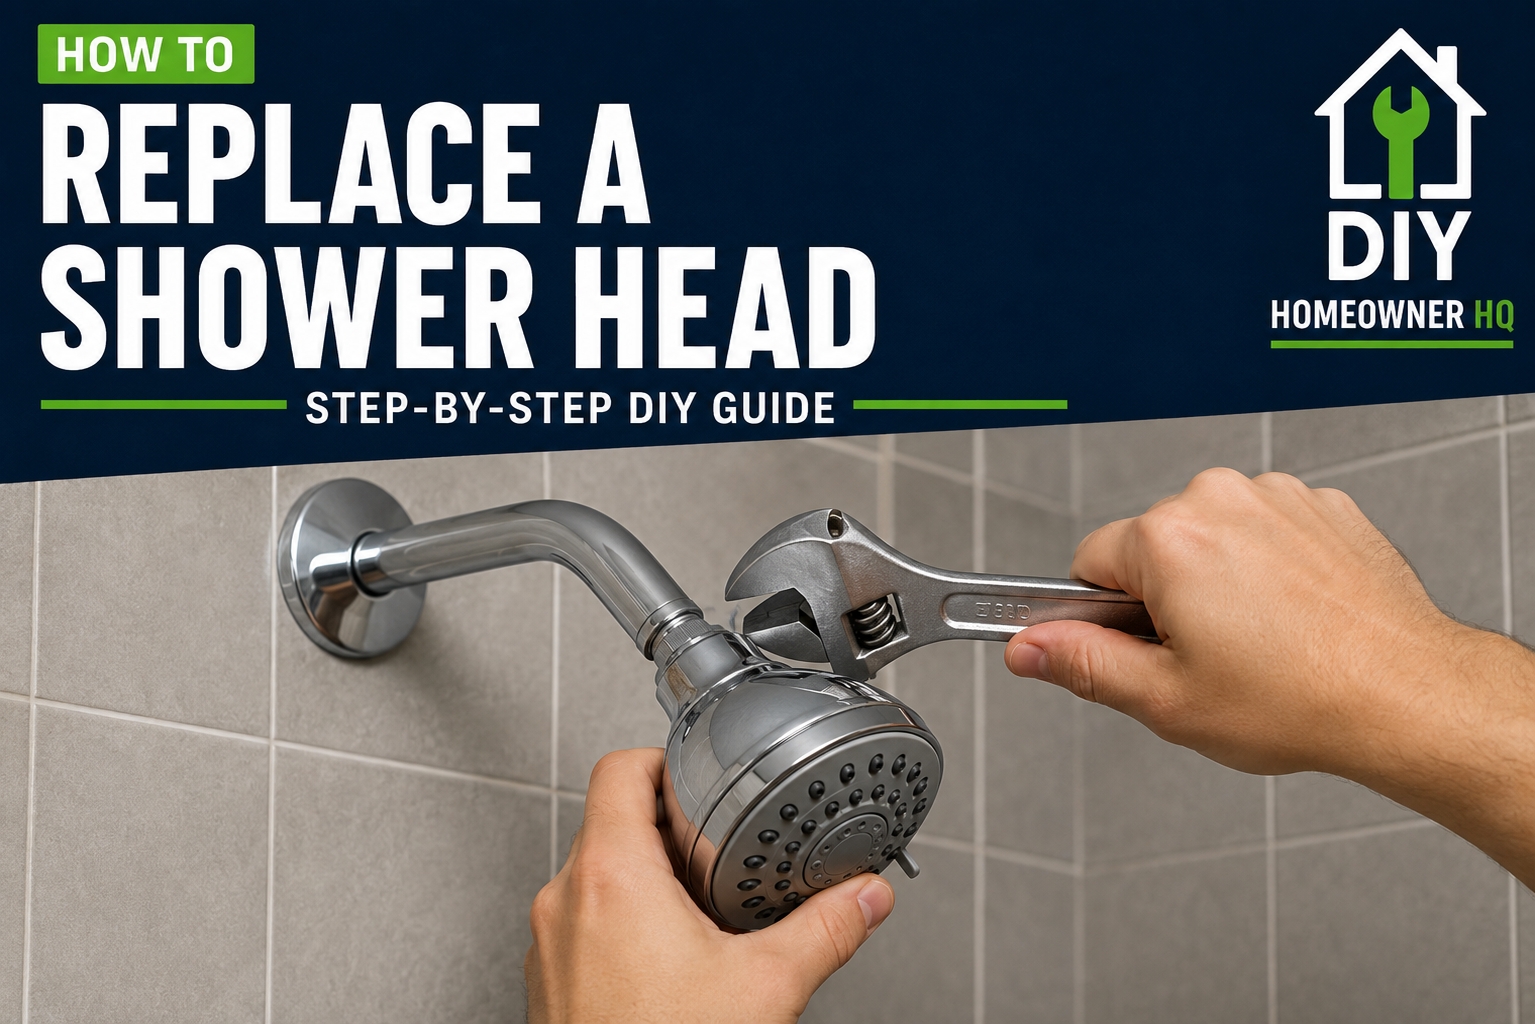
Place your adjustable wrench around the connection on the old shower head and turn it counterclockwise.
The goal is to turn the shower head without allowing the shower arm to rotate.
Once the connection breaks loose, remove the shower head by hand.
What You Should See: The shower head should separate cleanly while the shower arm remains firmly positioned in the wall.
If the shower arm begins twisting or moving inside the wall, stop applying force.
Step 3: Clean the Shower Arm Threads
Remove any old plumber’s tape from the exposed threads.
Use a cloth, small brush, or old toothbrush to remove:
- Old thread-seal tape
- Mineral deposits
- Rust
- Dirt
- Old sealant
Inspect the threads carefully while they’re exposed.
Minor discoloration is usually fine, but badly corroded, cracked, flattened, or damaged threads may prevent the new shower head from sealing properly.
What You Should See: Clean, intact metal threads with the old sealing material removed.
Step 4: Apply Plumber’s Tape if Required
Check the instructions included with your new shower head.
If the threaded connection requires plumber’s tape, hold the end of the tape against the shower-arm threads and wrap it clockwise—the same direction the shower head will tighten.
If the threaded connection requires plumber’s tape, hold the end of the tape against the shower-arm threads and wrap it clockwise—the same direction the shower head will tighten. Apply enough to cover the threads neatly without creating a thick buildup, following the shower head manufacturer’s instructions when provided.
Keep the tape flat and avoid covering the opening of the shower arm.
Avoid covering the opening of the shower arm.
What You Should See: The threads should be evenly covered without a large wad of tape around the connection.
💡 Pro Tip: Don’t automatically add tape to every connection on a handheld or multi-piece shower head. Connections that seal with rubber washers or gaskets should be assembled according to the manufacturer’s instructions.
Step 5: Install the New Shower Head
Position the new shower head over the shower-arm threads.
Turn it clockwise by hand.
It should thread smoothly without much resistance.
If it immediately becomes difficult to turn, back it off and start again. You may be cross-threading the connection.
Continue tightening by hand until the shower head is snug and positioned correctly.
What You Should See: The shower head should sit straight on the shower arm with no obvious gap or crooked connection.
Step 6: Tighten the Connection if Necessary
Many shower heads only require hand-tightening, while others may call for slight additional tightening with a wrench.
Follow the instructions supplied with your shower head.
If a wrench is required, protect the finish with a cloth and tighten the connection only slightly beyond hand-tight.
Do not crank down on the fitting.
Overtightening can damage the shower head, threads, washer, or shower arm.
What You Should See: The shower head should feel secure without the shower arm moving inside the wall.
Step 7: Turn On the Shower and Check for Leaks
Stand outside the direct spray and slowly turn on the shower.
Watch the connection between the shower head and shower arm.
Look closely for:
- Dripping
- Water spraying from the threaded connection
- Moisture forming around the fitting
Let the shower run for about a minute.
If the connection remains dry, test the different spray settings and make sure everything operates normally.
What You Should See: Water should come only from the shower head’s spray nozzles, with the threaded connection remaining dry.
💡 Pro Tip: Dry the connection completely before testing it. A dry paper towel wiped around the joint makes a tiny leak much easier to spot.
If Something Goes Wrong
The Old Shower Head Won’t Come Off
Don’t keep applying more force with a single wrench.
Use one tool to support the shower arm while another loosens the shower head.
Mineral buildup around the connection can also make removal difficult. If the arm begins moving inside the wall, stop before damaging the hidden plumbing.
The New Shower Head Leaks at the Threads
Turn the shower off and dry the connection.
Verify that the shower head is properly threaded and tightened according to its instructions.
If the connection uses plumber’s tape, remove the head, remove the old tape, and apply fresh tape neatly in the correct direction before reinstalling.
The Shower Head Goes On Crooked
Stop tightening.
The connection may be cross-threaded.
Remove the shower head and carefully start it again by hand. It should turn several times smoothly before becoming snug.
The Shower Arm Moves When I Turn the Shower Head
Stop.
The shower arm threads into a fitting behind the wall. Excessive movement could loosen that connection and potentially create a leak where you can’t see it.
If the arm won’t remain secure while you’re working, it may need to be inspected or replaced.
The New Shower Head Has Weak Water Pressure
First check the new shower head’s spray settings and installation instructions.
Make sure no packaging material or debris is blocking the inlet and verify that any required washer is positioned correctly.
If the old shower head had good pressure and the new one doesn’t, the issue may be with the new shower head rather than your home’s plumbing.
Common Mistakes to Avoid
- Using excessive force to remove a stuck shower head
- Allowing the shower arm to twist inside the wall
- Installing the new shower head over old plumber’s tape
- Wrapping plumber’s tape in the wrong direction
- Using too much thread-seal tape
- Cross-threading the new shower head
- Overtightening the connection
- Scratching the finish with an unprotected wrench
- Losing a rubber washer down the shower drain
- Ignoring the manufacturer’s installation instructions
- Forgetting to check carefully for leaks afterward
❓ Frequently Asked Questions
Do I need to shut off the water to the house?
Usually, no. Replacing only the shower head doesn’t normally require shutting off the home’s main water supply. Make sure the shower control itself is completely off before starting.
If you’re working on the shower valve or plumbing behind the wall, that’s a different project.
Do all shower heads fit the same shower arm?
Many residential shower heads use the common standard connection, but don’t assume every specialty product is identical. Check the specifications for the shower head you’re purchasing, especially for rainfall, handheld, dual, or specialty systems.
Do I always need plumber’s tape?
Not necessarily.
Some threaded shower-head connections call for thread-seal tape, while other connections rely on rubber washers or gaskets. Follow the installation instructions for your specific shower head.
How tight should a shower head be?
Start by hand. The shower head should be snug and properly aligned without excessive force.
If the manufacturer specifies additional wrench tightening, use only the amount necessary to create a secure, leak-free connection.
Why is my shower head still leaking after I replaced it?
First determine where the water is coming from.
A leak at the threaded connection may indicate improper installation, damaged threads, or an issue with the thread seal. A small amount of water dripping from the shower head immediately after use can simply be residual water draining from the fixture. If the dripping continues well after the shower is turned off, however, the problem may be the shower valve rather than the shower head. See how to fix a leaky shower faucet for troubleshooting that problem.
Can I replace a fixed shower head with a handheld one?
Usually, yes. Many handheld shower-head kits attach to the existing shower arm and include the necessary hose and mounting hardware.
Follow the instructions included with the kit because the number of connections and required washers can differ from a basic fixed shower head.
📞 When to Call a Professional
Replacing a shower head is one of the easier plumbing projects for a homeowner, but stop and call a plumber if:
- The shower arm is cracked or badly corroded
- The shower arm moves significantly inside the wall
- The shower arm breaks while removing the old head
- The threaded connection is badly damaged
- Water appears to be leaking inside the wall
- The new shower head continues leaking after you’ve verified the installation
- The problem appears to involve the shower valve rather than the shower head
A shower head is easy to replace. A damaged fitting hidden behind the wall is not—so if something starts moving that shouldn’t, don’t force it.