
Safety First
Before removing the toilet, turn off the water supply at the shutoff valve and flush the toilet to empty as much water as possible from the tank and bowl. Use a sponge or wet/dry vacuum to remove any remaining water before disconnecting the supply line.
Toilets are heavy and awkward to lift, especially one-piece models. Get a second person to help if needed, and always lift with your legs—not your back.
Once the toilet is removed, the open drain can release sewer gases into your home. Temporarily plug the drain with a rag while you work, but do not push the rag down into the pipe. Remove it before installing the new toilet.
Time
1-2 Hours
Difficulty
Moderate
Cost
$100-$250
🧰 Tools & Materials
- New toilet
- New wax ring or wax-free toilet seal
- New closet bolts and nuts
- Adjustable wrench
- Channel-lock pliers
- Flathead screwdriver
- Putty knife or scraper
- Sponge or wet/dry vacuum
- Bucket
- Old towels or rags
- Rubber gloves
- Level
- Toilet shims (if needed)
- Hacksaw or oscillating tool (if closet bolts need trimming)
- New toilet supply line (recommended if the existing one is old or damaged)
- Bathroom-rated caulk (optional, depending on local practice/code)
💡 Pro Tip: Before starting, open the new toilet box and inspect the bowl and tank carefully for cracks or damage. It’s much easier to exchange a damaged toilet before you’ve removed the old one.
Signs It’s Time to Replace Your Toilet
Not every toilet problem requires replacing the entire toilet. Many running or flushing problems can be repaired by replacing individual components.
Consider replacing the toilet if:
- The porcelain is cracked or damaged.
- Water is leaking from a crack in the bowl or tank.
- The toilet frequently clogs despite having a clear drain.
- The toilet is old and uses significantly more water than newer models.
- Multiple internal components are failing and the toilet is no longer worth repairing.
- The toilet rocks because the base or mounting area is damaged.
- You’re remodeling the bathroom and want to upgrade the toilet.
Important: If water is leaking around the base but the toilet itself is in good condition, you may only need to replace the wax ring, not the entire toilet.
Before You Buy a New Toilet
The most important measurement is the toilet’s rough-in distance.
Measure from the finished wall—not the baseboard—to the center of the toilet’s closet bolts. Most residential toilets use a 12-inch rough-in, but 10-inch and 14-inch models also exist.
Also consider:
- Round vs. elongated bowl
- Standard height vs. chair/comfort height
- One-piece vs. two-piece design
- Available bathroom space and door clearance
- Water efficiency and flushing performance
- Whether the toilet includes a seat, wax ring, bolts, and supply line
💡 Pro Tip: Measure your rough-in before buying the toilet. A beautiful new toilet isn’t very useful if it doesn’t fit your plumbing layout.
Step 1: Shut Off the Water and Drain the Toilet
Turn the toilet’s shutoff valve clockwise until it stops.
Flush the toilet and hold the handle down to remove as much water from the tank as possible.
Remove the tank lid and use a sponge or wet/dry vacuum to remove the remaining water from the tank and bowl.
Place a towel underneath the supply connection.
What You Should See: The tank should be mostly empty and should not begin refilling.
If Yours Looks Different: If water continues entering the tank after you’ve closed the shutoff valve, the valve may not be sealing completely. Do not force an old or corroded shutoff valve.
If the valve won’t completely stop the water or has started leaking, see our How to Replace a Toilet Shut-Off Valve guide before continuing.
Step 2: Disconnect the Water Supply Line
Locate the supply line where it connects to the bottom of the toilet tank.
Unscrew the connection by hand or carefully use an adjustable wrench or pliers if necessary.
Keep a towel or bucket underneath the connection because a small amount of water may drain out.
Inspect the supply line for corrosion, cracking, damaged threads, or worn seals.
💡 Pro Tip: Toilet supply lines are inexpensive. If yours is old, stiff, corroded, or questionable, this is a great time to replace it.
Step 3: Remove the Toilet Bolt Caps and Nuts
Pop off the decorative caps covering the bolts at the base of the toilet.
Remove the nuts and washers from both closet bolts using an adjustable wrench.
If the bolts are badly corroded and won’t loosen, they may need to be carefully cut with a hacksaw or oscillating tool.
What You Should See: Once both nuts are removed, the toilet should no longer be mechanically fastened to the floor.
If Yours Looks Different: If the toilet still feels firmly attached, check for caulk around the base. Carefully cut through the caulk with a utility knife before attempting to lift the toilet.
Step 4: Remove the Old Toilet
Have a protected area ready nearby, such as cardboard, old towels, or a drop cloth.
Gently rock the toilet from side to side to break the old wax seal.
Lift the toilet straight up and off the closet bolts.
Keep the toilet as upright as possible because water may still be trapped inside the internal trap.
Set the toilet on the protected surface.
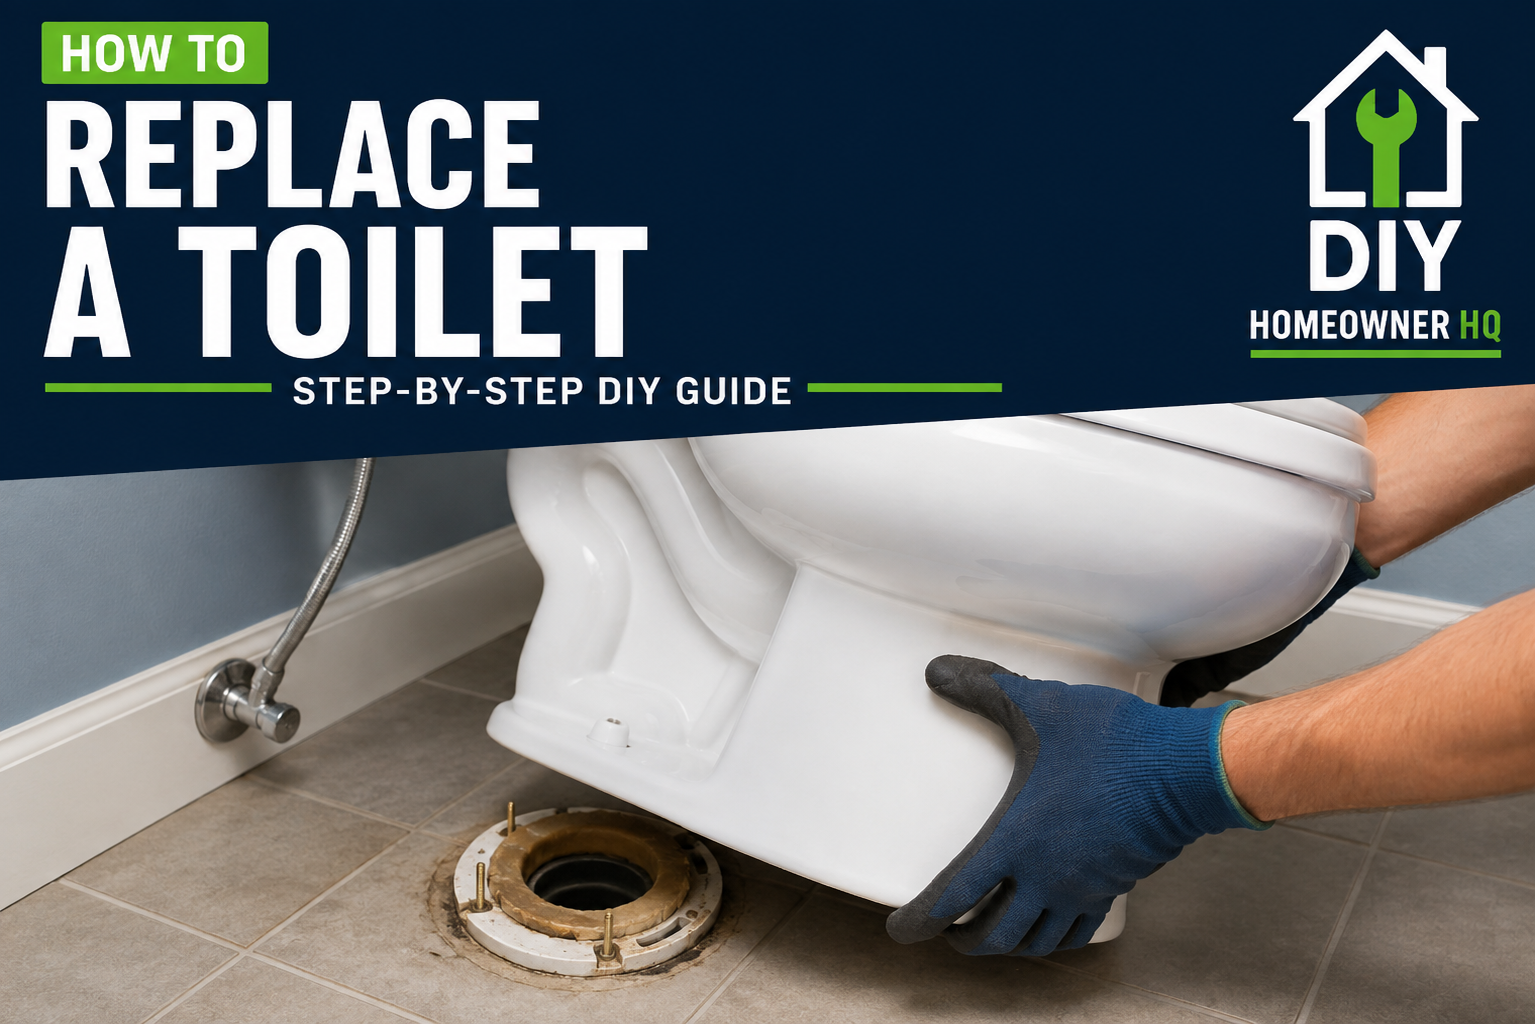
What You Should See: You should now see the toilet flange, closet bolts, and remains of the old wax ring around the drain opening.
💡 Pro Tip: Toilets are heavier and more awkward than they look. Use a second person if you’re uncomfortable lifting it safely.
Step 5: Remove the Old Wax Ring
Put on gloves and use a putty knife or scraper to remove the old wax from the toilet flange.
Dispose of the old wax ring.
Stuff a rag loosely into the drain opening to help block sewer gases and prevent tools or debris from falling into the pipe.
Do not push the rag down into the drain.
Clean the area around the flange so you can inspect it properly.
What You Should See: The toilet flange should be visible and securely attached to the floor.
Step 6: Inspect the Toilet Flange
Check the flange carefully before installing the new toilet.
Look for:
- Cracks or broken sections
- Loose or missing screws
- Heavy corrosion
- Damaged closet bolt slots
- A flange sitting excessively above or below the finished floor
The flange should be secure and properly supported.
If the flange moves, is badly damaged, or sits at an improper height, repair it before continuing.
If Yours Looks Different: A damaged flange doesn’t automatically mean the entire drain needs replacement. Flange repair rings and other repair options may work depending on the damage.
💡 Pro Tip: Don’t ignore a questionable flange just because the new toilet covers it. This is your best opportunity to repair it correctly.
Step 7: Install New Closet Bolts and Wax Ring
Remove the rag from the drain opening before continuing.
Install the new closet bolts into the flange slots and position them so they’re directly across from each other.
Install the new wax ring according to its manufacturer’s instructions. Depending on the product, the ring may be placed on the flange or attached to the bottom of the toilet.
Make sure the wax ring remains clean and centered.
Important: Once a traditional wax ring has been compressed, do not lift and reposition the toilet repeatedly. If the seal becomes questionable, use a new wax ring.
Step 8: Set the New Toilet
With help if necessary, lift the new toilet and carefully align the holes in the base with the closet bolts.
Lower the toilet straight down onto the wax ring.
Once the toilet is positioned, press down firmly using your body weight to compress the wax ring.
Avoid aggressively rocking the toilet.
What You Should See: The toilet base should sit flat against the floor with both closet bolts extending through the mounting holes.
If Yours Looks Different: If the toilet won’t sit flat, stop and determine why. Do not use the mounting nuts to force the toilet down onto the floor.
Step 9: Level and Secure the Toilet
Place a level across the toilet bowl in both directions.
If the toilet rocks, insert plastic toilet shims underneath the low areas until the toilet sits solidly.
Install the washers and nuts onto the closet bolts.
Tighten each side a little at a time, alternating between them.
The goal is to secure the toilet—not clamp it aggressively to the floor.
Do not overtighten the nuts. Porcelain can crack.
Once secure, trim excessively long closet bolts if necessary and install the decorative bolt caps.
💡 Pro Tip: If you’re wondering whether the nuts are tight enough, stop when the toilet is secure and no longer rocks. Extra tightening doesn’t improve the seal and can crack the porcelain.
Step 10: Install the Tank if Needed
If you’re installing a two-piece toilet, follow the manufacturer’s instructions to install the tank onto the bowl.
Install the supplied rubber gasket, bolts, washers, and nuts in the specified order.
Tighten the tank bolts evenly from side to side.
Do not overtighten them.
What You Should See: The tank should sit straight and stable without rocking excessively.
If Yours Looks Different: Some toilets use different tank mounting systems or preinstalled hardware. Always follow the instructions included with your specific toilet.
Step 11: Reconnect the Water Supply
Connect the supply line to the toilet fill valve.
Thread the connection by hand first to avoid cross-threading it.
Tighten according to the supply line or toilet manufacturer’s instructions. Avoid excessive force on plastic fill-valve threads.
Slowly turn the shutoff valve counterclockwise to restore the water supply.
Allow the tank to fill completely.
Immediately inspect the supply connection and tank mounting points for leaks.
Step 12: Test the Toilet
Flush the toilet several times.
Check carefully around:
- The water supply connection
- The bottom of the tank
- Tank-to-bowl connections on a two-piece toilet
- The base of the toilet
- The shutoff valve
Make sure the toilet flushes properly and remains completely stable when you sit on it.
What You Should See: The toilet should flush and refill normally with no dripping, rocking, or water appearing around the base.
💡 Pro Tip: Check the toilet again after a few hours and the following day. Slow leaks aren’t always immediately obvious.
Step 13: Finish Around the Base
Once you’re confident there are no leaks, trim any visible toilet shims so they are flush with the base.
If desired or required in your area, apply a neat bead of bathroom-rated caulk around the base of the toilet.
Some installers leave a small section at the rear uncaulked so a hidden leak can become visible instead of being trapped beneath the toilet.
Follow local plumbing requirements when deciding how to seal the base.
Allow the caulk to cure according to the manufacturer’s instructions.
❗️ If Something Goes Wrong
The toilet rocks after installation: Check the floor for uneven areas and use plastic toilet shims to stabilize the base. Do not keep tightening the closet bolts in an attempt to eliminate rocking.
Water leaks around the base when you flush: Stop using the toilet. The wax ring or toilet seal may not have seated correctly. The toilet will usually need to be removed and installed with a new seal.
The toilet won’t sit flat: Check for an incorrectly positioned wax ring, an excessively high flange, debris underneath the base, or an uneven floor.
The closet bolts spin when tightening: The bolt may not be properly seated in the flange slot. You may need to lift the toilet and reposition or replace the bolt.
The shutoff valve starts leaking: Turn off the home’s water supply if necessary and address the valve before continuing. Do not ignore an active leak.
The toilet keeps running after installation: Check the fill valve, flapper, chain adjustment, and tank water level. The problem is usually inside the tank rather than underneath the toilet.
You find a damaged flange: Stop before installing the new toilet. Depending on the damage, the flange may need to be repaired or replaced before the toilet can be securely installed.
If the toilet keeps running after installation, use our How to Fix a Running Toilet guide to troubleshoot the fill valve, flapper, chain, and tank water level.
🛑 Common Mistakes to Avoid
- Buying a toilet without measuring the rough-in first
- Forgetting to completely drain the old toilet before lifting it
- Reusing the old wax ring
- Installing the toilet over a damaged or loose flange
- Forgetting to remove the rag from the drain before installation
- Misaligning the toilet when lowering it onto the wax ring
- Rocking the toilet excessively after the wax ring has compressed
- Using the closet bolt nuts to pull the toilet down to the floor
- Overtightening bolts and cracking the porcelain
- Failing to shim a rocking toilet
- Reusing an old or damaged supply line
- Forgetting to check carefully for leaks after installation
❓ Frequently Asked Questions
Can a homeowner replace a toilet themselves?
Yes. Replacing a toilet is a manageable DIY project for many homeowners. The plumbing connections are relatively simple, but lifting and accurately positioning the toilet can make the job challenging.
How long does it take to replace a toilet?
For most DIYers, plan on approximately 1–2 hours. It can take longer if you encounter corroded bolts, a damaged flange, a leaking shutoff valve, or an uneven floor.
Do I need a plumber to install a new toilet?
Not necessarily. If the flange, shutoff valve, and drain are in good condition, many homeowners can handle the replacement themselves.
Can I reuse the old wax ring?
No. Once a wax ring has been compressed, it should not be reused. Install a new wax ring or approved toilet seal whenever the toilet is removed.
How do I know what size toilet to buy?
Measure the toilet’s rough-in distance from the finished wall—not the baseboard—to the center of the closet bolts. A 12-inch rough-in is common, but other sizes exist.
Should I replace the toilet supply line too?
If the existing line is old, corroded, damaged, kinked, or stiff, replacement is recommended while the toilet is already being changed.
How tight should toilet bolts be?
Tight enough that the toilet is secure and doesn’t move. Do not overtighten them. Porcelain can crack under excessive pressure.
Should I caulk around the bottom of the toilet?
Requirements and common practices vary. Caulking can provide a clean finish and prevent water or debris from getting underneath the toilet, and some plumbing codes require the joint to be sealed. Follow local requirements.
📞 When to Call a Professional
Consider calling a plumber if:
- The toilet flange is broken, severely corroded, loose, or improperly positioned.
- The floor around the toilet shows signs of rot or water damage.
- The shutoff valve won’t close or begins leaking.
- Closet bolts are severely corroded and cannot be safely removed.
- The drain appears damaged or incorrectly positioned.
- The toilet continues leaking around the base after being reinstalled.
- You discover a problem that requires drainpipe or subfloor repair.
- You’re uncomfortable safely lifting or positioning the toilet.
A straightforward toilet replacement is a reasonable DIY project, but flange, drain, and structural problems can turn it into a much larger repair.