
Safety First
Avoid using chemical drain cleaners before taking the drain apart. They can remain trapped in the P-trap and cause chemical burns or eye injuries when the plumbing is opened. Wear gloves and eye protection, place a bucket under the drain before removing any parts, and stop if you discover damaged or severely corroded plumbing.
Time
30-60 Minutes
Difficulty
Easy
Cost
$0-$25
🧰 Tools & Materials
- Bucket
- Rubber gloves
- Safety glasses
- Small sink plunger
- Needle-nose pliers
- Drain snake or plastic drain-cleaning tool
- Adjustable pliers or channel-lock pliers
- Old towels or rags
- Flashlight
- Old toothbrush or small cleaning brush
- Replacement P-trap washers if needed
Signs Your Bathroom Sink Is Clogged
A bathroom sink clog usually develops gradually rather than stopping the drain all at once. Common signs include:
- Water drains noticeably slower than it used to
- Water pools in the sink while you wash your hands or brush your teeth
- You hear gurgling sounds as the sink drains
- There is a bad smell coming from the drain
- Water barely drains or doesn’t drain at all
- The sink drains temporarily after cleaning but quickly slows down again
Bathroom sink clogs are commonly caused by hair, soap residue, toothpaste, shaving products, and other buildup collecting around the stopper or inside the P-trap.
Before You Start
Remove anything stored underneath the sink so you have room to work. Place an old towel and bucket beneath the P-trap in case you need to disconnect it later.
If you have already poured a chemical drain cleaner into the sink, do not immediately take the plumbing apart. The chemical may still be sitting inside the P-trap and can cause serious skin or eye irritation.
Start with the easiest solution first. Most bathroom sink clogs can be cleared without removing much plumbing.
💡 Pro Tip: Bathroom sink clogs are often sitting directly underneath the stopper. Check there before reaching for a drain snake or taking apart the P-trap.
Step 1: Remove Standing Water
If the sink is completely clogged, remove as much standing water as possible with a cup or small container.
Leave just enough water in the basin to cover the bottom edge of a plunger if you plan to use one.
Removing excess water makes the drain easier and cleaner to work on.
What You Should See: The drain opening should be accessible without several inches of standing water covering it.
If Yours Looks Different: If the water slowly disappears while you’re working, you likely have a partial clog rather than a complete blockage.
Step 2: Remove and Inspect the Sink Stopper
Pull the stopper upward and see whether it comes out of the drain.
Some bathroom sink stoppers lift straight out. Others are connected to a pivot rod underneath the sink.
If yours is connected, look behind the drainpipe underneath the sink for a horizontal rod entering the drain body. Loosen the retaining nut, carefully pull the pivot rod out, and lift the stopper from above.
Remove any hair, soap residue, or buildup attached to the stopper.
What You Should See: The stopper may have a noticeable buildup of hair and grime around its lower section.
If Yours Looks Different: If the stopper will not lift out, don’t force it. Check underneath the sink for a pivot rod holding it in place.
💡 Pro Tip: Take a quick photo of the pivot rod and stopper linkage before disconnecting anything. It makes reassembly much easier.
Step 3: Clean the Drain Opening
With the stopper removed, shine a flashlight into the drain.
Use needle-nose pliers or a plastic drain-cleaning tool to pull out any visible hair or debris.
Reach only as far as the tool comfortably allows.
Run a small amount of water afterward to see whether the drain has improved.
What You Should See: Hair and buildup are commonly concentrated within the first few inches of the drain.
If Yours Looks Different: If the drain opening looks completely clear but the sink still drains slowly, the blockage is probably farther down the drainpipe.
Step 4: Try a Sink Plunger
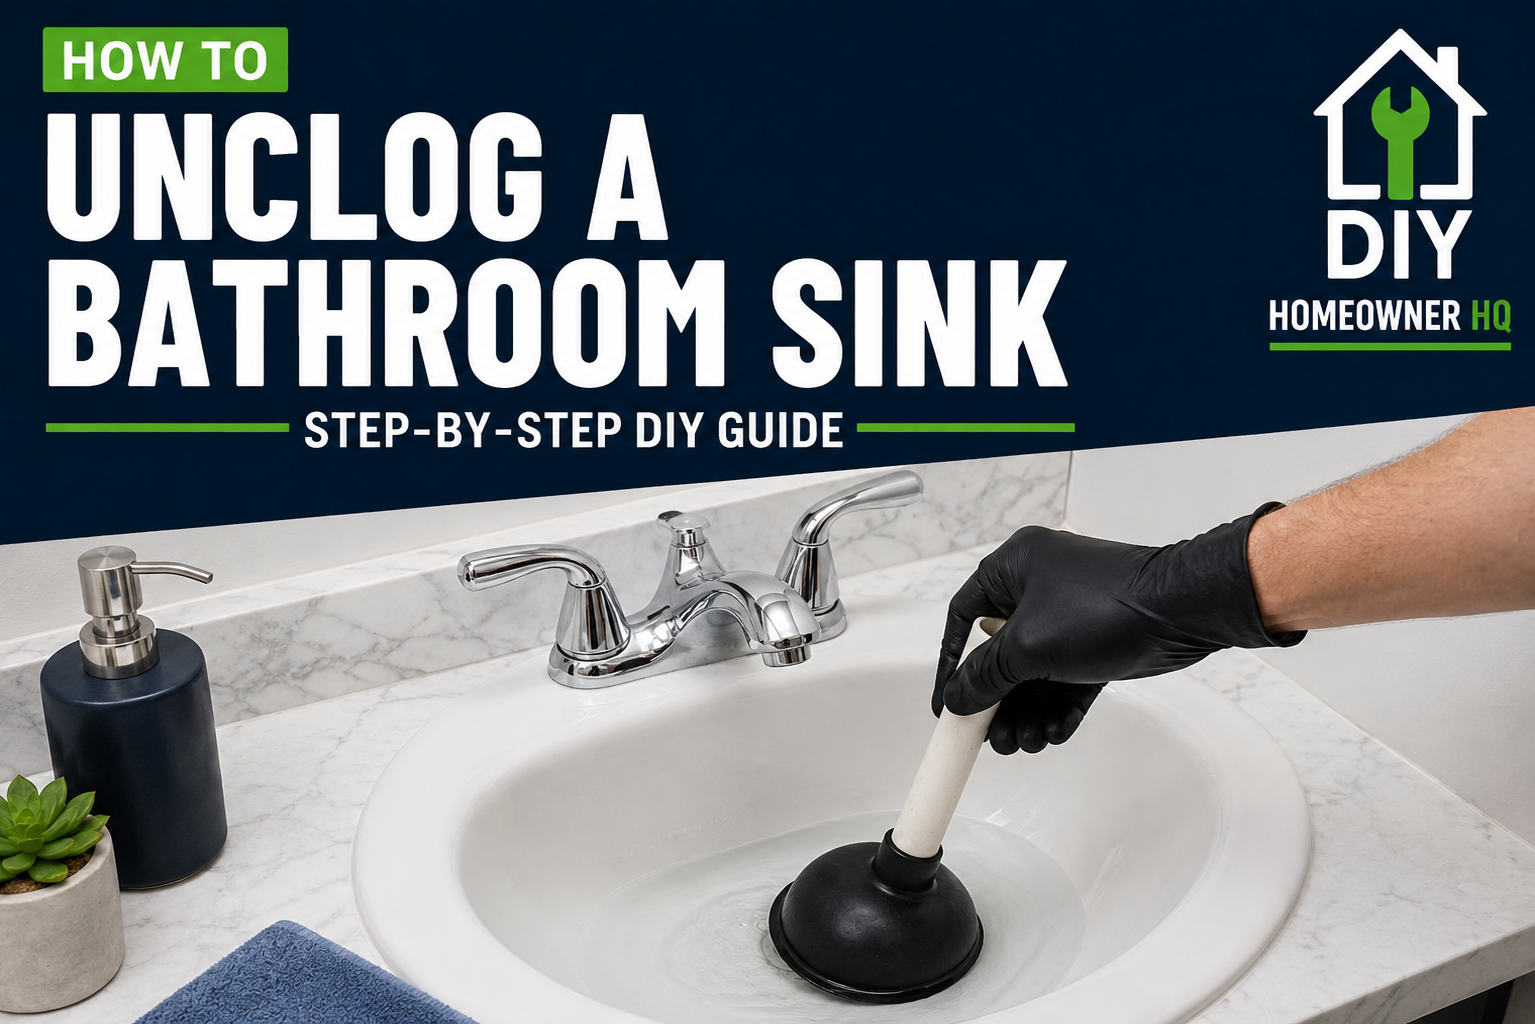
If the clog remains, place a small sink plunger over the drain opening.
If your sink has an overflow opening, cover it firmly with a wet rag. This helps the plunger create suction.
Add enough water to cover the lip of the plunger.
Push and pull the plunger firmly several times while keeping it sealed against the sink.
Remove the plunger and see whether the water drains.
What You Should See: The water may suddenly begin draining quickly once the clog breaks loose.
If Yours Looks Different: If you cannot create suction, make sure the overflow opening is sealed and the plunger completely covers the drain.
Step 5: Use a Drain Snake
If plunging doesn’t clear the clog, insert a small hand-operated drain snake through the drain opening.
Feed the cable slowly into the drain while rotating it.
When you feel resistance, continue turning gently to work the snake through or into the clog.
Pull the cable back out slowly and remove any debris caught on the end.
Repeat if necessary.
What You Should See: The snake may pull out hair, soap buildup, or a combination of both.
If Yours Looks Different: Some drain configurations make it difficult to get a snake through from above. If the cable repeatedly stops at the same point, don’t force it. Removing the P-trap may provide easier access.
💡 Pro Tip: Rotate the snake while feeding it instead of simply pushing harder. This helps it navigate bends without damaging the drain.
Step 6: Place a Bucket Under the P-Trap
If the sink is still clogged, move underneath the sink.
Place a bucket directly beneath the curved section of drainpipe, called the P-trap.
Put an old towel underneath the bucket to catch spills.
Even if the sink appears empty, the P-trap will usually contain some water.
What You Should See: A curved or U-shaped section of pipe connecting the sink drain to the pipe entering the wall.
If Yours Looks Different: Some older homes may have metal drain plumbing instead of PVC or plastic. Corroded metal fittings can be difficult to remove and should not be forced.
Step 7: Remove and Clean the P-Trap
Loosen the slip nuts on both ends of the P-trap.
Plastic fittings can often be loosened by hand. Use adjustable or channel-lock pliers carefully if necessary.
Lower the trap into the bucket and empty the water inside.
Inspect the P-trap for hair, sludge, or other debris.
Clean it thoroughly with water and a small brush.
What You Should See: The inside of the P-trap should be open and free of heavy buildup before reinstalling it.
If Yours Looks Different: If the trap is cracked, badly corroded, or damaged while being removed, replace it rather than trying to reuse it. See how to replace a P-trap for the complete replacement process.
Step 8: Check the Drainpipe Toward the Wall
With the P-trap removed, look into the drainpipe leading into the wall.
If the P-trap was clear, the clog may be farther downstream.
Feed your drain snake carefully into the wall pipe while rotating the cable.
Work through any resistance gently, then pull the snake back out and remove any debris.
Repeat until the cable moves more freely.
What You Should See: The snake should eventually move through the drain without immediately encountering a blockage.
If Yours Looks Different: If you repeatedly hit a solid obstruction that you cannot pass, stop rather than forcing the snake deeper. The blockage may require professional drain-clearing equipment.
Step 9: Reassemble the Drain
Reinstall the P-trap in the same position it was removed.
Make sure the slip-joint washers are seated correctly and tighten the slip nuts.
Hand-tighten plastic fittings first. They should be snug but do not need excessive force.
If you removed the stopper and pivot rod, reinstall them as well. If the drain assembly itself is damaged, corroded, or leaking, see how to replace a bathroom sink drain rather than trying to reuse a failing assembly.
What You Should See: The drain connections should sit straight without being pulled sideways or under tension.
If Yours Looks Different: If a connection will not seal or the pipes don’t line up naturally, check that the washers and P-trap are installed in the correct orientation.
Step 10: Test the Sink for Drainage and Leaks
Run the faucet and watch how quickly the sink drains.
Then fill the basin with several inches of water and release it to send a larger amount of water through the drain.
While the water is draining, inspect every connection underneath the sink.
Run a dry finger or paper towel around the slip nuts to check for moisture.
What You Should See: Water should drain freely without backing up, and all connections underneath the sink should remain completely dry.
If Yours Looks Different: If the sink drains properly but you notice a drip underneath, slightly tighten the leaking connection and test again. If the sink still drains slowly, the clog may be farther down the plumbing system.
💡 Pro Tip: Test the drain with a full basin of water instead of only running the faucet. The larger volume of water gives you a much better leak test.
If Something Goes Wrong
The sink still drains slowly: Remove the stopper again and confirm the drain opening and P-trap are completely clear. The blockage may be farther inside the wall drain.
The P-trap leaks after reassembly: Check that the slip-joint washers are installed correctly and the pipes are properly aligned. Tighten the fitting slightly and test again.
The stopper doesn’t work correctly: Check the pivot rod underneath the sink. The rod needs to pass through the opening at the bottom of the stopper for the lift mechanism to work.
The drain snake won’t go any farther: Don’t force it. You may be hitting a sharp bend or another fitting rather than the clog.
The clog keeps returning: Frequent clogs can indicate heavy buildup farther down the drain line or a larger plumbing issue.
More than one fixture is draining slowly: If nearby sinks, tubs, or toilets are also backing up, the problem may be in a larger branch drain or main drain line, not the bathroom sink itself.
🛑 Common Mistakes to Avoid
Reaching for chemical drain cleaner first. Bathroom sink clogs are often mechanical blockages that can be physically removed.
Forgetting to cover the overflow when plunging. An open overflow prevents the plunger from developing strong suction.
Forcing the drain snake. Aggressively pushing a snake can damage plumbing or cause the cable to become stuck.
Overtightening plastic slip nuts. These connections usually need to be snug, not extremely tight. Overtightening can crack plastic fittings or distort washers.
Reassembling the P-trap incorrectly. Misaligned pipes or incorrectly positioned washers commonly cause leaks.
Forgetting to test for leaks. Always run plenty of water through the drain and inspect every connection before putting items back underneath the sink.
❓ FAQs
What usually causes a bathroom sink to clog?
The most common causes are hair, soap residue, toothpaste, shaving products, and other debris accumulating around the stopper and inside the drain.
Can I unclog a bathroom sink without removing the P-trap?
Yes. Many clogs can be cleared by cleaning the stopper, removing debris from the drain opening, plunging, or using a small drain snake. Removing the P-trap is usually a later step.
Should I use baking soda and vinegar?
It may help loosen minor residue or odors, but it usually isn’t effective against a dense hair clog. Physically removing the blockage is generally more reliable.
Should I use chemical drain cleaner?
For most bathroom sink clogs, it’s better to start with mechanical methods. Chemical drain cleaners can create an additional hazard if you later need to disconnect the P-trap.
Why does my bathroom sink keep clogging?
Recurring clogs can mean buildup remains farther down the drain line. It can also happen when hair and debris repeatedly collect around the stopper.
Why does my sink gurgle after I unclog it?
Occasional gurgling may occur as remaining water and air move through the drain. Persistent gurgling—especially when other fixtures are affected—can indicate a venting or larger drainage problem.
How do I know if the clog is farther down the drain?
If the stopper, drain opening, and P-trap are completely clear but the sink still drains slowly, the blockage is likely farther inside the wall drain.
📞 When to Call a Professional
Call a plumber if:
- The clog keeps returning after you’ve thoroughly cleaned the drain and P-trap.
- A drain snake cannot reach or clear the blockage.
- Multiple fixtures in the bathroom or home are draining slowly.
- Water backs up into another sink, bathtub, or shower.
- You discover damaged or severely corroded plumbing.
- The drain leaks despite correctly reinstalling the P-trap.
- You suspect the blockage is in the main drain or sewer line.
A simple bathroom sink clog is usually a manageable DIY project. But when several fixtures are affected, the problem is likely beyond the sink itself.