
Safety First
Turn off the water supply to the toilet before starting, then flush and hold the handle down to drain as much water from the tank as possible. Do not force the shutoff valve if it is stuck or badly corroded—you could cause a leak. The remaining water in the tank is clean, but keep a towel nearby for drips while you work.
Time
15-30 Minutes
Difficulty
Easy
Cost
$5-$20
🧰 Tools & Materials
- Replacement toilet flapper
- Towel or small rag
- Rubber gloves (optional)
- Sponge (optional, for removing remaining tank water)
💡 Pro Tip: Take a photo of the inside of your toilet tank before removing anything. It gives you an easy reference for how the flapper and chain were originally connected.
Signs It’s Time to Replace Your Toilet Flapper
A worn toilet flapper is one of the most common causes of a toilet that runs or wastes water. You may need a new flapper if:
- The toilet runs periodically even when nobody has used it.
- You hear water slowly trickling into the bowl.
- You have to jiggle the handle to get the toilet to stop running.
- The toilet occasionally refills by itself.
- The flapper looks cracked, warped, brittle, or deteriorated.
- The rubber feels slimy or leaves residue on your fingers.
- Food coloring placed in the tank eventually appears in the bowl without flushing.
Before You Buy a Replacement Flapper
Not every toilet uses the same flapper. Before buying a replacement, check the size and style of your existing flapper.
Most toilets use either a 2-inch or 3-inch flapper, but some toilets use a manufacturer-specific flush valve or seal instead of a traditional flapper.
Look inside the toilet tank for a brand name and model number. This information may be printed or stamped on the inside wall of the tank or underneath the tank lid.
When possible, take the old flapper with you to the hardware store or compare it directly with the replacement.
💡 Pro Tip: If you’re unsure whether you have a 2-inch or 3-inch flapper, measure the opening underneath the flapper. Don’t choose a replacement based only on the shape or color of the old one.
Step 1: Turn Off the Water Supply
Locate the toilet shutoff valve on the wall or floor behind the toilet.
Turn the valve clockwise until it stops. Do not overtighten it.
Flush the toilet and hold the handle down to drain as much water from the tank as possible.
A small amount of water remaining at the bottom of the tank is normal.
What You Should See: The tank should mostly empty and should not begin refilling.
If Yours Looks Different: If water continues entering the tank after the shutoff valve is closed, the valve may not be shutting off completely. Do not force an old or corroded valve.
If the valve won’t completely stop the water or has started leaking, see our How to Replace a Toilet Shut-Off Valve guide before continuing.
Step 2: Remove the Tank Lid
Carefully lift the toilet tank lid straight up and place it on a towel or other protected surface.
Tank lids are heavier and more fragile than they look, so avoid placing one where it could be bumped or knocked over.
You should now have a clear view of the toilet’s internal components.
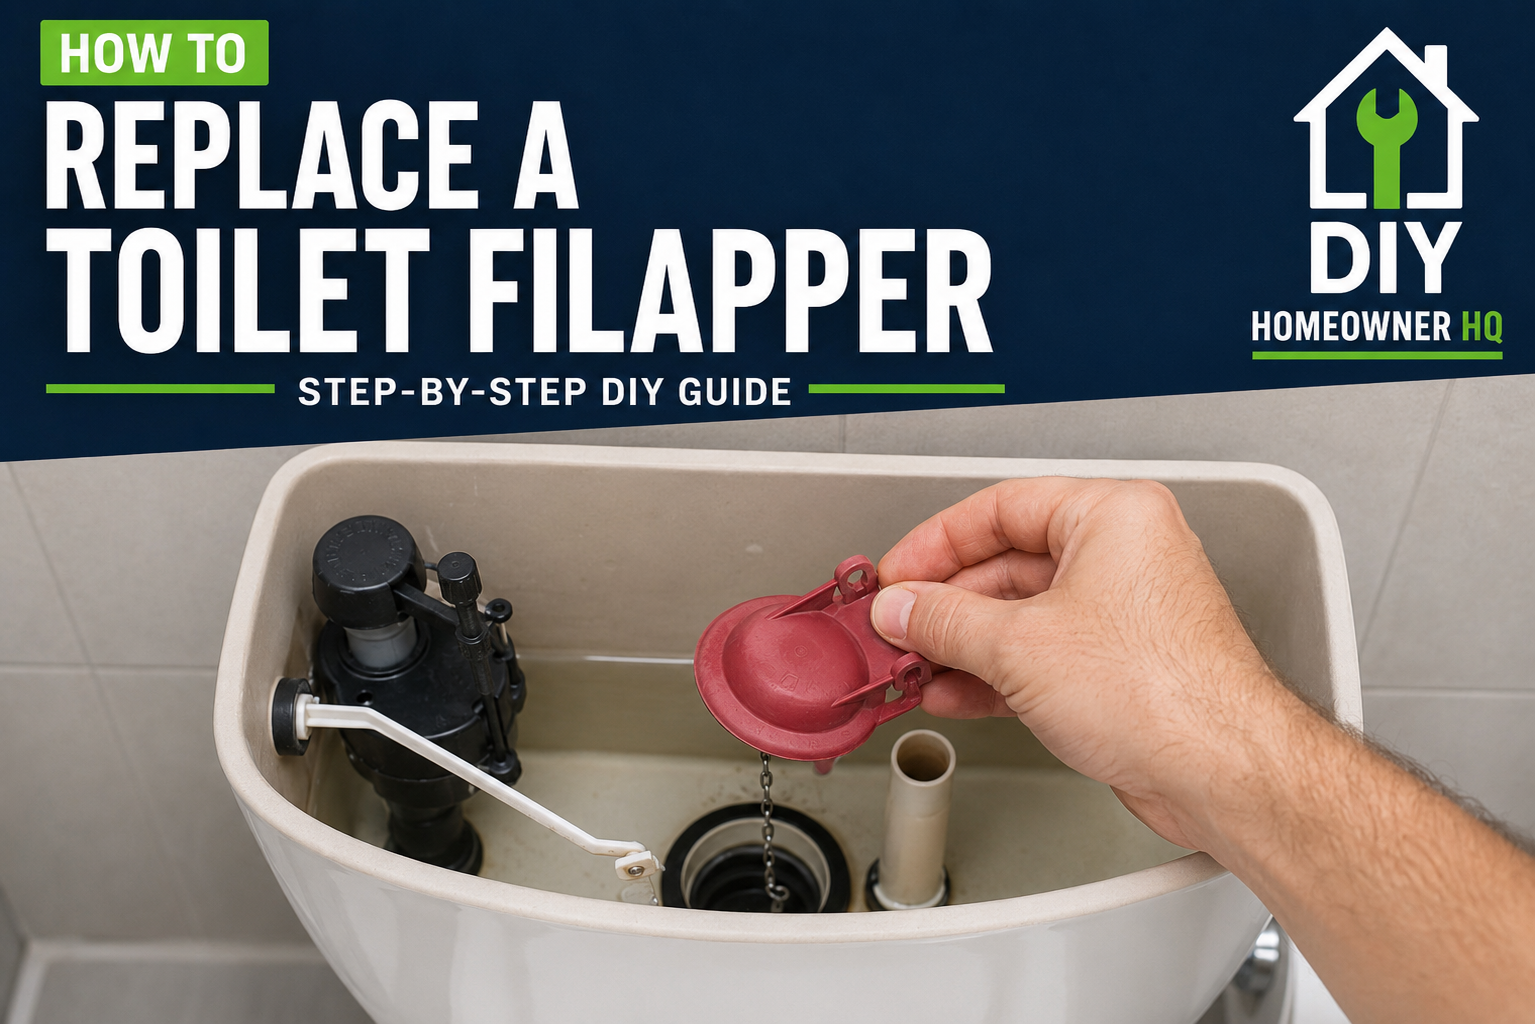
What You Should See: Near the bottom center of the tank, you’ll typically see a rubber flapper covering the flush valve opening. A small chain connects the flapper to the flush lever.
Step 3: Disconnect the Flapper Chain
Find the small chain connecting the flapper to the toilet’s flush lever arm.
Note which hole on the lever arm the chain is attached to before disconnecting it.
Unhook the chain from the lever arm.
💡 Pro Tip: Take a quick picture of the chain connection before removing it. This makes it much easier to recreate the correct amount of chain slack when installing the new flapper.
Step 4: Remove the Old Flapper
Most traditional toilet flappers attach to two small mounting ears or pegs located near the base of the overflow tube.
Gently pull each side of the flapper off the mounting pegs.
Once both sides are disconnected, lift the old flapper out of the tank.
What You Should See: The circular flush valve opening underneath the flapper should now be completely exposed.
If Yours Looks Different: Some toilets use a flapper that slides over the overflow tube, while newer toilets may use a canister-style flush valve or flush valve seal. If there isn’t a traditional hinged flapper, you’ll need a replacement designed for your specific flush valve.
Step 5: Inspect and Clean the Flush Valve Seat
Before installing the new flapper, inspect the rim where the flapper seals against the flush valve.
Wipe away any mineral buildup, dirt, or rubber residue using a clean rag or sponge.
Run your finger carefully around the sealing surface and make sure it feels smooth and free of debris.
A perfectly good new flapper can still leak if debris prevents it from sitting flat.
What You Should See: A clean, smooth sealing surface around the flush valve opening with no obvious cracks or damage.
Step 6: Install the New Flapper
Position the new flapper over the flush valve opening.
Attach each side of the flapper to the mounting pegs on the overflow tube.
Make sure both sides are fully seated and that the flapper can move freely up and down without binding.
Lower the flapper onto the flush valve.
What You Should See: The flapper should sit flat and centered over the entire flush valve opening.
Step 7: Connect and Adjust the Chain
Attach the new flapper chain to the flush lever arm.
The chain should have a small amount of slack when the flapper is closed.
If the chain is too tight, it can hold the flapper slightly open and cause the toilet to run continuously.
If the chain is too loose, pressing the handle may not lift the flapper high enough for a proper flush.
As a starting point, aim for roughly 1/2 inch of slack in the chain.
💡 Pro Tip: Make sure excess chain isn’t hanging low enough to get caught underneath the flapper. If necessary, secure or trim excessive chain according to the flapper manufacturer’s instructions.
Step 8: Turn the Water Back On
Slowly turn the toilet shutoff valve counterclockwise to restore the water supply.
Allow the tank to fill completely.
Watch the new flapper as the tank fills and make sure it remains flat against the flush valve seat.
Listen for water continuing to run after the tank has finished filling.
What You Should See: Once the tank reaches its normal water level, the fill valve should shut off and the toilet should become quiet.
Step 9: Test the Flush
Flush the toilet several times.
Watch the flapper during each flush. It should lift smoothly, remain open long enough for the toilet to flush, and then fall back into place.
Check the chain after each flush to make sure it isn’t becoming tangled or getting trapped underneath the flapper.
If the flush feels weak, adjust the chain slightly so the flapper opens farther.
If the toilet continues running after the flapper is properly installed and adjusted, use our How to Fix a Running Toilet guide to troubleshoot the other possible causes.
💡 Pro Tip: For a final leak test, add a few drops of food coloring to the toilet tank after it has filled. Wait about 15–20 minutes without flushing. If colored water appears in the bowl, water is still leaking past the flapper or flush valve seal.
If Something Goes Wrong
The toilet keeps running after replacing the flapper: Check the chain first. Make sure it has a little slack and isn’t holding the flapper open. Then make sure the flapper is centered over the flush valve and nothing is preventing it from sealing.
The new flapper doesn’t fit: You may have the wrong size or style. Check whether your toilet uses a 2-inch, 3-inch, or manufacturer-specific flapper.
The flapper closes too quickly: Adjust the chain and verify that the replacement flapper is compatible with your toilet. Some adjustable flappers also have settings that control how long they remain open.
The handle has to be held down to flush: The chain may have too much slack, or the flapper may be closing too quickly. Shorten the chain slightly, while still leaving enough slack for the flapper to close completely.
Water still leaks into the bowl with the new flapper: Clean and inspect the flush valve seat again. If the surface is cracked, chipped, or badly deteriorated, the problem may be the flush valve rather than the flapper.
🛑 Common Mistakes to Avoid
- Buying the wrong size or style flapper.
- Making the chain too tight.
- Leaving so much slack that the chain can’t lift the flapper properly.
- Allowing excess chain to get trapped underneath the flapper.
- Installing a new flapper without cleaning the flush valve seat.
- Assuming every running toilet is caused by the flapper.
- Forcing a stuck or corroded shutoff valve.
- Forgetting to test the toilet several times before replacing the tank lid.
❓ Frequently Asked Questions
How do I know if my toilet flapper is bad?
A toilet that runs periodically, refills by itself, or slowly leaks water into the bowl often has a worn flapper. You may also notice that the flapper is warped, cracked, brittle, or deteriorated.
How long does a toilet flapper last?
A toilet flapper can last several years, but its lifespan depends on water quality, cleaning products, and the material used. Replace it when it no longer creates a reliable seal.
Are toilet flappers universal?
No. Many replacement flappers are designed to fit several toilets, but toilets can use different sizes and flush valve designs. Always verify compatibility before buying.
How tight should the toilet flapper chain be?
The chain should have a small amount of slack—roughly 1/2 inch is a good starting point. It shouldn’t pull on the flapper while it’s closed.
Why does my new toilet flapper still leak?
The flapper may be the wrong size, the chain may be too tight, or debris may be preventing a good seal. A damaged flush valve seat can also cause leaking even with a brand-new flapper.
Can I replace a toilet flapper without turning off the water?
Technically it may be possible on some toilets, but turning off the water and draining the tank makes the repair easier and more controlled.
📞 When to Call a Professional
Replacing a toilet flapper is usually one of the easiest toilet repairs a homeowner can handle. However, consider calling a plumber if:
- The toilet shutoff valve leaks or won’t close.
- The flush valve seat is cracked or damaged.
- Water continues leaking into the bowl after installing the correct flapper.
- The toilet uses an unfamiliar flush system and you’re unsure which replacement part is required.
- You discover leaking around the tank, supply line, or base of the toilet.
- The repair requires removing the toilet tank or replacing the entire flush valve and you’re not comfortable continuing.
If you discover water outside the toilet rather than leaking into the bowl, our How to Fix a Leaky Toilet guide can help you identify where the leak is coming from.