
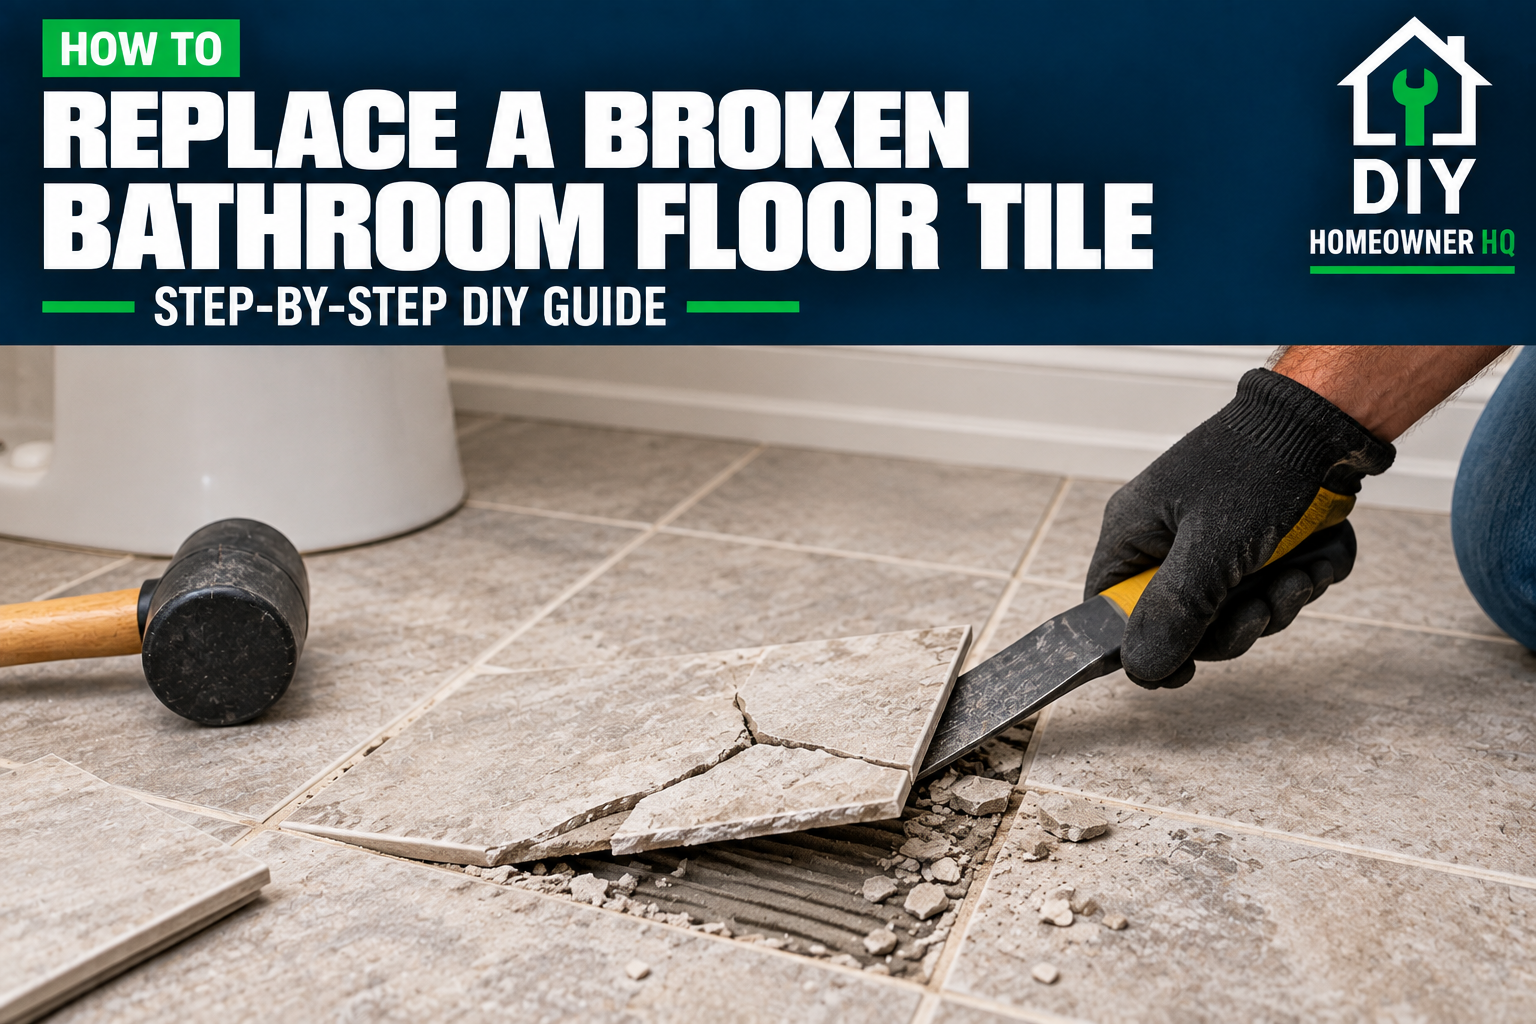
Safety First
Broken tile can have razor-sharp edges. Wear safety glasses, work gloves, and closed-toe shoes while removing the damaged tile. Work from the center of the broken tile toward the edges so you don’t chip or crack the surrounding tiles. Before chiseling, make sure there are no plumbing lines or electrical heating systems directly beneath the area.
Time
1-2 Hours
Difficulty
Moderate
Cost
$15-$50
🧰Tools & Materials
Tools
- Safety glasses
- Work gloves
- Grout saw or oscillating multi-tool with a grout-removal blade
- Hammer
- Cold chisel or stiff putty knife
- Drill with a masonry bit
- Notched trowel
- Grout float
- Grout sponge
- Bucket
- Shop vacuum
Materials
- Replacement floor tile
- Thin-set mortar or tile adhesive rated for floors
- Matching grout
- Tile spacers
- Grout sealer, if required for your grout
- Painter’s tape
- Cardboard or drop cloth
💡 Pro Tip: If you have spare tiles left from the original installation, use one of those. Even tiles with the same manufacturer, color, and model number can have slight shade differences between production batches.
Signs It’s Time to Replace a Bathroom Floor Tile
A small surface chip may be repairable, but replacement is usually the better option when:
- The tile has a crack running across it.
- Pieces of the tile are loose or missing.
- The tile moves or sounds hollow when stepped on.
- Sharp broken edges are exposed.
- Water can work its way through the damaged area.
- A previous repair is starting to fail.
If several nearby tiles are cracking, don’t immediately assume the tiles themselves are the problem. Movement in the subfloor or tile underlayment may be causing the damage.
🛒Before You Buy
Measure the damaged tile and confirm its exact dimensions before buying a replacement. Tile advertised as 12 × 12 inches, for example, may have slightly different actual dimensions.
Try to match the existing:
- Tile size
- Thickness
- Color
- Finish
- Edge profile
- Grout color
Also check whether your existing grout is sanded, unsanded, or another type so the repaired joint blends in as closely as possible.
🔧Before You Start
Protect the surrounding floor and bathroom fixtures from flying tile fragments. Remove anything nearby that could be damaged.
The biggest risk during this repair is damaging one of the good tiles surrounding the broken one. Completely separating the damaged tile from the surrounding grout before breaking it apart makes that much less likely.
If the damaged tile is close to a toilet and you need more working room, removing the toilet may make the repair easier. If you do, plan on installing a new wax ring rather than reusing the old one. See How to Replace a Toilet Wax Ring for the process.
Step 1: Remove the Grout Around the Broken Tile
Use a grout saw or oscillating multi-tool to remove the grout from all four sides of the damaged tile.
Work slowly near the neighboring tiles. You want to create a clean separation without chipping their edges.
What You Should See: A clear joint around the entire damaged tile with little or no grout connecting it to the surrounding tiles.
If Yours Looks Different: If the grout is extremely hard, make several shallow passes instead of trying to remove the full depth at once.
Step 2: Break the Center of the Tile
Put on safety glasses and gloves.
Place painter’s tape across the tile to help contain small fragments. Drill a few holes near the center of the damaged tile with a masonry bit, or carefully break the center using a hammer and cold chisel.
Start in the middle — not along the edges.
Once the center breaks apart, you have room to work outward without putting as much pressure on the neighboring tiles.
What You Should See: A small opening in the center of the tile while the perimeter remains mostly intact.
Step 3: Remove the Rest of the Tile
Use the chisel at a shallow angle and work from the center toward the edges.
Remove small pieces at a time instead of trying to pry the entire tile up at once.
Be especially careful when you reach the perimeter. Prying against an adjacent tile can crack or chip it.
💡 Pro Tip: Patience here can save you from turning a one-tile repair into a two- or three-tile repair.
Step 4: Remove the Old Thin-Set
Once the tile is gone, scrape or carefully chisel away the old thin-set underneath it.
The surface needs to be reasonably flat so the replacement tile sits at the same height as the surrounding floor.
Vacuum out all dust and loose material when you’re finished.
What You Should See: A solid, relatively flat surface with enough depth for the new thin-set and tile.
If Yours Looks Different: If the material underneath is soft, swollen, rotten, cracked, or moving, stop before installing the new tile. The underlying floor may need repair first.
Step 5: Test-Fit the Replacement Tile
Set the replacement tile into the opening without mortar.
Check the spacing on all four sides and run your hand across the new tile and neighboring tiles to compare their height.
Remove the tile once you’re satisfied with the fit.
What You Should See: Even grout joints and a replacement tile that can sit flush with the surrounding floor.
Step 6: Apply the Thin-Set
Mix the thin-set according to the manufacturer’s directions.
Spread a small amount over the exposed surface with the notched trowel. Keep the mortar out of the surrounding grout joints.
For a small repair like this, you can also apply thin-set to the back of the replacement tile if that gives you better control.
Don’t apply so much that the tile sits higher than the surrounding floor.
Step 7: Set the Replacement Tile
Lower the tile straight into position and press it firmly into the thin-set.
Give it a slight back-and-forth movement to help establish good contact.
Install tile spacers if necessary to keep the grout joints consistent.
Place a straightedge across the replacement and neighboring tiles to verify the height.
What You Should See: The new tile sitting level with the surrounding floor with consistent gaps around all four sides.
If Yours Looks Different: If the tile sits too high, lift it and remove a little thin-set. If it’s too low, add a small amount more.
Step 8: Let the Thin-Set Cure
Leave the tile completely undisturbed while the thin-set cures.
Avoid walking on the repair until the manufacturer’s recommended curing time has passed. This is commonly around 24 hours, but follow the instructions for the product you’re using.
Don’t rush directly into grouting. Moving the tile before the mortar has cured can weaken the bond.
Step 9: Grout Around the Tile
Remove the spacers.
Mix the matching grout according to its instructions and use a grout float to press it firmly into the joints around the replacement tile.
Move the float diagonally across the joints to fill them completely.
Scrape away the excess grout with the edge of the float.
If you’ve done other small wall or surface repairs around the bathroom, this is similar to patching drywall before painting in one important way: getting the repair flush with the surrounding surface makes the finished job much less noticeable.
Step 10: Clean the Tile
Wait until the grout begins to firm up, then wipe the surface with a damp grout sponge.
Use light passes and rinse the sponge frequently. Avoid digging into the fresh grout joints.
Once the grout dries, buff away any remaining haze with a clean cloth.
What You Should See: Full, smooth grout joints that closely match the surrounding floor.
Step 11: Let the Grout Cure
Keep the repaired area dry and avoid heavy foot traffic while the grout cures.
Follow the grout manufacturer’s instructions before exposing the floor to normal bathroom use or water.
Apply grout sealer afterward if your particular grout requires it.
❌Common Mistakes
Problem: Chipping the tile next to the damaged one.
The surrounding grout wasn’t completely removed, or the chisel was directed toward the neighboring tile.
Problem: The replacement tile sits too high.
Too much old thin-set was left underneath or too much fresh thin-set was applied.
Problem: The new tile sits too low.
There isn’t enough thin-set beneath it to bring it level with the surrounding floor.
Problem: The grout color doesn’t match.
Old grout often changes color over time. Even the original grout color may look slightly different when freshly installed.
Problem: The replacement tile cracks again.
Repeated cracking can indicate movement or damage underneath the tile rather than a problem with the tile itself.
❓FAQs
Can I replace one bathroom floor tile without removing the surrounding tiles?
Yes. That’s the standard approach. Removing the grout around the damaged tile first allows you to break and remove that tile without disturbing the surrounding ones.
Can I put a new tile directly over the old thin-set?
Usually not. Enough of the old thin-set should be removed to create a flat surface and allow the replacement tile to sit flush with the surrounding floor.
How long before I can walk on the new tile?
It depends on the thin-set and grout you’re using. Many traditional products require roughly 24 hours between major stages, but always follow the manufacturer’s curing instructions.
What if I can’t find an exact matching tile?
Check leftover materials from the original installation first. If those aren’t available, take the broken tile to a tile supplier and look for the closest match in size, thickness, finish, and color.
Why did my bathroom floor tile crack?
A single tile can crack from an impact or an installation issue. Multiple cracks or a replacement tile that cracks again can point to movement in the subfloor or underlayment.
Do I need to remove the toilet if the broken tile is beside it?
Not necessarily. If you can safely remove and replace the tile without the toilet interfering, it can stay in place. If you need to remove it, replace the wax ring when reinstalling the toilet. Your How to Replace a Toilet guide covers the larger removal and installation process.
📞When to Call a Professional
Consider calling a tile professional if:
- Several tiles are cracked or loose.
- The floor feels soft or moves when you walk on it.
- You find water-damaged or rotten subfloor.
- Cracks extend through the underlayment.
- The replacement tile keeps cracking.
- The damaged area extends underneath a tub, shower, vanity, or other difficult-to-remove fixture.
One isolated broken tile is usually a manageable DIY repair. Multiple damaged tiles, however, can be a symptom of a larger flooring or subfloor problem.