
Safety First
Wear gloves and eye protection when cleaning, sanding, or staining a deck. Keep stain and cleaners away from children, pets, flames, and ignition sources. Never mix deck-cleaning chemicals, and allow the deck to dry completely before applying stain. Follow the stain manufacturer’s instructions for temperature, weather, ventilation, application, and disposal.
Time
1-2 Days
Difficulty
Easy-Moderate
Cost
$75-$250
🧰 Tools & Materials
Tools
- Stiff-bristle deck brush or broom
- Garden hose or pressure washer
- Paint tray or bucket
- Stain pad, roller, or deck brush
- Paintbrush for edges, gaps, and railings
- Extension pole
- Putty knife or scraper
- Random-orbit sander, if needed
- 80-grit sandpaper
- Shop vacuum or leaf blower
- Drop cloths or plastic sheeting
Materials
- Exterior deck stain
- Deck cleaner
- Wood brightener, if recommended for your deck
- Replacement deck screws or fasteners, if needed
- Painter’s tape
💡 Pro Tip: Buy enough stain to complete the entire deck from the same batch whenever possible. Slight color differences between cans can become noticeable after the stain dries.
🔎 Signs It’s Time to Stain Your Deck
Your deck may be ready for a new coat of stain if:
- The wood looks faded, gray, or weathered.
- Water quickly soaks into the boards instead of beading on the surface.
- The existing stain is worn away in high-traffic areas.
- The wood has been cleaned or restored and is now bare.
- The deck has uneven coloration from sun and weather exposure.
A deck with peeling or flaking coating usually needs more preparation than simply applying another coat.
🛒 Before You Buy
Determine whether your deck currently has a penetrating stain, semi-transparent stain, solid-color stain, or paint-like coating. The existing finish can affect what products you can apply over it.
Choose an exterior stain specifically intended for horizontal deck surfaces. Check the product label for recommended application temperatures, drying conditions, coverage, and whether one or two coats are required.
Estimate the square footage of the deck and include stairs, railings, and other wood surfaces you plan to stain.
💡 Pro Tip: Test your stain on a small, inconspicuous section of the deck before committing to the entire surface. Wood species, age, and previous treatments can all affect the finished color.
🧹 Before You Start
Check the weather forecast before beginning. You need enough dry weather for cleaning, drying, staining, and the stain’s required cure time.
Remove furniture, grills, planters, rugs, and other items from the deck.
Inspect the deck carefully before you begin. If you find a board that has twisted or lifted, fix the warped deck board before staining.
- Loose screws or nails
- Protruding fasteners
- Splintered areas
- Rot or structural damage
- Loose railings
- Damaged deck boards
Make necessary repairs before staining.
Protect nearby siding, concrete, plants, doors, and other surfaces from cleaner and stain.
Step 1: Clean the Deck
Sweep away leaves, dirt, and loose debris.
Apply deck cleaner according to the manufacturer’s directions. Work manageable sections at a time so the cleaner does not dry on the wood.
Scrub heavily soiled areas with a stiff-bristle brush, then rinse thoroughly.
A pressure washer can speed up the process, but excessive pressure can gouge or fuzz the wood. Use a wide fan pattern and enough distance to clean the surface without damaging it.
What You Should See: Clean wood without heavy dirt, mildew, algae, or loose remnants of the previous finish.
If Yours Looks Different: If water still beads strongly or an old coating remains on the surface, additional stripping or sanding may be necessary before applying a new stain.
Step 2: Let the Deck Dry Completely
Allow the deck to dry thoroughly after cleaning.
Drying time varies with temperature, humidity, shade, rainfall, and the wood itself. Do not assume the surface is ready simply because it feels dry to the touch.
Follow the stain manufacturer’s moisture requirements. If available, a moisture meter can help confirm the wood is dry enough for staining.
💡 Pro Tip: Rushing this step can trap moisture in the wood and interfere with stain penetration and adhesion.
Step 3: Sand Rough or Weathered Areas
Once the deck is dry, inspect the surface for splinters, rough grain, and deterioration. If a board is too damaged to restore, replace the damaged deck board before continuing.
Sand splinters, raised grain, rough areas, and remaining patches of incompatible old finish as needed. For general deck preparation, approximately 80-grit sandpaper is usually a good choice because sanding too finely can reduce stain penetration.
After sanding, remove all dust with a vacuum, blower, or thorough sweeping.
What You Should See: A reasonably smooth, clean surface with open wood grain ready to accept stain.
Step 4: Mix the Stain Thoroughly
Open the stain and stir it thoroughly from the bottom of the container.
Pigments can settle during storage, so continue stirring periodically while you work.
If you have multiple cans of the same stain, combining them in a larger container can help keep the color consistent across the deck.
Do not shake the stain unless the manufacturer specifically allows it, since shaking some products can introduce bubbles.
Step 5: Cut In Around the Edges
Use a brush to apply stain where a roller or stain pad cannot easily reach.
Work along:
- The house
- Rail posts
- Stairs
- Corners
- Board ends
- Tight spaces
Avoid getting too far ahead of the main application. Maintaining a wet edge helps prevent visible overlap marks.
Step 6: Apply Stain to the Deck Boards
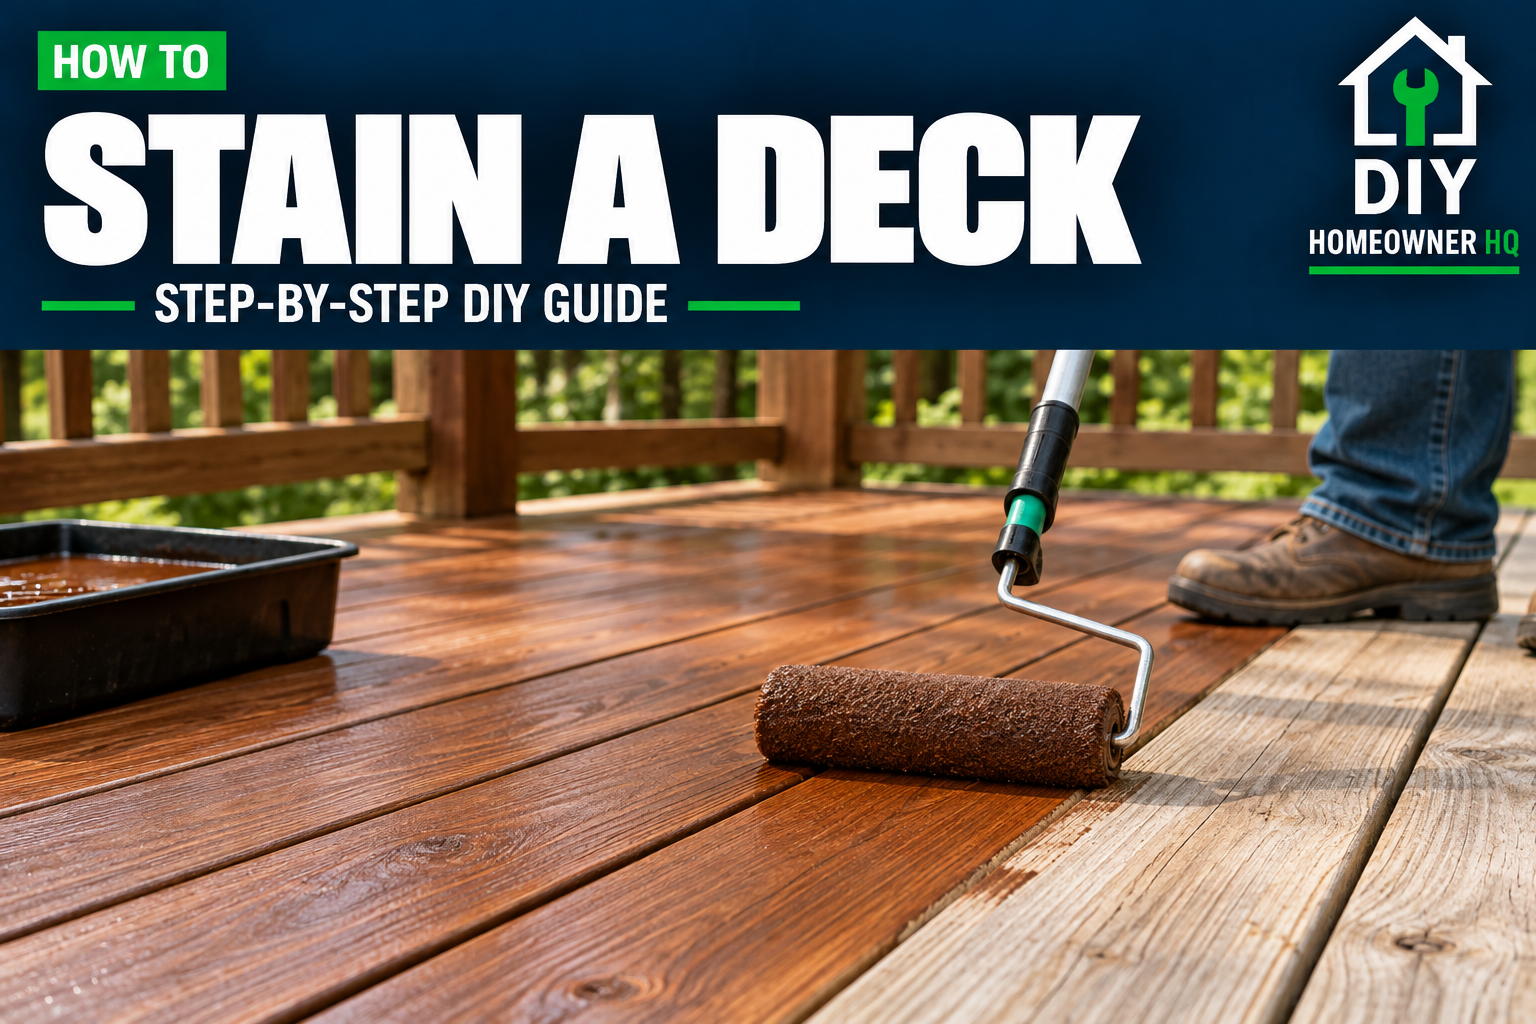
Apply the stain using a deck brush, stain pad, or roller approved for your product.
Work along the full length of several boards at a time rather than staining a large square section across multiple boards. This makes lap marks less noticeable.
Apply a thin, even coat and work the stain into the wood.
What You Should See: Consistent color with the wood grain still visible if you are using a transparent or semi-transparent stain.
If Yours Looks Different: Heavy glossy areas, puddles, or sticky spots usually indicate too much product. Back-brush or redistribute excess stain before it begins to set.
💡 Pro Tip: More stain is not necessarily better. Penetrating deck stains generally perform best when the wood absorbs the amount of product specified by the manufacturer.
Step 7: Stain Railings and Stairs
Apply stain to railings, balusters, stair treads, risers, and other remaining surfaces.
Work from the top downward when staining railings so you can catch drips as you go.
Pay particular attention to exposed end grain because it can absorb considerably more stain than the face of a board.
Step 8: Apply a Second Coat if Required
Check the instructions for your specific stain before applying another coat.
Some deck stains require one coat only. Others specify a second coat or a wet-on-wet application.
Do not automatically add another coat for deeper color. Applying more product than recommended can leave the deck sticky, shiny, or prone to premature failure.
Step 9: Let the Deck Dry and Cure
Keep people and pets off the deck for the period specified by the stain manufacturer.
Wait the recommended amount of time before replacing furniture, rugs, grills, and planters.
Drying and curing are not necessarily the same thing. A deck may feel dry while the finish is still curing.
What You Should See: An evenly colored deck without tacky areas, puddles, obvious lap marks, or footprints.
❌ Common Mistakes
Problem: Staining damp wood
Moisture can prevent the stain from penetrating or bonding properly.
Problem: Applying stain in direct, intense sunlight
A hot deck can cause stain to dry too quickly, making lap marks and uneven coverage more likely.
Problem: Applying too much stain
Excess stain may remain tacky instead of soaking into the wood.
Problem: Skipping preparation
Stain performs best on properly cleaned and prepared wood. Applying it directly over dirt, mildew, or a failing finish can dramatically shorten its life.
Problem: Stopping in the middle of a board
Overlapping partially dried stain can leave visible lines. Work from one end of a board to the other whenever practical.
Problem: Automatically applying two coats
Not every stain is designed for two coats. Follow the instructions for the exact product you are using.
❓ FAQs
How often should you stain a deck?
There is no single schedule for every deck. Sun exposure, weather, foot traffic, wood species, and the type of stain all affect how long the finish lasts. Inspect the deck periodically and recoat according to the stain manufacturer’s recommendations and the condition of the wood.
Can I stain over old deck stain?
Sometimes. The existing finish must be compatible with the new stain and properly prepared. Peeling coatings or incompatible finishes may need to be stripped or sanded first.
Do I need to sand my entire deck before staining?
Not necessarily. Sanding is useful for removing rough fibers, splinters, weathered surfaces, or remaining finish, but a deck in good condition may only need cleaning and localized sanding.
Can I pressure wash a deck before staining?
Yes, but use caution. Excessive pressure or holding the nozzle too close can damage wood fibers. Allow the deck to dry completely afterward before staining.
Should I use a roller, brush, or stain pad?
Any of these may work depending on the stain. A pad or roller can cover large areas quickly, while a brush is useful for edges and can help work penetrating stain into the wood. Follow the applicator recommendations on your stain.
How do I know if my deck is ready for stain?
The wood should be clean, properly prepared, and dry enough to meet the stain manufacturer’s requirements. A moisture meter provides a more reliable check than judging the surface by touch alone.
📞 When to Call a Professional
Small areas of surface decay may sometimes be repairable; see how to repair minor wood rot if you find a localized damaged area.
Consider hiring a professional if:
- Large portions of the existing coating need to be stripped.
- The deck has extensive rot or structural damage.
- Railings, stairs, posts, or framing feel loose.
- The deck has multiple layers of unknown coatings.
- You cannot safely access elevated portions of the deck.
- You are unsure whether the existing finish is compatible with the new stain.
Structural problems should be repaired before cosmetic staining begins.