
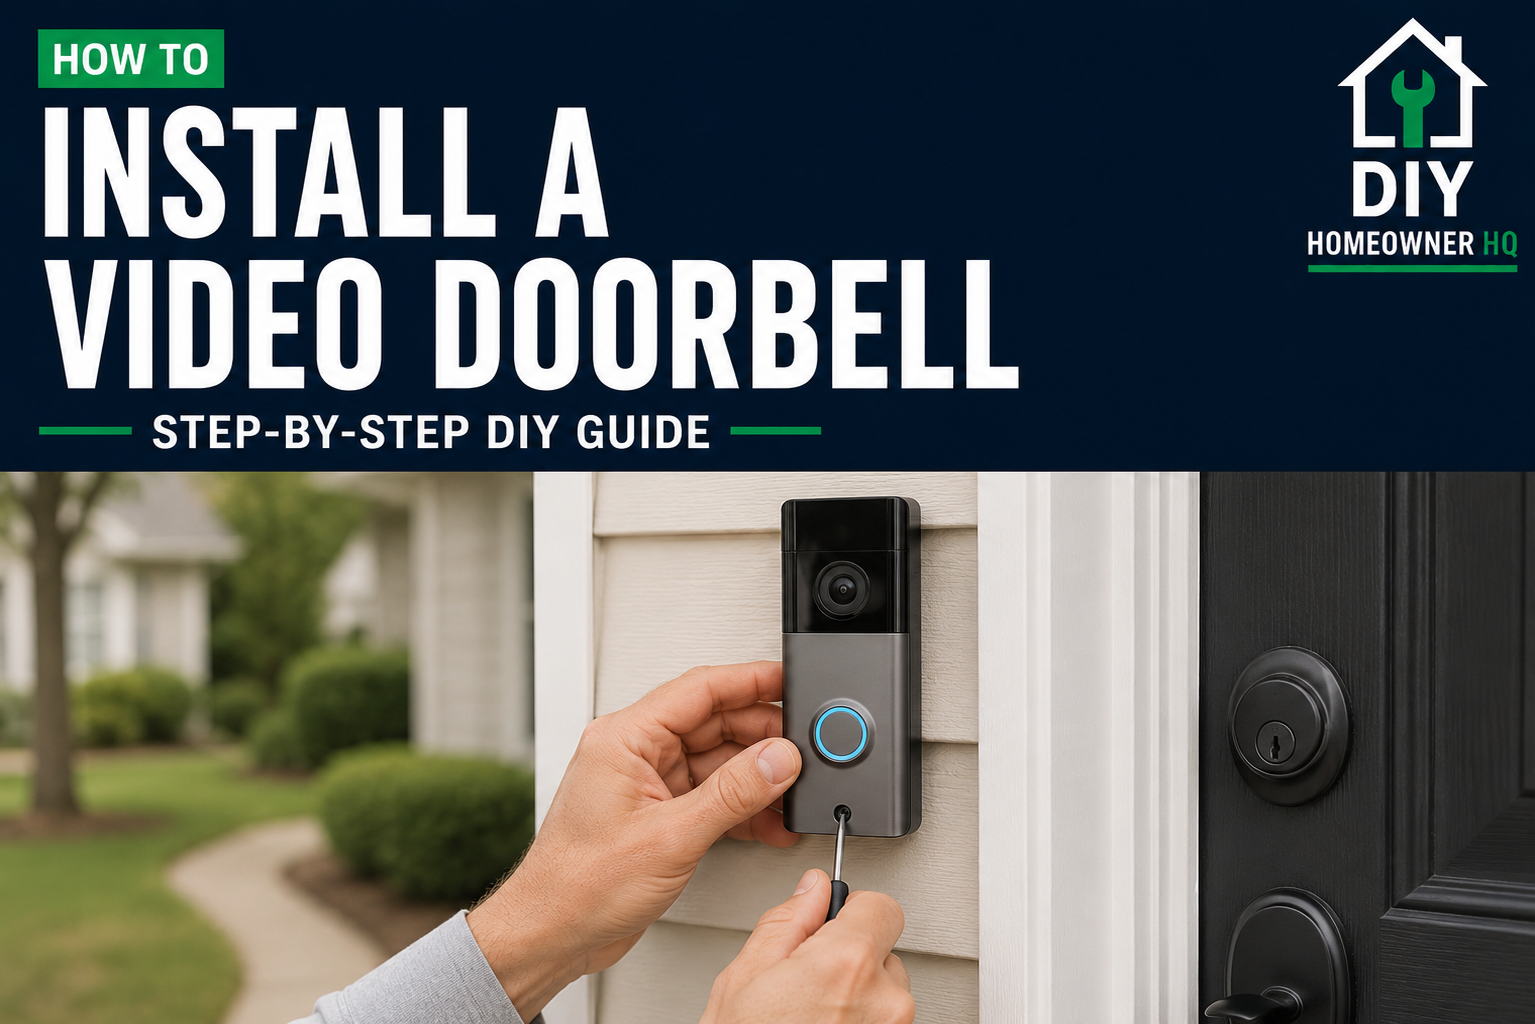
Safety First
Turn off power to the existing doorbell at the circuit breaker before disconnecting or handling any wiring. Verify the wires are de-energized before beginning. If you find damaged wiring, unexpected high-voltage wiring, or you’re unsure about the doorbell transformer, stop and call a licensed electrician.
Time
30-60 Minutes
Difficulty
Easy-Moderate
Cost
$60-$250
🧰 Tools & Materials
- Phillips and flat-head screwdrivers
- Drill and drill bits, if needed
- Non-contact voltage tester
- Wire stripper, if needed
- Small level
- Pencil
- Smartphone
- Compatible wired video doorbell
- Mounting hardware included with the doorbell
- Wire connectors or extensions, if required
- Doorbell chime adapter or power kit, if required by the manufacturer
🔍 Signs It’s Time to Install a Video Doorbell
A video doorbell can be a worthwhile smart-home upgrade if:
- You want to see who is at the door before answering
- You want motion alerts when someone approaches your home
- You want to communicate with visitors when you aren’t home
- You receive frequent deliveries
- You want recorded video around your front entrance
- Your existing wired doorbell is outdated or unreliable
If your existing doorbell doesn’t work at all, troubleshoot the doorbell circuit before installing the new device. A video doorbell still needs a reliable power source when using existing doorbell wiring.
📝 Before You Buy
Check that the video doorbell is compatible with your existing doorbell system.
Most wired video doorbells operate from low-voltage power supplied by a doorbell transformer, but voltage requirements vary by manufacturer.
Check:
- Required transformer voltage
- Existing doorbell wiring
- Chime compatibility
- Wi-Fi signal near the front door
- Mounting location
- Whether a chime adapter or power kit is required
Some models can also operate from a rechargeable battery, which can simplify installation when usable doorbell wiring isn’t available.
💡 Pro Tip: Check your Wi-Fi signal while standing outside at the exact location where the doorbell will be installed. A strong signal inside the house doesn’t always mean you’ll have a reliable connection outside. If you’re upgrading your front entry with multiple smart devices, installing a smart door lock can pair well with a video doorbell for remote access and monitoring.
🏠 Before You Start
Press your existing doorbell and confirm that it currently works.
Then turn off power to the doorbell circuit at the breaker.
If you aren’t sure which breaker controls it, follow our How to Find Which Breaker Controls an Outlet or Light guide. The same basic process can help identify the circuit supplying your doorbell transformer.
Remove the existing doorbell button carefully and verify that you’re dealing with the expected low-voltage wiring.
Take a picture before disconnecting anything.
Step 1: Remove the Existing Doorbell Button
Remove the screws holding the old doorbell button to the wall or trim.
Carefully pull the button away from the mounting surface.
Don’t pull hard—the low-voltage wires behind the button may be short.
What You Should See: Two small low-voltage wires connected to the back of the existing doorbell button.
If Yours Looks Different: Stop if you encounter wiring or equipment that doesn’t match a typical low-voltage doorbell installation.
Step 2: Disconnect and Secure the Wires
Loosen the terminal screws on the old button and disconnect the two wires.
Don’t let the wires fall back into the wall.
Don’t let the wires fall back into the wall. Temporarily secure them to the exterior surface with painter’s tape or another removable tape while you work.
Inspect the exposed portions of the wires for damage.
What You Should See: Two accessible, undamaged wires extending far enough from the wall to connect to the new video doorbell.
Step 3: Install the Chime Adapter if Required
Some wired video doorbells include a small power kit or adapter that must be installed at the existing indoor doorbell chime.
Remove the chime cover and follow the manufacturer’s instructions exactly.
The required connections vary by doorbell model.
Reinstall the chime cover when finished.
If Yours Looks Different: If you’re unsure which chime terminals to use, don’t guess. Refer to the wiring diagram supplied with your specific video doorbell.
Step 4: Position the Mounting Bracket
Hold the video doorbell mounting bracket where the old button was located.
Feed the existing wires through the opening in the bracket.
Use a level to make sure the bracket is straight.
Mark the mounting holes with a pencil.
If the doorbell includes an angled mounting wedge, use it when necessary to give the camera a better view of the entryway.
Step 5: Drill the Mounting Holes
Drill pilot holes at the marked locations.
The required bit and mounting hardware depend on the surface.
Wood trim may only require pilot holes, while brick, masonry, or concrete may require a masonry bit and anchors.
Avoid drilling near the doorbell wires.
What You Should See: Clean mounting holes positioned so the bracket sits securely against the surface.
Step 6: Connect the Doorbell Wires
Connect the existing doorbell wires to the terminals on the video doorbell or mounting bracket according to the manufacturer’s instructions.
For many traditional doorbell circuits, the two button wires aren’t polarity-sensitive, but follow the instructions for your specific model.
Make sure each connection is secure.
What You Should See: Both wires should be firmly attached without excessive bare copper exposed.
💡 Pro Tip: If the existing wires are extremely short, use manufacturer-approved wire extensions rather than stretching the original wires.
Step 7: Secure the Mounting Bracket
Carefully tuck excess wire into the wall opening.
Position the mounting bracket and install the mounting screws.
Tighten the screws until the bracket is secure, but don’t overtighten them and distort the bracket.
What You Should See: The bracket should sit firmly against the mounting surface without rocking or twisting.
Step 8: Attach the Video Doorbell
Position the video doorbell onto its mounting bracket.
Depending on the model, it may slide, snap, or hook into place.
Install the security screw if one is provided.
Give the doorbell a gentle tug to make sure it’s properly secured.
Step 9: Restore Power
Turn the circuit breaker back on.
Give the video doorbell a few moments to start.
Watch for its indicator light, startup sound, or other sign that it is receiving power.
What You Should See: The video doorbell should power on and enter its normal setup or pairing mode.
If Yours Looks Different: If the doorbell doesn’t power on, turn the circuit back off and check the connections and transformer compatibility before continuing.
If restoring power causes the breaker to trip, don’t repeatedly reset it. Our Why Does My Circuit Breaker Keep Tripping? guide explains some of the common causes.
Step 10: Connect the Doorbell to Wi-Fi
Open the manufacturer’s app on your smartphone.
Follow the setup instructions to add the video doorbell to your account and connect it to your home’s Wi-Fi network.
You may also be asked to:
- Name the doorbell
- Configure motion zones
- Set notification preferences
- Adjust camera settings
- Configure the indoor chime
- Install firmware updates
What You Should See: The app should display a live camera view from your video doorbell.
Step 11: Test the Doorbell
Press the doorbell button.
Confirm that:
- Your phone receives the notification
- The camera displays live video
- Two-way audio works
- The indoor chime works, if applicable
- Motion detection works as expected
Walk toward the front door from several directions to test the camera angle and motion zones.
Adjust the mounting angle or app settings if necessary.
❌ Common Mistakes
Problem: Buying a video doorbell without checking transformer compatibility.
Solution: Verify the manufacturer’s required voltage before installation.
Problem: Letting the existing doorbell wires fall into the wall.
Solution: Tape or secure the wires immediately after removing the old button.
Problem: Skipping the included chime adapter.
Solution: Install any required power kit or adapter according to the manufacturer’s instructions.
Problem: Mounting the camera without checking its field of view.
Solution: Consider the camera angle before drilling permanent mounting holes.
Problem: Assuming good indoor Wi-Fi means good outdoor Wi-Fi.
Solution: Check the signal at the actual doorbell location before installation.
💡 Pro Tip
After installation, spend a few minutes adjusting your motion zones instead of leaving the default settings. Excluding busy sidewalks, streets, or neighboring properties can dramatically reduce unnecessary notifications.
❓ FAQs
Can I install a video doorbell myself?
Yes. Many wired video doorbells are designed as homeowner-friendly replacements for existing low-voltage doorbell buttons. The biggest considerations are wiring compatibility, transformer voltage, Wi-Fi strength, and proper mounting.
Do I need to turn off power to install a video doorbell?
Yes. Shut off the circuit supplying the doorbell transformer before disconnecting or connecting wires.
Does a wired video doorbell need a transformer?
Typically, yes. Traditional wired doorbells receive low-voltage power from a transformer, and the transformer must meet the video doorbell manufacturer’s voltage and power requirements.
What if my house doesn’t have doorbell wiring?
A battery-powered video doorbell may be the easiest option. Some wired models can also be installed with a compatible plug-in power adapter.
Why isn’t my existing doorbell chime working after installation?
The video doorbell may require a chime adapter, different app configuration, or a compatible mechanical or digital chime. Check the manufacturer’s requirements for your model.
Why does my video doorbell keep going offline?
Weak Wi-Fi, inadequate transformer power, wiring problems, or network issues can cause intermittent operation.
Can I connect a video doorbell to my existing smart-home system?
Many models integrate with other smart-home devices, but compatibility varies. Check which platforms your specific doorbell supports before purchasing. If you’re also upgrading access to your front door, How to Install a Smart Door Lock covers another useful exterior smart-home upgrade.
👷 When to Call a Professional
Call a licensed electrician if the doorbell transformer needs to be replaced and you’re not comfortable working around household-voltage wiring.
You should also get professional help if you discover damaged wiring, can’t identify the power source, repeatedly lose power to the doorbell, or encounter anything other than the expected low-voltage wiring at the doorbell location.