
Safety First
Turn off power to the outlet at the circuit breaker before removing the cover plate or touching any wiring. Verify the outlet is de-energized with a voltage tester before beginning. If you find damaged wiring, aluminum wiring, unusual connections, or anything you’re unsure about, stop and call a licensed electrician.
Time
30-45 Minutes
Difficulty
Moderate
Cost
$20-$50
🧰 Tools & Materials
- Phillips and flat-head screwdrivers
- Non-contact voltage tester
- Wire stripper, if needed
- Needle-nose pliers
- Smartphone
- Compatible smart electrical outlet
- Wire connectors, if required by the manufacturer
- Replacement wall plate, if not included
🔍 Signs It’s Time to Install a Smart Outlet
A smart electrical outlet can be a useful upgrade if:
- You want to control a lamp or appliance from your phone
- You want to create automatic schedules
- You frequently use plug-in smart devices
- You want voice control through a compatible smart-home system
- You want a cleaner installation than using a plug-in smart adapter
- You want to remotely check whether a connected device is turned on
If your existing outlet is loose, damaged, scorched, or no longer working correctly, address that problem before treating the project simply as a smart-home upgrade.
For a standard outlet replacement, see our How to Replace a Standard Electrical Outlet guide.
📝 Before You Buy
Make sure the smart outlet is compatible with your home’s wiring and your smart-home setup.
Many smart outlets require a neutral wire in the electrical box. Check the manufacturer’s requirements before purchasing.
Also confirm:
- The outlet is rated for the circuit
- The electrical box has enough room for the larger smart outlet
- Your Wi-Fi network is compatible
- The outlet works with your preferred smart-home platform
- The device you plan to plug into it doesn’t exceed the outlet’s rated load
Smart outlets are typically deeper than standard receptacles, so older or crowded electrical boxes can make installation more difficult.
🏠 Before You Start
Plug a lamp or outlet tester into the existing outlet so you can identify the correct breaker.
Turn off the breaker controlling the outlet.
If you aren’t sure which breaker controls it, follow our How to Find Which Breaker Controls an Outlet or Light guide before proceeding.
Once the breaker is off, confirm the plugged-in device has lost power.
Remove the wall plate and use a non-contact voltage tester around the outlet and wires before touching anything.
💡 Pro Tip: Take a clear picture of the existing wiring before disconnecting a single wire. It gives you a reference if anything becomes confusing later.
Step 1: Remove the Existing Outlet
Remove the wall plate.
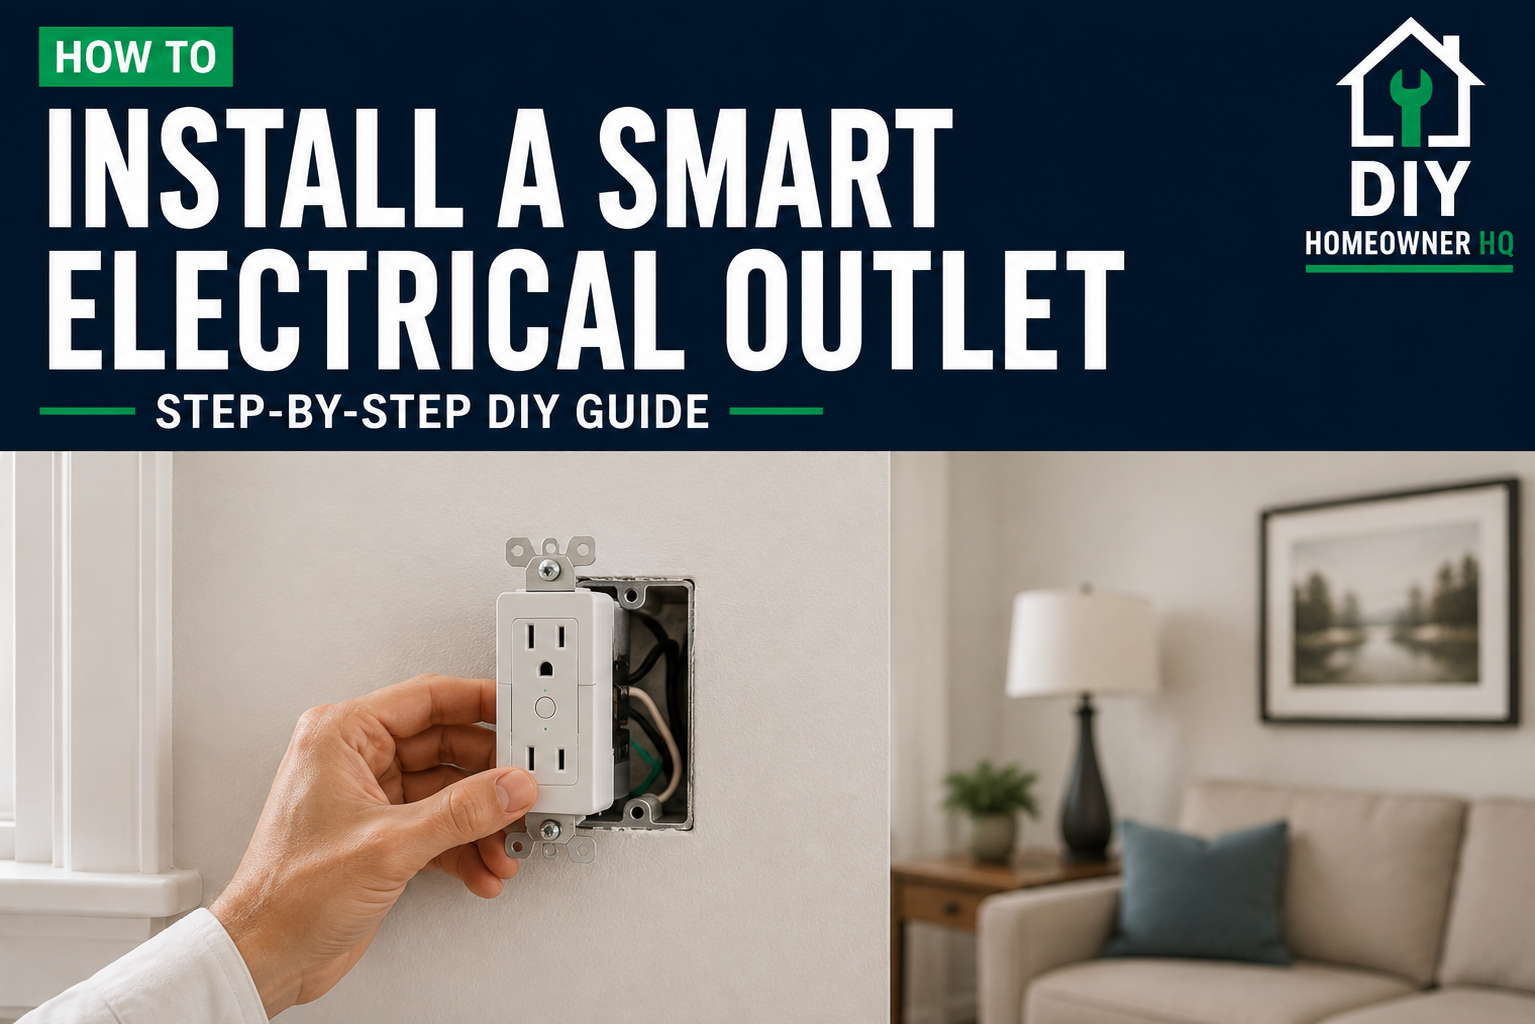
Unscrew the mounting screws at the top and bottom of the outlet and carefully pull the receptacle straight out of the electrical box.
Avoid touching the terminal screws or exposed conductors until you’ve verified the power is off.
What You Should See: The outlet should pull forward far enough to clearly see the wires and terminal connections.
If Yours Looks Different: If you see damaged insulation, melted plastic, scorch marks, or burned wiring, stop the installation and determine what caused the damage.
Step 2: Identify the Existing Wiring
Inspect the wires connected to the old outlet.
A typical installation may include:
- Black wire — hot
- White wire — neutral
- Bare copper or green wire — ground
Your wiring may differ, so never identify a conductor based only on its color.
Look at where each wire actually connects and compare the setup with the instructions supplied with your smart outlet.
What You Should See: You should be able to identify the hot, neutral, and ground connections required by the new outlet.
💡 Pro Tip: Photograph the wiring from multiple angles before removing anything.
Step 3: Disconnect the Old Outlet
Loosen the terminal screws or release the wires according to the outlet’s connection method.
Remove the hot, neutral, and ground wires.
Keep the wires separated and positioned where they won’t slip back into the electrical box.
Inspect the exposed copper and wire insulation for damage.
What You Should See: The conductors should be clean and undamaged with enough exposed copper to make the connections required by the smart outlet.
Step 4: Connect the Smart Outlet
Follow the manufacturer’s wiring diagram carefully.
Connect the hot, neutral, and ground wires to their designated terminals or leads.
If the smart outlet uses wire leads instead of screw terminals, connect them using the approved wire connectors specified by the manufacturer.
Tighten all connections securely.
What You Should See: Each conductor should be firmly connected with no loose strands or unnecessary bare copper exposed outside the terminal or connector.
If Yours Looks Different: If the outlet requires a neutral wire and your electrical box doesn’t contain one, don’t improvise a connection. Choose a compatible device or consult an electrician.
Step 5: Carefully Tuck the Wires Into the Box
Fold the wires neatly into the electrical box.
Smart outlets are often deeper than standard outlets, so don’t force the device into place.
Make sure wire connectors remain secure as you push the outlet toward the box.
What You Should See: The smart outlet should fit into the box without excessive pressure on the wires.
If Yours Looks Different: If the outlet can’t fit without crushing or sharply bending wires, stop rather than forcing it into the box.
Step 6: Secure the Smart Outlet
Position the outlet so it sits straight.
Install and tighten the upper and lower mounting screws.
Don’t overtighten them.
Install the wall plate once the outlet is securely positioned.
What You Should See: The outlet and wall plate should sit straight and firmly against the wall without moving when a plug is inserted.
Step 7: Restore Power
Turn the circuit breaker back on.
Watch the smart outlet for its power or setup indicator.
Use an outlet tester or another appropriate device to confirm the receptacle is powered.
What You Should See: The smart outlet should receive power and enter its normal operating or pairing mode.
If Yours Looks Different: If the breaker immediately trips, turn it back off and don’t repeatedly reset it. Our Why Does My Circuit Breaker Keep Tripping? guide covers common causes and the next troubleshooting steps.
Step 8: Connect the Outlet to the App
Download or open the manufacturer’s app.
Follow the instructions to put the smart outlet into pairing mode.
Connect it to your Wi-Fi network and complete the setup process.
Depending on the outlet, you may also be able to connect it to a compatible voice assistant or smart-home platform.
What You Should See: The outlet should appear as an available device in the manufacturer’s app and respond to on/off commands.
Step 9: Test the Smart Outlet
Plug in a simple device such as a lamp.
Turn the outlet on and off manually.
Then test it through the smartphone app.
If you’re planning to use schedules or automations, create a simple test schedule to confirm those features work properly.
What You Should See: The connected device should respond consistently to both manual and app-based controls.
❌ Common Mistakes
Problem: Installing the outlet without checking for a neutral wire.
Solution: Check the manufacturer’s wiring requirements before purchasing or installing the smart outlet.
Problem: Assuming wire colors always indicate their function.
Solution: Identify wires based on their connections and verify the wiring before disconnecting anything.
Problem: Trying to force a large smart outlet into a crowded electrical box.
Solution: Carefully arrange the conductors and make sure the box has enough room for the device.
Problem: Working on the outlet without verifying the power is off.
Solution: Shut off the breaker and confirm the outlet is de-energized with a voltage tester.
Problem: Connecting an appliance that exceeds the smart outlet’s rating.
Solution: Check both the outlet’s specifications and the electrical requirements of the connected device.
💡 Pro Tip
Set up and name the smart outlet immediately after installation. Names such as “Living Room Lamp” or “Bedroom Fan” are much easier to recognize later than generic names such as “Smart Outlet 1.”
❓ FAQs
Can I install a smart outlet myself?
For many homeowners, replacing an existing standard receptacle with a compatible smart outlet is a manageable DIY project. You should be comfortable safely shutting off and verifying power and identifying the existing wiring.
Do smart outlets need a neutral wire?
Many in-wall smart outlets do, although requirements vary by model. Always check the manufacturer’s specifications before purchasing.
Will a smart outlet work without Wi-Fi?
Some smart outlets retain basic manual operation without Wi-Fi, but remote controls, schedules, and other smart features may be limited. This varies by model.
Can I install a smart outlet on a GFCI-protected circuit?
Potentially, but the installation must maintain the required GFCI protection. If you’re replacing an actual GFCI receptacle, don’t substitute a standard smart receptacle unless the circuit remains properly protected. See our How to Replace a GFCI Outlet guide for more information.
Why won’t my smart outlet connect to Wi-Fi?
Check the manufacturer’s network requirements. Some smart-home devices require a 2.4 GHz Wi-Fi network during setup.
Why did the breaker trip after installing the outlet?
A wiring error, short circuit, damaged conductor, defective device, or other electrical problem may be responsible. Turn the breaker off and inspect the installation rather than repeatedly resetting it.
👷 When to Call a Professional
Call a licensed electrician if you can’t confidently identify the wiring, the required neutral wire isn’t available, the electrical box is damaged or severely overcrowded, or you discover burned or damaged conductors.
You should also stop immediately if the breaker repeatedly trips, the outlet becomes unusually warm, you hear buzzing or crackling, or you smell burning.