
Safety First
Make sure the railing is sturdy before starting. Protect stairs and floors with drop cloths, keep the area ventilated, and wear eye protection and a dust mask when sanding. If the existing finish may contain lead, test it before disturbing it.
Time
4-6 Hours
Difficulty
Easy-Moderate
Cost
$30-$75
🧰 Tools & Materials
Tools
- 1½- to 2-inch angled paintbrush
- Sanding sponge or 180–220 grit sandpaper
- Putty knife
- Vacuum or shop vac
- Clean rags
Materials
- Interior trim or cabinet paint
- Bonding primer
- Wood filler, if needed
- Painter’s tape
- Drop cloths
🔎 Signs It’s Time to Paint Your Stair Railing
- The existing finish is scratched or worn
- Paint is chipped or peeling
- The railing looks dated compared with the rest of the room
- Previous paint has heavy brush marks or uneven coverage
- You’re updating the color of the stairs, walls, or trim
📝 Before You Buy
Choose a durable paint intended for trim, doors, or cabinets. Stair railings are touched constantly, so durability matters more here than on many other painted surfaces.
Satin and semi-gloss finishes are popular because they’re durable and easy to clean.
If you’re painting over stained or varnished wood, a quality bonding primer is especially important.
🛠️ Before You Start
Clean the railing thoroughly to remove hand oils, dirt, and grime. Protect the stairs and nearby flooring with drop cloths.
Check that the railing and balusters are secure before painting. Fix any loose stair railing components before continuing.
Step 1: Clean and Repair the Railing
Wash the handrail, balusters, and posts with a mild cleaner and allow everything to dry.
Fill small dents, nail holes, and surface damage with wood filler. Once dry, sand the repairs smooth.
What You Should See: The railing should be clean, solid, and free from noticeable surface damage.
If Yours Looks Different: If the railing moves when pushed or pulled, repair the loose connection before painting.
Step 2: Sand the Existing Finish
Lightly sand the entire surface to dull glossy finishes and smooth rough areas.
Pay extra attention to chipped paint, scratches, and heavy brush marks. Vacuum and wipe away all sanding dust when finished.
💡 Pro Tip: You usually don’t need to remove the existing finish completely. The goal is to create a clean, dull surface that the primer can grip.
Step 3: Tape and Prime
Apply painter’s tape where the railing meets walls, flooring, stair treads, or other surfaces you want to protect.
Apply a thin, even coat of bonding primer, especially over stained or previously varnished wood. Use your brush to work around curves, corners, and detailed balusters.
Allow the primer to dry completely.
What You Should See: The primer should be firmly bonded and evenly cover the surface without heavy drips.
Step 4: Apply the First Coat
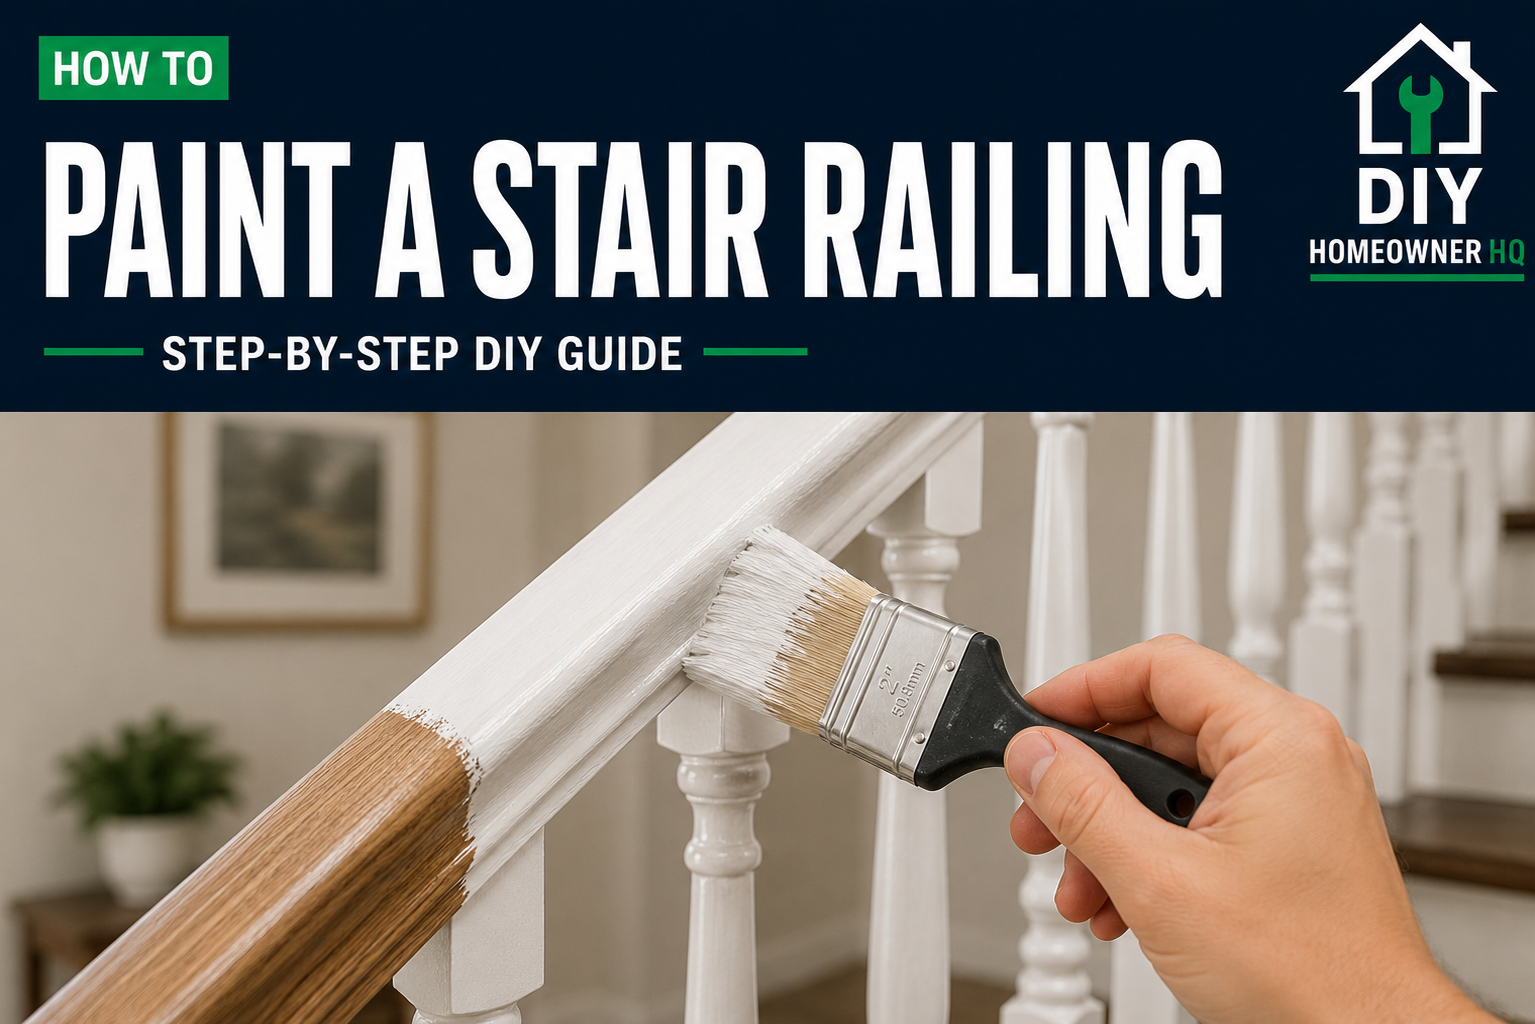
Start with the balusters and detailed areas, then paint the posts and handrail.
Apply thin coats and periodically check underneath the handrail and around the balusters for paint drips and runs.
Use long, smooth brush strokes along the handrail.
💡 Pro Tip: Don’t overload your brush. Railings have plenty of edges where excess paint can collect and run.
Step 5: Sand Between Coats
Allow the first coat to dry according to the manufacturer’s instructions.
If you feel rough spots, dust, or noticeable brush marks, lightly sand them with fine-grit sandpaper. Remove all sanding dust before continuing.
Step 6: Apply the Final Coat
Apply a second thin coat using the same technique.
Check the railing from several angles while the paint is still workable so you can catch drips or missed areas.
What You Should See: The finished railing should have smooth, consistent coverage without visible runs or thin spots.
If Yours Looks Different: If the original wood color or primer still shows through, allow the paint to dry and apply another thin coat rather than applying one heavy coat.
Step 7: Let the Paint Cure
Remove painter’s tape carefully and allow the railing to dry.
Avoid heavy handling until the paint has had enough time to harden. Paint may feel dry to the touch well before it reaches its full durability.
⚠️ Common Mistakes to Avoid
- Painting over dirt or hand oils
- Skipping sanding on a glossy finish
- Painting over loose railing components
- Skipping bonding primer over varnished wood
- Applying paint too heavily
- Missing drips underneath the handrail
- Using the railing heavily before the paint has cured
❓ Frequently Asked Questions
What kind of paint should I use on a stair railing?
A durable trim, door, or cabinet paint works well because railings receive frequent contact and need a washable finish.
Do I have to sand a stair railing before painting?
Usually, yes. Light sanding helps dull the existing finish and gives the primer or paint a better surface to bond to.
Can I paint over a stained wood railing?
Yes. Clean and sand the surface thoroughly, then use a bonding primer before applying paint.
Should I use a brush or roller?
A quality angled brush is usually the easiest option because stair railings have narrow surfaces, curves, corners, and detailed areas.
How many coats of paint does a stair railing need?
Two thin finish coats are typically enough after proper preparation and priming.
☎️ When to Call a Professional
Consider professional help if the railing is loose or structurally damaged, has extensive peeling or finish failure, requires complicated repairs, or involves suspected lead-based paint that will need to be disturbed.