
Safety First
Wear eye protection and a dust mask when sanding or repairing walls. Protect floors and furniture from dust. Turn off power at the breaker before removing outlet or switch covers, and confirm that the power is off with a voltage tester. If your home was built before 1978, have the existing paint tested for lead before sanding or scraping it.
Time
1-3 Hours
Difficulty
Easy
Cost
$15-$40
🧰 Tools & Materials
Tools
- Putty knife
- Sanding sponge or 120–220 grit sandpaper
- Clean sponge or microfiber cloth
- Bucket
- Vacuum or shop vac
- Utility knife
Materials
- Lightweight spackle or joint compound
- Mild cleaner
- Primer, if needed
- Paintable caulk
- Painter’s tape
- Drop cloths
🔎 Signs Your Walls Need Prep Work
- Nail holes, dents, or small cracks are visible
- Walls have fingerprints, grease, or other buildup
- Paint is peeling or flaking
- Previous repairs are rough or uneven
- The existing finish is especially glossy
- Gaps have developed around trim or molding
📝 Before You Buy
Most walls don’t need expensive preparation products. For typical rooms, lightweight spackle, fine-grit sandpaper, cleaner, and a few basic tools will handle most of the work.
Keep primer available for bare drywall, patched areas, stains, or other surfaces that need to be sealed before painting.
🛠️ Before You Start
Move furniture away from the walls and protect the floor with drop cloths. Remove wall decorations, nails, outlet covers, and switch covers.
Inspect the entire room before beginning. It’s much easier to repair everything at once than to discover dents and holes after you’ve started painting.
Step 1: Clean the Walls
Remove dust, cobwebs, fingerprints, and other buildup from the walls.
Use a damp sponge or cloth with a mild cleaner on noticeably dirty areas. Kitchens and high-touch areas may need extra attention to remove grease.
Allow the walls to dry completely.
What You Should See: The walls should be clean and free from anything that could interfere with paint adhesion.
If Yours Looks Different: If stains return after cleaning or appear to be bleeding through the existing paint, plan to use a stain-blocking primer.
Step 2: Fill Holes and Repair Damage
Fill nail holes, small dents, and minor imperfections with lightweight spackle or joint compound.
For larger damage, use the appropriate repair method in How to Patch Drywall Before Painting rather than trying to fill the entire hole with spackle.
Allow repairs to dry completely.
💡 Pro Tip: Apply patching compound in thin layers. Excess compound creates unnecessary sanding and makes it harder to achieve a flat repair.
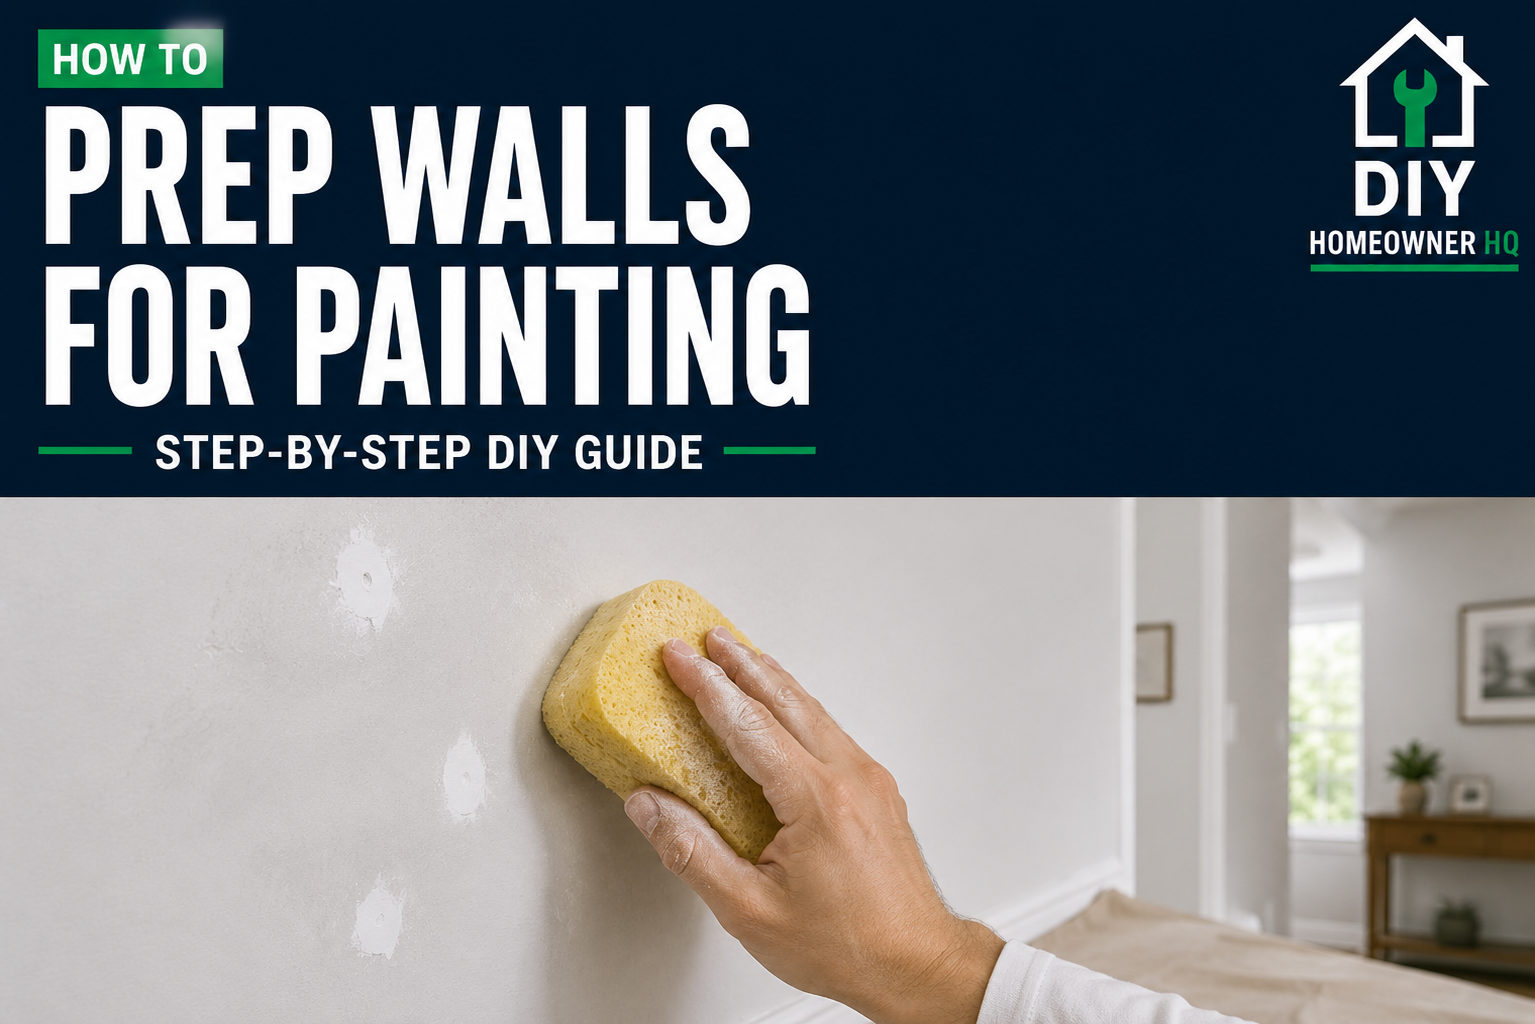
Step 3: Sand the Repairs
Lightly sand patched areas until they’re smooth and level with the surrounding wall.
Also sand noticeable bumps, old paint drips, and rough areas. Glossy surfaces can be lightly scuff-sanded to help the new coating bond.
Remove all sanding dust afterward.
What You Should See: Run your hand across each repair. You shouldn’t feel a noticeable ridge or raised edge.
If Yours Looks Different: If you can still feel a dip or see the outline of the repair, apply another thin coat of compound and sand again after it dries.
Step 4: Remove Loose or Peeling Paint
Scrape away any paint that is already peeling, flaking, or poorly bonded. If the failure extends beyond a few isolated spots, determine and correct the cause using How to Fix Peeling Paint before continuing.
Feather the remaining edges with sandpaper so there isn’t a noticeable ridge between the old paint and the exposed surface.
💡 Pro Tip: Don’t simply paint over peeling areas. The new paint is only as strong as the coating underneath it.
Step 5: Caulk Small Gaps
Inspect areas where walls meet trim, door casing, window trim, and other painted molding.
Apply a thin bead of paintable caulk to small gaps where appropriate and smooth it before it dries.
Allow the caulk to cure according to the manufacturer’s instructions.
Step 6: Prime Repairs and Problem Areas
Apply primer over bare drywall, patched areas, stains, and other surfaces that require sealing.
You generally don’t need to prime every inch of a previously painted wall that is clean and in good condition.
What You Should See: Repairs should be sealed and ready to accept paint without absorbing it differently from the surrounding wall.
Step 7: Tape and Do a Final Inspection
Apply painter’s tape where needed and make sure floors and nearby surfaces are protected.
Look across the walls from several angles. Remove any remaining dust and fix imperfections you notice before opening the paint.
Once the surface passes this inspection, continue with How to Paint Over Previously Painted Walls for the priming and painting process.
⚠️ Common Mistakes to Avoid
- Painting over dirty or greasy walls
- Skipping drywall repairs
- Painting over peeling paint
- Leaving sanding dust on the surface
- Applying patching compound too heavily
- Skipping primer over bare drywall
- Using non-paintable caulk
- Rushing into painting before repairs are dry
❓ Frequently Asked Questions
Do I need to wash walls before painting?
Not every wall needs heavy washing, but dust, grease, fingerprints, and visible dirt should be removed before painting.
Do I need to sand the entire wall?
Usually not. Focus on repairs, rough areas, paint drips, and glossy surfaces that need additional adhesion.
Should I prime walls before painting?
Previously painted walls in good condition often don’t require full-wall priming. Bare drywall, repairs, stains, and problem surfaces should generally be primed.
How long should spackle dry before painting?
Drying time depends on the product and thickness of the repair. Follow the manufacturer’s instructions and make sure the patch is completely dry before sanding or priming.
Should I caulk before or after painting?
Paintable caulk is normally applied during preparation and allowed to dry before the finish paint is applied.
☎️ When to Call a Professional
Consider professional help if the walls have extensive drywall damage, widespread peeling, recurring cracks, significant water damage, mold, or suspected lead-based paint that will need to be disturbed.