
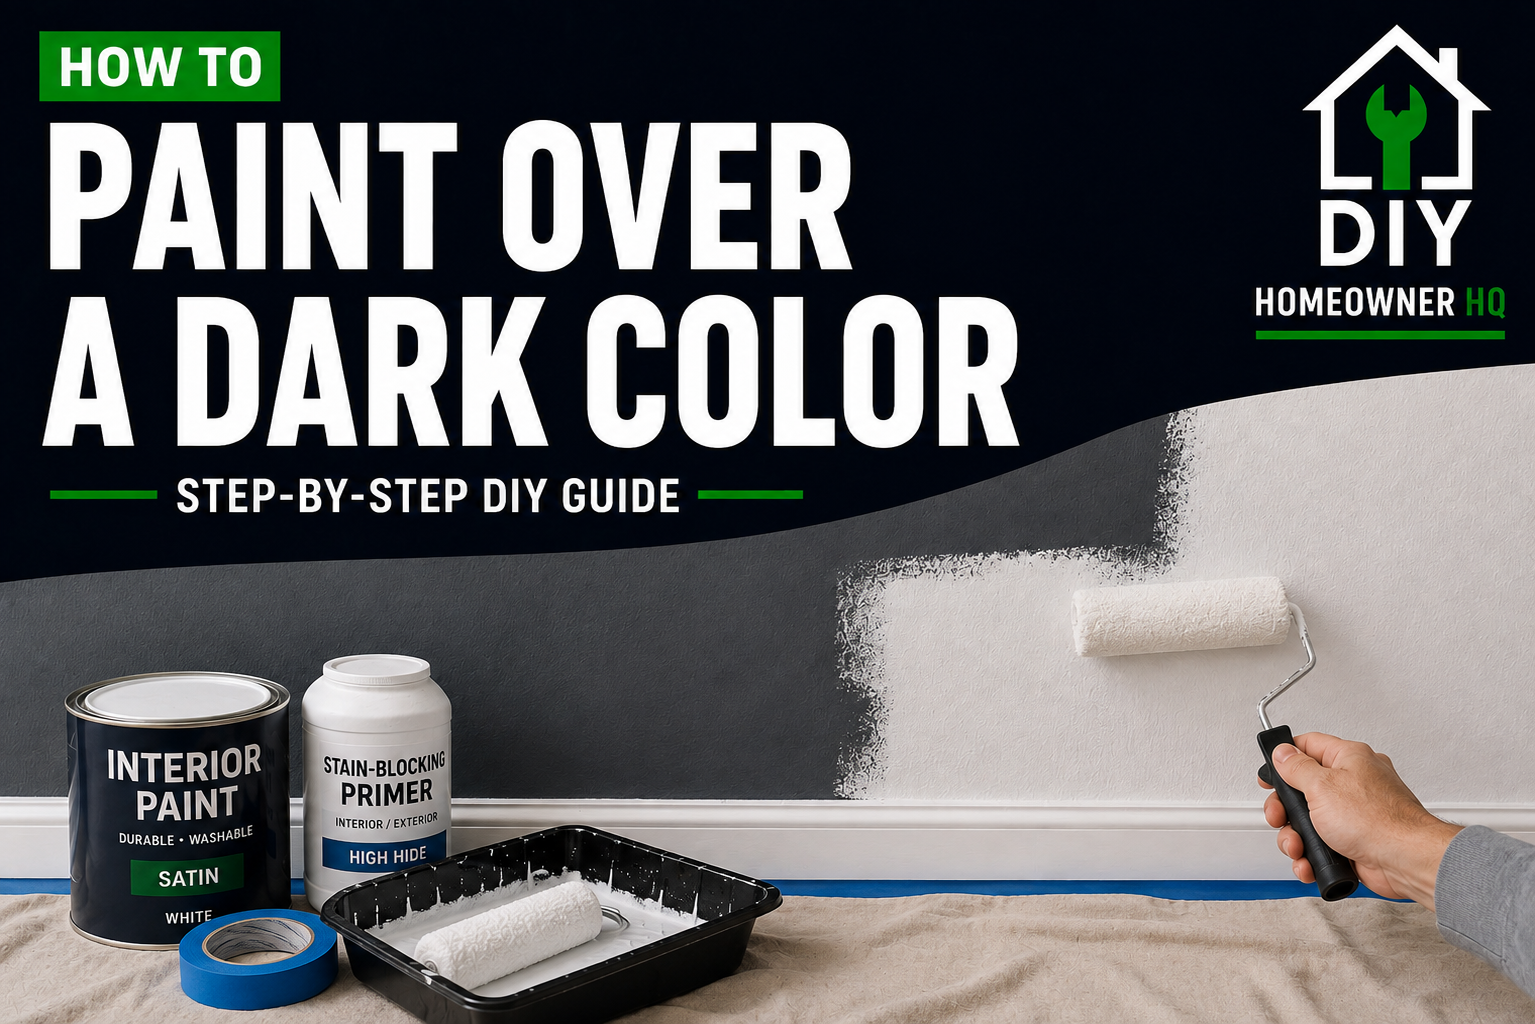
Safety First
Keep the room well ventilated while priming and painting. Wear eye protection and a dust mask when sanding or repairing walls, and keep drop cloths flat to prevent trips. If your home was built before 1978 and you’ll be sanding or scraping existing paint, consider testing for lead paint before disturbing the surface.
Time
6-10 Hours
Difficulty
Easy
Cost
$75-$200
🧰 Tools & Materials
Tools
- Paint roller frame
- Roller covers
- 2–2½-inch angled paintbrush
- Paint tray
- Extension pole
- Putty knife
- Sanding sponge or fine-grit sandpaper
- Screwdriver
- Clean rags
Materials
- High-hide primer
- Interior wall paint
- Lightweight spackle
- Painter’s tape
- Drop cloths
- Paintable caulk, if needed
- Stir sticks
- Paint tray liners
Signs You Should Use Primer Over a Dark Color
Painting directly over a dark wall isn’t always a problem, but primer can save you from applying coat after coat of expensive finish paint.
Primer is especially helpful when:
- You’re going from a very dark color to a very light color.
- The existing wall is red, navy, dark green, black, or another strong color.
- The old color continues showing through your test area.
- There are patched or repaired areas throughout the wall.
- The existing paint has stains or uneven areas.
- You’re making a dramatic color change.
If you’re repainting dark gray with another dark color, full priming may not be necessary.
Before You Buy
Choose a quality high-hide primer for dramatic color changes.
If you’re covering an especially deep color, ask the paint-counter staff whether your primer should be tinted for the new finish color. White or light-gray primer is usually appropriate for pale colors, while certain deep or highly saturated colors may cover better over a manufacturer-recommended tinted primer.
Don’t assume that paint labeled as “paint and primer in one” means a separate primer will never help. Those products can work well over sound previously painted walls, but a dramatic dark-to-light color change is one situation where dedicated primer can still be worthwhile.
Plan on approximately two finish coats after priming for the most consistent result.
💡 Pro Tip: Don’t buy the cheapest paint simply because you’re already using primer. Better-quality paint generally provides better hide, which matters when you’re trying to completely eliminate a dark underlying color.
Before You Start
Move furniture away from the walls and cover anything remaining in the room.
Remove outlet and switch covers.
Cover the floor with drop cloths.
Inspect the walls for:
- Nail holes
- Dents
- Cracks
- Peeling paint
- Grease or dirt
- Loose caulk
- Water stains
Follow the complete wall-preparation process and correct these problems before applying primer.
Step 1: Clean and Repair the Walls
Dust the walls and wipe away dirt, fingerprints, and grime.
Pay extra attention around light switches, doors, kitchens, and other high-touch areas.
Fill nail holes and small dents with spackle. Let the repairs dry, then sand them flush with the surrounding wall. For more detailed instructions, see How to Repair and Paint Nail Holes.
Wipe away all sanding dust.
If the existing paint is very glossy, lightly scuff-sand it so the primer can bond properly.
What You Should See: A clean, dry wall with smooth repairs and no loose or peeling paint.
If Yours Looks Different: If the old paint is peeling, bubbling, or failing, don’t simply cover it with primer. Remove the loose material, determine why the coating failed, and fix the peeling paint before continuing.
Step 2: Protect the Room and Cut In With Primer
Cover the floor and protect trim, windows, doors, and other surfaces as needed.
Stir the primer thoroughly.
Use an angled brush to apply primer around:
- Ceiling edges
- Corners
- Baseboards
- Door trim
- Window trim
- Outlets and switches
Work in manageable sections so you can roll nearby before the cut-in areas have completely dried.
What You Should See: A consistent band of primer around the edges of the wall.
If Yours Looks Different: Don’t worry if the dark color still shows slightly through the first application. Primer doesn’t necessarily need to make the wall perfectly white to do its job.
Step 3: Prime the Walls
Load the roller evenly and begin applying primer in sections.
Use overlapping passes and moderate pressure.
Maintain a wet edge as you move across the wall.
Don’t repeatedly roll over areas that have already started drying.
The goal is an even primer coat—not an excessively thick one.
What You Should See: The dark wall should be significantly muted and the surface should have a relatively consistent appearance.
If Yours Looks Different: If the old color is still somewhat visible, that’s not automatically a problem. Allow the primer to dry completely before deciding whether another coat is necessary.
💡 Pro Tip: Primer often looks uneven while drying. Don’t keep rolling over thin-looking areas while they’re partially dry. Wait until the entire wall dries before judging coverage.
Step 4: Inspect the Primer
Allow the primer to dry according to the manufacturer’s instructions.
Once dry, inspect the walls under normal room lighting.
A little color showing through isn’t necessarily an issue, but the surface should be reasonably uniform.
A second primer coat may make sense if:
- The original color is still extremely dominant.
- You’re covering a particularly intense red, blue, or similar color.
- Repairs are still noticeably different from the surrounding wall.
- Stains are bleeding through.
Problem: A brown or yellow stain is coming through the primer.
Standard primer may not block certain stains. Use an appropriate stain-blocking primer over the affected area before applying finish paint.
Step 5: Apply the First Coat of Paint
Once the primer is completely dry and ready for recoating, stir your finish paint thoroughly.
Cut in around the edges, then roll the wall in manageable sections.
Use overlapping passes and keep a wet edge.
Apply a normal, even coat rather than trying to completely hide the remaining dark color with one heavy application.
What You Should See: The new color should begin looking substantially more consistent, although slight variations may still be visible.
If Yours Looks Different: If the old color is still showing through, don’t immediately pile on more paint. Allow the first coat to dry completely. The second coat will provide much better coverage.
Step 6: Apply the Second Coat
Allow the first coat to dry for the full recoat time listed on the paint container.
Apply the second coat using the same cutting-in and rolling technique.
Keep your roller evenly loaded and avoid pressing excessively hard.
Once finished, allow the wall to dry completely before judging the color.
What You Should See: The original dark color should no longer be visible, and the wall should have consistent color and sheen.
If Yours Looks Different: If faint dark areas remain after everything has completely dried, another thin finish coat may be necessary. Dramatic color changes occasionally require additional coverage even when primer is used.
Step 7: Remove Tape and Inspect the Room
Carefully remove painter’s tape and reinstall outlet and switch covers once the paint has dried sufficiently.
Inspect the walls in both natural and artificial light.
Look for:
- Thin spots
- Roller lines
- Missed edges
- Paint drips
- Visible repairs
- Dark areas showing through
Correct small imperfections only after the paint has completely dried.
If the wall looks consistently covered, you’re done.
🛑 Common Mistakes to Avoid
- Assuming primer is unnecessary for every dark-to-light color change.
- Trying to hide the dark color with one extremely heavy coat.
- Painting over dirty walls.
- Skipping wall repairs before priming.
- Using the wrong primer for stains.
- Applying finish paint before the primer is ready.
- Overloading the roller.
- Rolling back into partially dried paint.
- Judging coverage while the paint is still wet.
- Touching up individual areas repeatedly instead of allowing the coat to dry.
Troubleshooting Common Dark-to-Light Painting Problems
Problem: I can still see the dark color after priming.
That’s not necessarily a problem. Primer doesn’t always completely hide the previous color. Its job is to create a more uniform surface and improve coverage. Let it dry before deciding whether another primer coat is necessary.
Problem: The dark color is showing through after the first paint coat.
This is common with dramatic color changes. Allow the first coat to dry and apply the second coat before evaluating the final coverage.
Problem: The wall looks streaky or patchy.
Uneven roller loading, excessive pressure, or rolling back into drying paint can create streaks. Let the wall dry completely and apply another even coat while maintaining a wet edge.
Problem: My repaired areas are still visible.
The repairs may not have been sanded flush or primed evenly. If you can physically feel the repair, more sanding may be needed. If the surface is smooth but looks different, primer and another finish coat may correct it.
Problem: A stain keeps coming through everything.
Some water, smoke, and other stains require a dedicated stain-blocking primer. Make sure the source of any moisture has been corrected before repainting.
❓ FAQs
Do I always need primer when painting over a dark color?
No. If you’re covering a dark color with another similar or darker shade, quality paint may be enough. Primer becomes especially useful when making a dramatic dark-to-light color change.
How many coats does it take to cover a dark wall?
A common approach is one coat of primer followed by two coats of finish paint. Particularly strong colors or difficult surfaces may require additional coverage.
Should I use white primer over a dark wall?
White or high-hide primer works well for many light colors. A tinted primer may sometimes improve coverage depending on your final color.
Can I just use paint and primer in one?
You can in many situations, but a dedicated primer may still be worthwhile when covering an extremely dark color, dealing with repairs, or blocking stains.
Why can I still see the old color through the primer?
Primer doesn’t always provide complete color coverage. What matters is creating a more uniform surface that helps the finish paint cover consistently.
Should I apply two coats of primer instead of two coats of paint?
Usually not. One properly applied primer coat followed by quality finish paint is generally the better approach. Add another primer coat only when the surface actually needs it.
How long should I wait after priming before painting?
Follow the recoat time printed on your specific primer. Drying conditions vary depending on temperature, humidity, ventilation, and the product you’re using.
📞 When to Call a Professional
Painting over a dark color is normally a very manageable homeowner project.
Consider calling a professional if:
- Large sections of existing paint are peeling or failing.
- You discover significant water damage.
- Stains continue returning after proper preparation.
- Extensive drywall repairs are needed.
- The walls are extremely high or difficult to reach safely.
- You suspect older painted surfaces may contain lead and aren’t comfortable disturbing them.
- Previous coatings appear incompatible or continue peeling despite proper preparation.