
Safety First
Keep your fingers clear when cutting weatherstripping with a utility knife or scissors. Make sure the door is securely open while you work so it can’t swing shut unexpectedly.
Time
30-60 Minutes
Difficulty
Easy
Cost
$10-$30
🧰 Tools & Materials
Tools
- Tape measure
- Utility knife or scissors
- Flathead screwdriver or putty knife, if needed
Materials
- Replacement door weatherstripping
🔍 Signs It’s Time to Replace Your Door Weatherstripping
- You can feel a draft around the closed door.
- The weatherstripping is cracked, flattened, torn, or missing.
- You can see daylight around parts of the door.
- The door no longer seals tightly when closed.
🛒 Before You Buy
Pull out a small section of the existing weatherstripping and take it with you when buying the replacement. Exterior doors use several different styles, and matching the existing profile is usually the easiest option.
🔧 Before You Start
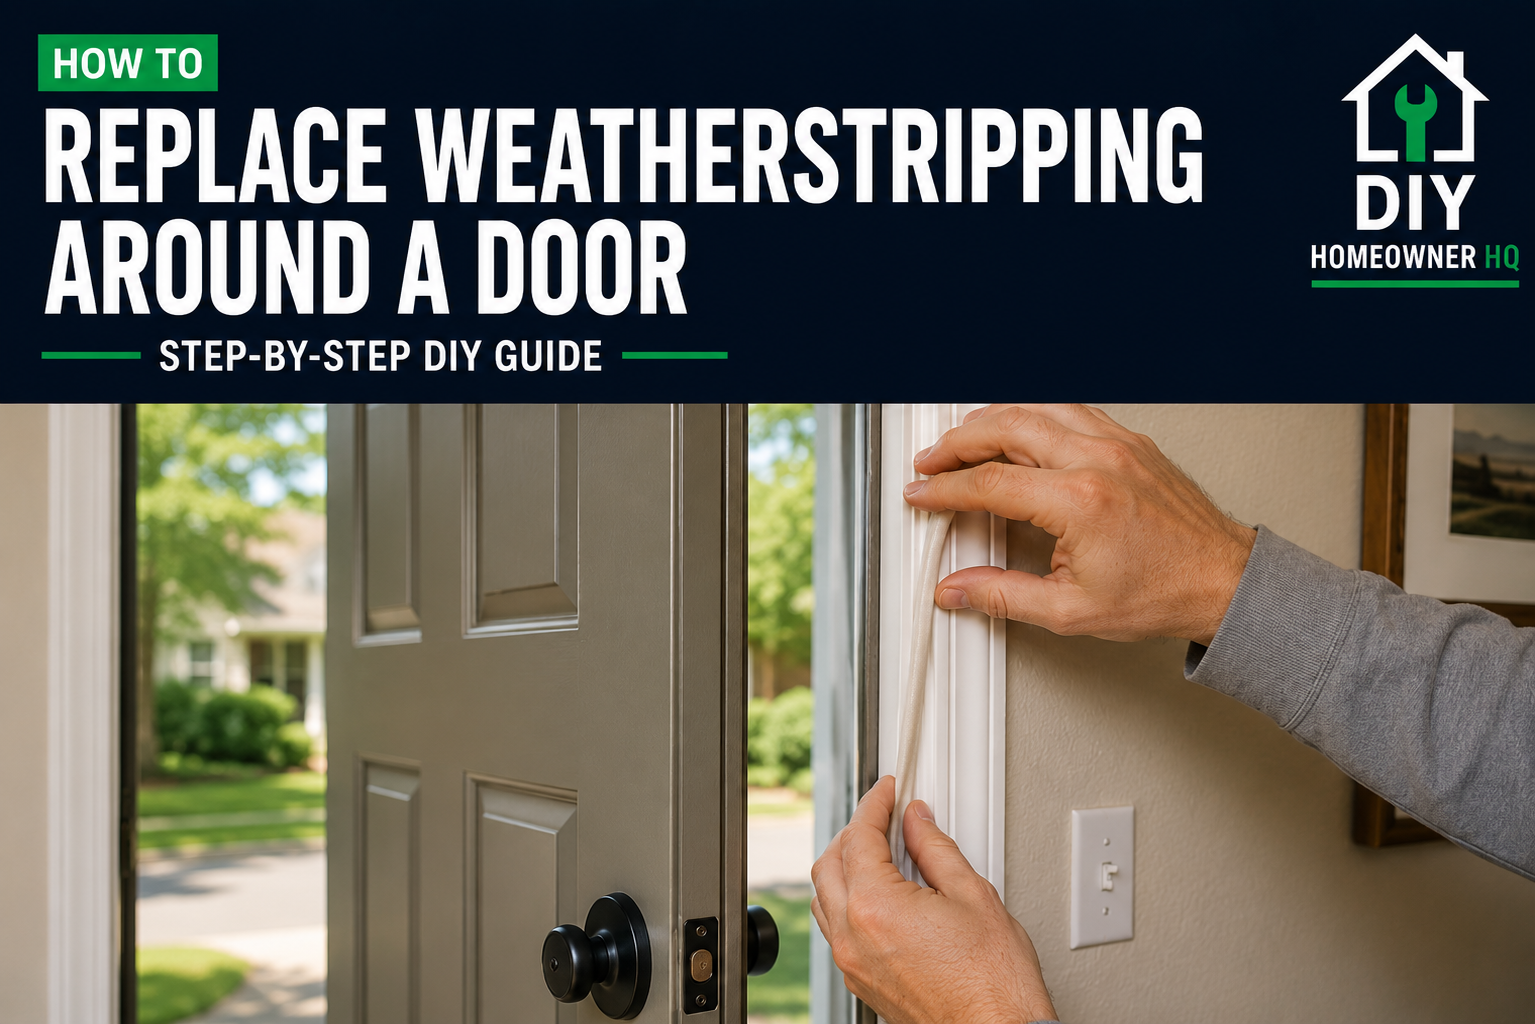
Open the door and inspect how the weatherstripping is attached. Many newer exterior doors use weatherstripping that simply presses into a narrow kerf, or groove, in the door frame.
Step 1: Remove the Old Weatherstripping
Start at one end and carefully pull the old weatherstripping out of the groove. Use a flathead screwdriver or putty knife to help loosen it if necessary.
Remove any pieces left behind and wipe the groove clean.
What You Should See: A narrow, clean groove running along the top and sides of the door frame.
If Yours Looks Different: Your weatherstripping may be adhesive-backed or fastened with nails or screws. Remove those fasteners before pulling it away.
Step 2: Measure and Cut the New Weatherstripping
Measure each side and the top of the door frame. Cut the replacement weatherstripping slightly long at first—you can always trim it for a better fit.
💡 Pro Tip: Use the old pieces as templates if they came out intact.
Step 3: Install the New Weatherstripping
Starting at the top, press the weatherstripping firmly into the groove. Work your way along the frame without stretching the material.
Install the two side pieces the same way and trim the ends so they meet neatly at the corners.
What You Should See: The weatherstripping should sit evenly around the frame without gaps or twisted sections.
Step 4: Close the Door and Check the Seal
The weatherstripping should compress slightly against the door while still allowing it to close and latch normally. If the door closes but the latch no longer lines up correctly, use our How to Fix a Door That Won’t Latch guide to troubleshoot the alignment.
⚠️ Common Problems
Problem: The door is difficult to close.
The weatherstripping may not be fully seated in the groove or may be too thick for the door.
Problem: There’s still a draft.
Check the corners for gaps and make sure the weatherstripping contacts the door evenly.
Problem: The weatherstripping keeps coming out.
Make sure the kerf is clean and the weatherstripping is pressed completely into it.
❓ FAQs
Can I replace only one damaged section?
Yes. If the rest is still in good condition, you can replace only the damaged side or top section.
Should weatherstripping be tight against the door?
It should compress enough to create a seal without making the door difficult to close.
How often does door weatherstripping need to be replaced?
There’s no set schedule. Replace it when it becomes damaged, permanently flattened, or stops sealing effectively.
📞 When to Call a Professional
Weatherstripping replacement is usually an easy DIY project. If large gaps remain after installing new weatherstripping, the door or frame may be out of alignment. If the door appears to be dropping toward the latch side, start with our How to Fix a Sagging Door guide before making additional adjustments.