
Safety First
Support the door before removing any hinges so it can’t shift, fall, or pinch your fingers. Replace one hinge at a time whenever possible to keep the door supported and aligned.
Time
30-60 Minutes
Difficulty
Easy
Cost
$15-$40
🧰 Tools & Materials
Tools
- Phillips screwdriver or drill
- Utility knife
- Tape measure
Materials
- Replacement door hinges
- Wood shims
- Longer screws, if needed
🔍 Signs It’s Time to Replace Door Hinges
- The hinges are bent, cracked, or heavily rusted.
- The door still sags after tightening the screws. If you haven’t diagnosed the alignment problem yet, start with How to Fix a Sagging Door before replacing otherwise good hinges.
- The hinge pin or knuckles are badly worn.
- You want to change the hinge finish to match new door hardware.
🛒 Before You Buy
Match the new hinges to the existing ones as closely as possible. Check the hinge height, width, corner style, screw-hole pattern, and finish.
Using hinges with the same dimensions and hole pattern makes replacement much easier because they should fit directly into the existing mortises.
🔧 Before You Start
Open the door enough to access the hinges and place shims underneath the outer edge of the door for support.
💡 Pro Tip: Slide a few wood shims underneath the latch-side end of the door until they just support its weight. This keeps the door from dropping or twisting when you remove a hinge and makes lining up the new hinge much easier.
Step 1: Replace One Hinge at a Time
Start with the top hinge while leaving the other hinges attached.
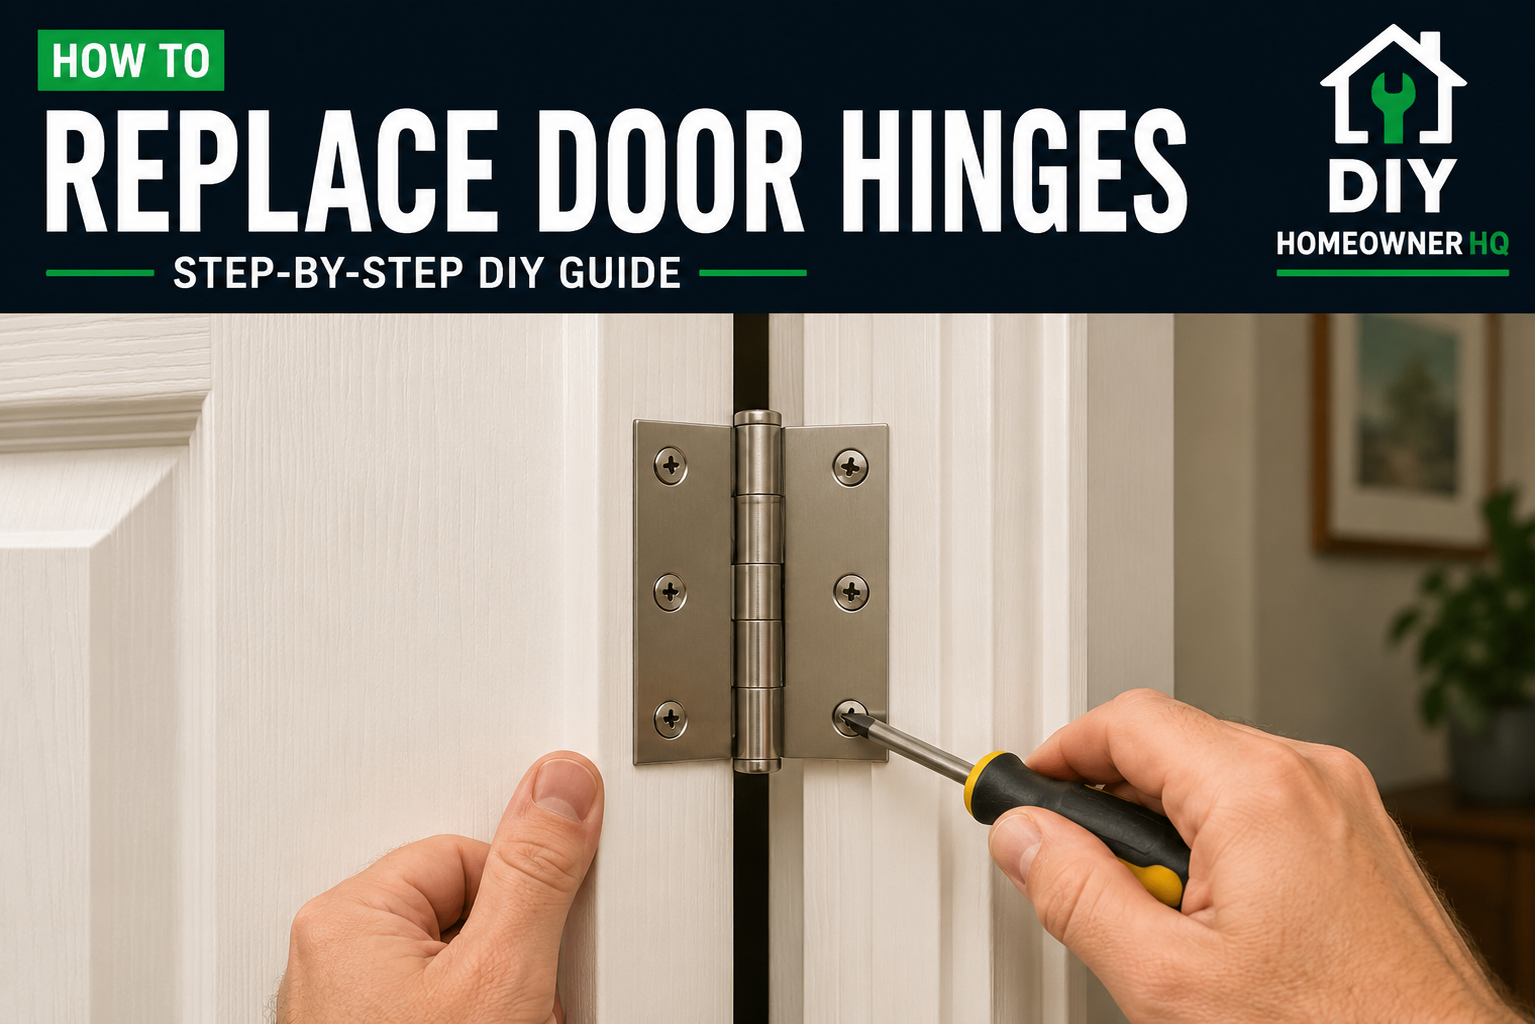
Remove the screws from the old hinge and take it off the door and jamb.
What You Should See: The door should remain supported by the other hinges and the shims underneath it.
Step 2: Install the New Hinge
Set the new hinge into the existing mortise. It should sit flat and flush with the surrounding wood.
Install the screws and tighten them until snug.
If Yours Looks Different: If the new hinge doesn’t sit flat or the screw holes don’t line up, stop and compare it with the old hinge. You may have the wrong size, corner style, or screw pattern.
Step 3: Replace the Remaining Hinges
Move to the next hinge and repeat the same process, keeping the shims underneath the door.
Replace each hinge individually rather than removing all of them at once.
Step 4: Check the Door Alignment
Remove the shims and slowly open and close the door.
Check that the gaps around the door are reasonably even and that the door closes and latches without rubbing. If the new hinges are secure but the door still won’t close properly, the problem may be elsewhere in the door alignment.
⚠️ Common Problems
Problem: A hinge screw won’t tighten.
The screw hole may be stripped. A longer screw that reaches solid framing may solve the problem, particularly on the jamb side.
Problem: The door sags after replacing the hinges.
Make sure every hinge is seated completely in its mortise and all screws are tight.
Problem: The new hinge sits above the door surface.
The replacement hinge may be thicker than the original and the mortise may need adjustment.
Problem: The new hinges squeak when the door moves.
Make sure the hinges are properly aligned and the pins are fully seated. If the hinges are installed correctly but still make noise, see How to Fix a Squeaky Door for lubrication and hinge-pin troubleshooting.
❓ FAQs
Do I need to remove the door to replace the hinges?
Usually not. Replacing one hinge at a time while supporting the door with shims is often much easier.
Can I replace door hinges with a different size?
You can, but it usually requires modifying the hinge mortises and drilling new screw holes. Matching the existing hinges is much easier.
Should I use a drill or screwdriver?
Either works. A drill makes removal faster, but finish tightening the screws carefully so you don’t strip the wood or screw heads.
📞 When to Call a Professional
If the door remains badly misaligned after replacing the hinges, the problem may be with the jamb, framing, or door itself rather than the hinges.