
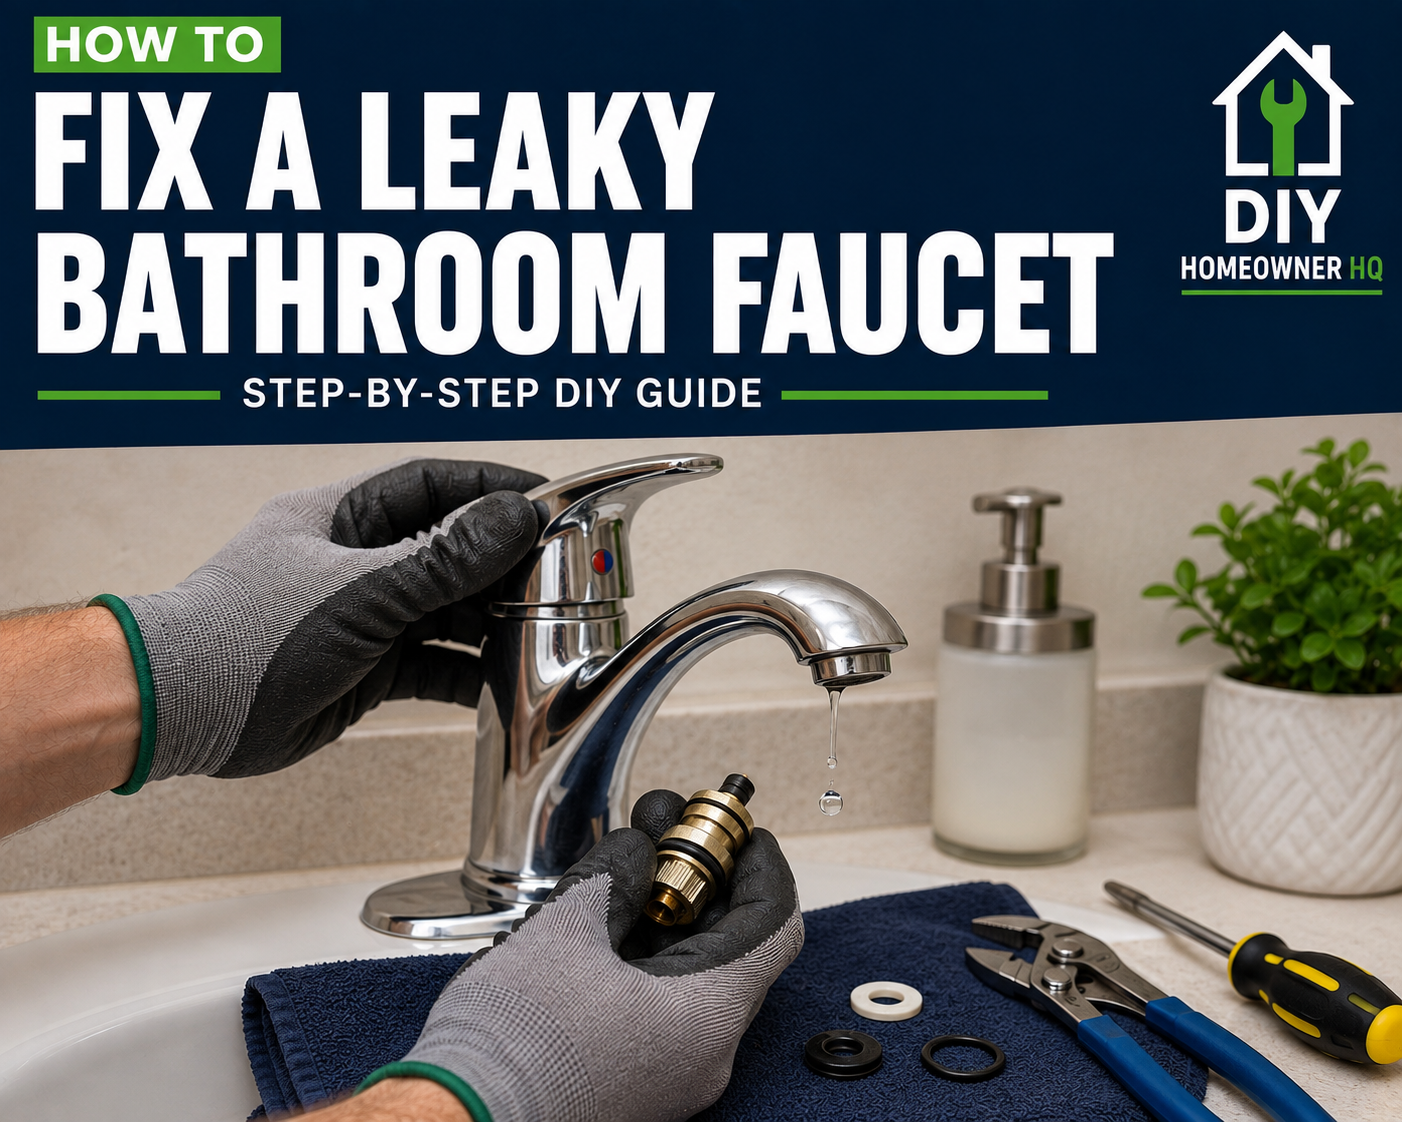
Safety First
Before working on a bathroom faucet, shut off both the hot and cold water supply valves under the sink. Turn the faucet on afterward to relieve any remaining pressure and confirm the water is off. Plug or cover the drain before removing small parts so screws, clips, and washers cannot fall into it. If a shutoff valve will not close completely or begins leaking when you turn it, stop and address the valve before taking the faucet apart.
Time
30-60 Minutes
Difficulty
Easy
Cost
$5-$30
🧰 Tools & Materials
Tools
- Adjustable wrench
- Phillips screwdriver
- Flathead screwdriver
- Allen wrench set
- Needle-nose pliers
- Small towel or rag
- Flashlight
Optional but helpful:
- Cartridge puller if the faucet cartridge is stuck
- Strap wrench for stubborn decorative faucet parts you do not want to scratch
Materials
- Replacement cartridge, stem, washer, or O-ring that matches your faucet
- Plumber’s grease
- White vinegar for mineral buildup
- Replacement handle screw if the existing one is damaged or corroded
Signs It’s Time to Repair Your Bathroom Faucet
A dripping faucet is the obvious sign, but leaks can show up in several ways.
You may need to repair the faucet if you notice:
- Water dripping from the spout after the handles are completely off
- Water leaking around the base of a handle
- A handle that has become difficult to turn
- A handle that must be tightened harder than usual to stop the water
- Water appearing around the faucet body or countertop
- An inconsistent stream or reduced water flow after operating the handles
A slow drip usually points to a worn internal seal, cartridge, washer, or O-ring. Water leaking from around a handle often indicates a worn O-ring or seal inside that side of the faucet.
If water is leaking under the sink rather than from the faucet itself, inspect the supply lines, shutoff valves, and faucet connections before taking the handles apart. If the faucet itself is badly worn, corroded, or leaking from multiple areas, replacing the bathroom faucet may make more sense than repairing individual parts.
Before You Buy / Before You Start
Bathroom faucets do not all use the same internal parts. Before buying replacements, determine what type of faucet you have and, when possible, identify the manufacturer.
Look for a brand name or logo on the:
- Faucet body
- Handles
- Spout
- Drain assembly
If you know the faucet model, look up the correct replacement cartridge or repair kit before taking anything apart.
If you do not know the model, you may need to remove the old cartridge or stem and take it with you when buying the replacement. Matching the old part directly is often easier than trying to identify it while it is still inside the faucet.
Most bathroom faucets fall into a few common configurations:
- Single-handle faucets usually use one cartridge that controls both hot and cold water.
- Two-handle faucets may use separate cartridges or stems for the hot and cold sides.
- Older faucets may use compression stems with replaceable rubber washers instead of cartridges.
If only one side of a two-handle faucet is causing the problem, you may only need to repair that side. However, if both cartridges or stems are the same age, replacing both at the same time can prevent another repair shortly afterward.
Before disassembly, close the sink drain or cover it with a towel. Handle screws and retaining clips are small enough to disappear down an open drain.
💡 Pro Tip: Take a quick photo of the faucet as you disassemble it. If several washers, clips, or spacers come out together, you will have a reference for how they were originally positioned.
Step 1: Shut Off the Water
Find the hot and cold shutoff valves underneath the sink. Close both valves completely. Traditional multi-turn valves usually close by turning clockwise, while quarter-turn valves typically close with a 90-degree turn until the handle is perpendicular to the water line.
Turn the faucet on afterward. Water may run briefly while pressure drains from the lines, but it should stop.
What You Should See: Once the remaining water drains out, no water should continue flowing from the faucet.
If Yours Looks Different: Some older sinks may not have individual shutoff valves, or the valves may be seized and refuse to turn. In that case, shut off the home’s main water supply rather than forcing an old valve.
If a shutoff valve begins leaking around its handle when you turn it, stop and address that problem before disassembling the faucet. If the valve itself has failed, follow our guide on how to replace a water shut-off valve before continuing.
Step 2: Remove the Faucet Handle
Look for the screw holding the leaking handle in place.
Depending on the faucet, the screw may be:
- Visible on top of the handle
- Hidden beneath a decorative cap
- Located on the side or back of the handle
- Recessed inside a small opening and secured with an Allen screw
If there is a decorative cap, carefully pry it up with a small flathead screwdriver.
Remove the screw and lift the handle straight off.
If the handle has been installed for years, mineral buildup may make it difficult to remove. Wiggle it gently while pulling upward rather than prying aggressively against the faucet or countertop.
What You Should See: With the handle removed, you should be able to see the top of the cartridge or valve stem and possibly a decorative sleeve or retaining nut.
If Yours Looks Different: Some faucets have an additional decorative collar or dome-shaped cap covering the cartridge. These usually unscrew by hand, although mineral buildup can make them stubborn.
Step 3: Remove the Retaining Nut or Clip
Your cartridge or stem will usually be held in place by either a retaining nut or a small metal clip.
For a retaining nut, use an adjustable wrench to loosen it counterclockwise.
For a retaining clip, use needle-nose pliers to carefully pull the clip straight out.
Set every part aside in the order you remove it.
If the retaining nut is difficult to loosen, wrap it with a vinegar-soaked rag for 15–20 minutes to help dissolve mineral deposits.
Avoid applying excessive force. Faucet bodies can be damaged if a severely corroded retaining nut is twisted too aggressively.
💡 Pro Tip: Put the removed parts on a towel in the exact order they came off. Reassembly becomes much easier when you do not have to remember which washer or spacer went where.
Step 4: Remove the Cartridge or Valve Stem
Before pulling the old part out, notice its orientation. Look at the position of any tabs, flat sides, or openings.
Pull the cartridge or stem straight upward.
Some cartridges come out easily. Others become stuck after years of mineral buildup.
Try gently rocking the cartridge while pulling upward. If it still will not move, a cartridge puller designed for your faucet may be the safest option.
Do not aggressively pry against the faucet body.
What You Should See: The cartridge or stem should come out as one assembly, exposing the valve opening inside the faucet.
If Yours Looks Different: An older compression-style faucet may have a rubber washer attached to the bottom of the valve stem with a small screw. If the washer is cracked, flattened, or hardened, replacing that washer may be all the faucet needs.
Step 5: Inspect the Old Parts
Look closely at the cartridge, stem, washers, and O-rings.
Common signs of wear include:
- Torn or flattened O-rings
- Cracked rubber washers
- Mineral deposits
- Corrosion
- Damaged cartridge seals
- Broken or distorted plastic components
If you have not already purchased the replacement, take the old part with you and match it carefully.
Do not rely on appearance alone. Two cartridges can look almost identical while having slightly different dimensions or tabs that prevent the wrong one from fitting.
If mineral deposits are visible inside the faucet opening, wipe away loose buildup with a clean cloth. A little white vinegar can help loosen stubborn deposits.
Avoid scratching the inside of the valve body.
Step 6: Install the Replacement Part
Lightly coat replacement O-rings with plumber’s grease if recommended for the replacement part.
Insert the new cartridge or stem in the same orientation as the original.
Do not force it.
If the cartridge does not seat fully, remove it and check the alignment. Tabs or locating pins often need to line up with matching slots inside the faucet body.
Reinstall the retaining clip or nut.
Tighten a retaining nut until it is secure, but do not overtighten it. Excessive force can damage the cartridge or faucet body.
What You Should See: The replacement cartridge or stem should sit fully inside the faucet, and the retaining clip or nut should return to its original position without being forced.
If Yours Looks Different: Some replacement cartridges include additional adapters, spacers, or seals for several faucet models. Compare the new part with the original and follow the manufacturer’s configuration for your faucet rather than automatically installing every piece in the package.
Step 7: Reinstall the Handle
Replace any decorative sleeve or collar you removed.
Position the handle over the cartridge or stem and reinstall the handle screw.
Turn the handle through its normal range before fully tightening everything. It should move smoothly without binding.
If the handle position looks wrong when the faucet is off, remove it and reposition it rather than forcing it into place.
Reinstall the decorative cap if your faucet has one.
Step 8: Restore the Water and Test the Faucet
Make sure both faucet handles are turned off.
Slowly open the hot and cold shutoff valves under the sink.
Watch underneath the sink while restoring the water. Check the shutoff valves and supply connections for any leaks.
Turn the faucet on and let both hot and cold water run for 30–60 seconds. The water may sputter briefly as trapped air leaves the lines.
Turn the faucet off and watch the spout for at least a minute.
Then inspect:
- Around the repaired handle
- Around the faucet base
- Underneath the sink
- Around any connection you disturbed
Run the faucet several more times and make sure the handle operates normally.
What You Should See: The faucet should shut off completely without dripping, the handle should move smoothly, and no water should appear around the faucet or underneath the sink.
If the faucet still drips, do not immediately tighten everything harder. Something may be incorrectly seated, or another internal component may be worn.
If Something Goes Wrong
Problem: The handle will not come off
Mineral buildup can essentially glue an older handle to the stem. Apply white vinegar around the connection and give it time to penetrate. Gently wiggle the handle while pulling upward. Avoid aggressive prying that could damage the faucet finish or countertop.
Problem: The cartridge will not come out
Confirm that every retaining clip, nut, and collar has been removed. If the cartridge is definitely released but remains stuck, use the correct cartridge puller rather than increasing force with pliers.
Problem: The replacement cartridge will not fit
Compare the new and old cartridges side by side. Check the overall length, diameter, tabs, openings, and stem shape. If they differ, you probably have the wrong replacement part.
Do not modify or force an incorrect cartridge into the faucet.
Problem: The faucet still drips after replacing the cartridge
Make sure the cartridge is fully seated and installed in the correct orientation. If it is, inspect the valve body for mineral buildup or damage.
On a two-handle faucet, confirm that you repaired the side actually causing the leak. If both sides are old, the second cartridge or stem may also be leaking.
Problem: Water leaks around the handle
The cartridge or stem may not be seated correctly, an O-ring may be damaged, or the retaining nut may be loose. Shut the water back off and inspect the assembly.
Problem: The handle turns the wrong direction
The cartridge may be installed in the wrong orientation. Shut off the water and check the cartridge position against the original installation or manufacturer’s instructions.
Problem: Water pressure is lower after the repair
Remove and clean the faucet aerator first. Dislodged mineral deposits can travel through the faucet during the repair and become trapped in the aerator screen.
If pressure remains low, recheck that the cartridge is correctly installed and both shutoff valves are completely open.
Problem: The shutoff valve starts leaking
A small leak around an older valve stem can sometimes appear after a valve that has not moved in years is operated. If the leak does not stop or becomes worse, leave the valve alone and repair or replace it before continuing.
🛑 Common Mistakes to Avoid
- Buying a cartridge based only on appearance instead of matching the exact faucet
- Forgetting to cover the drain before removing small screws or clips
- Forcing a stuck handle or cartridge and damaging the faucet
- Installing the cartridge in the wrong orientation
- Using petroleum-based grease instead of plumber’s grease on faucet seals
- Overtightening retaining nuts
- Scratching the valve body while cleaning mineral buildup
- Reassembling the faucet without checking the condition of O-rings and seals
- Turning the water back on quickly instead of restoring pressure slowly
- Assuming a continued drip means the new cartridge simply needs to be tightened harder
❓ FAQs
Why does my bathroom faucet keep dripping after I turn it off?
A worn cartridge, valve stem, washer, or internal seal is usually allowing a small amount of water to pass through even though the handle is closed.
How do I know which faucet cartridge I need?
The safest method is to identify the faucet manufacturer and model. If you cannot, remove the old cartridge and match it directly to the replacement.
Do I have to replace the entire faucet if it is leaking?
Usually not. Many dripping faucets can be repaired by replacing a cartridge, stem, washer, or O-ring.
Should I replace both cartridges in a two-handle faucet?
Not necessarily. You can replace only the leaking side. However, if both cartridges are the same age and one has failed, replacing both can save you from repeating the repair soon afterward.
How can I tell whether the hot or cold side is leaking?
On a two-handle faucet, shut off one supply valve underneath the sink and watch whether the dripping stops. This can help identify which side is allowing water through.
Can I use regular grease on faucet O-rings?
No. Use a lubricant specifically labeled as plumber’s grease and compatible with plumbing seals.
Why is my faucet dripping even after I installed a new cartridge?
The cartridge may be incorrectly installed, the replacement may be wrong, or the valve body may have mineral buildup or damage preventing the new seals from closing properly.
📞 When to Call a Professional
A stubborn handle or cartridge does not automatically mean you need a plumber. Mineral buildup is common, and additional soaking or the correct cartridge puller can often solve the problem.
Professional help becomes more reasonable if:
- The faucet body is badly corroded
- The valve body appears cracked or damaged
- A cartridge breaks off inside the faucet
- The shutoff valves will not close or begin leaking significantly
- Water continues leaking despite installing the correct replacement parts
- The plumbing underneath the sink begins leaking during the repair
- Corroded components require more force than you can safely apply
- The leak appears to be coming from plumbing inside the wall or cabinet rather than the faucet
If the faucet is older and several components are failing at once, replacing the entire bathroom faucet may make more sense than continuing to repair individual parts.