
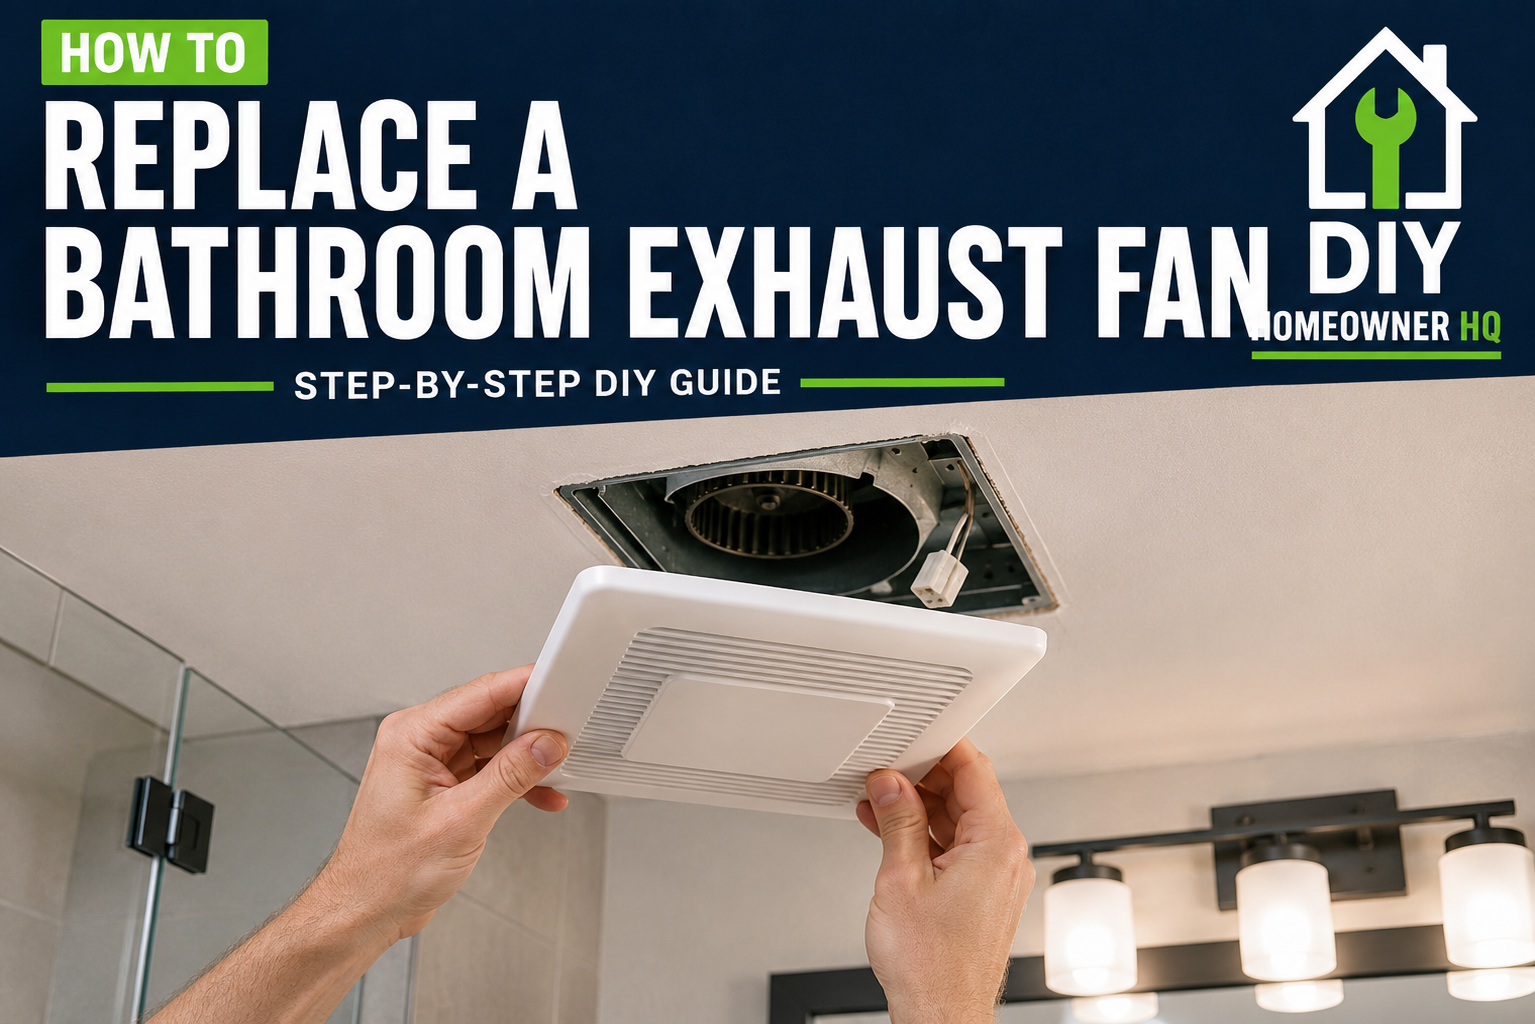
Safety First
Turn off power to the bathroom exhaust fan at the circuit breaker before removing the cover or touching any wiring. Always verify the power is off with a non-contact voltage tester before disconnecting electrical connections. Use a stable ladder and wear eye protection, since dust and debris may fall when the old fan is removed. If you find damaged wiring, unexpected electrical connections, or anything you’re unsure about, stop and call a licensed electrician.
Time
1-3 Hours
Difficulty
Intermediate
Cost
$50-$200
🧰 Tools & Materials
- Replacement bathroom exhaust fan
- Screwdrivers
- Non-contact voltage tester
- Wire stripper/cutter
- Pliers
- Adjustable wrench or nut driver
- Utility knife
- Drill/driver with bits
- Flashlight or work light
- Stepladder
- Safety glasses
- Dust mask
- Electrical wire connectors
- Electrical tape
- Foil HVAC tape
- Replacement ductwork or duct connector, if needed
Signs It’s Time to Replace Your Bathroom Exhaust Fan
A bathroom exhaust fan doesn’t have to completely stop working before it needs replacement. Watch for these common signs:
- The fan is much louder than it used to be or makes grinding, rattling, or squealing noises.
- The fan runs, but steam and moisture linger long after a shower.
- The mirror and walls stay wet even with the fan running.
- The fan starts slowly, works intermittently, or doesn’t turn on at all.
- You notice recurring mildew or moisture problems in the bathroom.
- The grille or fan assembly is damaged or badly deteriorated.
- You want to upgrade to a quieter or higher-capacity fan.
Before You Buy a Replacement Bathroom Exhaust Fan
Before purchasing a new fan, remove the existing grille and check the size and configuration of the current unit. Bathroom exhaust fans are not universally interchangeable, and replacing one with a different model may require modifying the ceiling opening.
Check the housing dimensions, duct size and duct direction of your existing fan. Common residential duct sizes include 3-inch and 4-inch, although other sizes are possible.
Also check the airflow rating, measured in CFM (cubic feet per minute). A common starting point for bathrooms up to 100 square feet is approximately 1 CFM per square foot, although the fan manufacturer and local requirements should always be checked.
If your existing fan includes a light, heater, humidity sensor, or separate wall controls, make sure the replacement fan supports the features and wiring configuration you need.
💡 Pro Tip: If you can find the manufacturer and model number of your existing fan, look for a compatible replacement or retrofit kit first. You may be able to replace the motor and grille without removing the entire housing.
Step 1: Turn Off the Power
Turn off the bathroom exhaust fan at the circuit breaker, not just at the wall switch.
Turn the fan switch on and off to confirm that it no longer operates. Remove the grille and use a non-contact voltage tester near the fan’s wiring before proceeding.
What You Should See:
With the grille removed, you should be able to see the fan housing, motor assembly and electrical connection area.
If Yours Looks Different:
Some fans have the motor plugged into a small receptacle inside the housing, while others are hardwired. Fans with lights, heaters or multiple controls may have additional wiring.
Step 2: Remove the Fan Grille
Pull the grille gently downward. Most bathroom fan grilles are held in place by two spring clips.
Squeeze the clips together and slide them out of their slots in the fan housing.
If the grille includes a light, disconnect its plug or wiring as directed by the manufacturer before completely removing it.
What You Should See:
With the grille removed, the fan motor and blower assembly should be visible inside the metal or plastic housing.
💡 Pro Tip: Bathroom fan grilles can collect years of dust. Keep your face out from directly underneath the grille when removing it.
Step 3: Remove the Motor and Blower Assembly
Depending on the fan, the motor assembly may be held in place with screws, tabs or a removable mounting plate.
If the motor plugs into a receptacle inside the housing, unplug it first.
Remove the mounting screws or release the tabs, then carefully lower the motor and blower assembly out of the housing.
What You Should See:
After removing the motor assembly, you should have a clearer view of the fan housing and electrical connection box.
If Yours Looks Different:
Some newer fans use modular assemblies that snap into the housing. Check the manufacturer’s instructions before forcing anything loose.
Step 4: Disconnect the Electrical Wiring
Open the fan’s electrical junction box or wiring compartment.
Verify the power is off again with your voltage tester before touching the wires.
Remove the wire connectors and disconnect the fan wiring from the house wiring. Typically, you’ll find a hot wire, neutral wire and ground, although your setup may contain additional wires.
Take a photo before disconnecting anything if you want a reference for how the original fan was wired.
What You Should See:
The house wiring should enter the fan housing through a cable clamp or approved connector.
If Yours Looks Different:
If you find damaged wiring, unusual connections, multiple circuits or wiring you cannot confidently identify, stop and call a licensed electrician.
Step 5: Disconnect the Exhaust Duct
Locate the duct connection on the side of the fan housing.
Remove any foil HVAC tape, clamps or fasteners securing the duct to the fan’s outlet. Carefully pull the duct away from the housing.
Inspect the duct while it is accessible. Replace sections that are crushed, torn or heavily damaged.
💡 Pro Tip: Avoid ordinary cloth-backed “duct tape” for sealing exhaust duct connections. Foil HVAC tape provides a much better long-term seal.
Step 6: Remove the Old Fan Housing
Remove the screws or fasteners securing the housing to the ceiling joist or mounting brackets.
Carefully work the housing out of the ceiling opening.
You may need to gently score around the edge with a utility knife if paint or drywall compound is holding the housing in place.
What You Should See:
Once the housing is removed, you should be able to see the ceiling opening, ductwork, electrical cable and the framing or mounting system used for the old fan.
If Yours Looks Different:
Some fan housings are installed from above and attached to framing in a way that is difficult to access from the bathroom. Attic access may make removal significantly easier.
Step 7: Test-Fit the New Fan Housing
Compare the new housing with the existing ceiling opening.
Slide the new housing into position and check that it sits flush with the finished ceiling.
If the opening is too small, carefully mark and trim only the amount of drywall necessary.
If the opening is larger than the new fan housing or grille can cover, drywall repair may be required.
💡 Pro Tip: Before cutting the ceiling, double-check the direction of the duct outlet and electrical connection on the new fan. A few minutes of planning can prevent unnecessary drywall work.
Step 8: Secure the New Fan Housing
Position the new fan according to the manufacturer’s instructions.
Attach the housing or mounting brackets securely to the ceiling joist or framing.
Make sure the housing is level, solid and flush with the finished ceiling before tightening everything completely.
What You Should See:
The housing should sit firmly in the ceiling without rocking or sagging, and the grille should eventually cover the entire opening.
Step 9: Connect the Exhaust Duct
Slide the bathroom exhaust duct onto the new fan’s duct connector.
Secure the connection as required and seal around it with foil HVAC tape.
Make sure the duct is not crushed, sharply kinked or obstructed.
What You Should See:
The duct should have a secure, reasonably smooth path away from the fan with no obvious gaps around the connection.
💡 Pro Tip: A restricted or poorly connected duct can make even a brand-new fan louder and less effective.
Step 10: Connect the Electrical Wiring
Feed the existing electrical cable into the new fan’s junction box through an approved cable connector or clamp.
Connect the wires according to the new fan manufacturer’s wiring diagram. For a typical fan-only installation, this generally means hot to hot, neutral to neutral and ground to ground.
Secure each connection with an approved wire connector and gently tuck the wires inside the electrical compartment.
Install the junction-box cover.
What You Should See:
All wire connections should be secure, no bare copper should be exposed outside the connectors except where appropriate for grounding, and the cable should be secured where it enters the housing.
If Yours Looks Different:
Fans with lights, heaters, humidity sensors or separate controls may require additional wiring. Follow the wiring diagram supplied with your specific fan rather than relying on the old fan’s connections alone.
Step 11: Install the Fan Assembly and Grille
Install the blower or motor assembly into the new housing according to the manufacturer’s instructions.
Connect any internal plugs, then install the grille. For spring-clip grilles, squeeze the springs together, insert them into their slots and push the grille gently against the ceiling.
Make sure the grille sits flat and evenly against the ceiling.
Step 12: Restore Power and Test the Fan
Turn the circuit breaker back on.
Switch on the bathroom exhaust fan and listen for smooth operation.
Hold a single square of toilet paper near the grille. A properly operating fan should pull the paper toward the grille, showing that air is being drawn into the fan.
Let the fan run for several minutes and listen for rattling, vibration or unusual noises.
💡 Pro Tip: After a hot shower, allow the fan to continue running for about 20 minutes to help remove lingering moisture from the bathroom.
If Something Goes Wrong
The Fan Doesn’t Turn On
Turn the breaker back off and verify that all electrical connections are secure. Check any internal motor plug as well. If the wiring appears correct but the fan still doesn’t operate, follow the manufacturer’s troubleshooting instructions.
The Fan Runs but Barely Moves Air
Check the exhaust duct for kinks, crushed sections, disconnected joints or blockages. Also make sure the fan’s backdraft damper opens freely.
The New Fan Is Very Loud
Confirm that the housing is securely fastened to the framing and that the blower assembly is installed correctly. Loose housings and restricted ductwork can create excessive vibration and noise.
The Grille Won’t Sit Flat
Check that the housing is installed at the correct depth and that no wiring or insulation is interfering with the grille or spring clips.
The New Housing Doesn’t Fit the Opening
Don’t force it. Determine exactly where the new housing needs additional clearance before trimming drywall. If the new housing is substantially smaller than the existing opening, you may need to patch the ceiling before installing the grille.
The Duct Is the Wrong Size
Use an appropriate duct transition or adapter if permitted by the fan manufacturer. Avoid crushing or excessively reducing the duct simply to make it fit.
🛑 Common Mistakes to Avoid
- Working on the fan without turning off and verifying power.
- Buying a replacement without measuring the existing ceiling opening and duct.
- Connecting a new fan to damaged or undersized ductwork.
- Leaving gaps around the duct connection.
- Using ordinary duct tape instead of foil HVAC tape.
- Installing the housing too high or too low relative to the finished ceiling.
- Ignoring the manufacturer’s wiring diagram.
- Choosing a fan with insufficient airflow for the bathroom.
- Venting moist bathroom air directly into an attic instead of outdoors.
- Forgetting to test the fan before considering the project complete.
❓ Frequently Asked Questions
How long does it take to replace a bathroom exhaust fan?
A straightforward replacement usually takes about 1–3 hours. Modifying the ceiling opening, changing ductwork or working from the attic can add considerably more time.
Can I replace a bathroom exhaust fan myself?
Many homeowners can replace a standard bathroom exhaust fan if they are comfortable with basic electrical connections, ductwork and working from a ladder. More complicated wiring or difficult attic installations may be better handled by a professional.
Do I need attic access to replace a bathroom exhaust fan?
Not always. Many replacement and retrofit fans can be installed entirely from below. However, attic access can make it much easier to remove certain housings, connect ductwork and secure the new fan.
How do I know what size bathroom exhaust fan I need?
Fan capacity is measured in CFM. For bathrooms up to about 100 square feet, approximately 1 CFM per square foot is a common starting point. Larger bathrooms and bathrooms with multiple fixtures may require additional airflow.
Can I use a larger CFM fan than my old one?
Often, yes, but the existing ductwork needs to support the increased airflow. A powerful fan connected to restrictive ductwork may be noisy and unable to perform at its rated capacity.
Where should a bathroom exhaust fan vent?
Bathroom exhaust air should be vented outdoors, not into an attic, crawlspace or other enclosed part of the house.
Why is my new bathroom fan still loud?
Noise can come from the fan itself, loose mounting, vibration or restrictive ductwork. Fan noise ratings are measured in sones, so compare sone ratings when shopping if quiet operation is important.
📞 When to Call a Professional
Consider calling a licensed electrician or qualified contractor if you discover damaged or unfamiliar wiring, need to run a new electrical circuit, cannot safely access the fan, need significant ceiling or framing modifications, or are unsure whether the existing installation meets local electrical or ventilation requirements.
You should also consider professional help if the bathroom fan currently vents into the attic, the duct needs to be rerouted through the roof or exterior wall, or moisture damage is visible around the fan or inside the ceiling.