
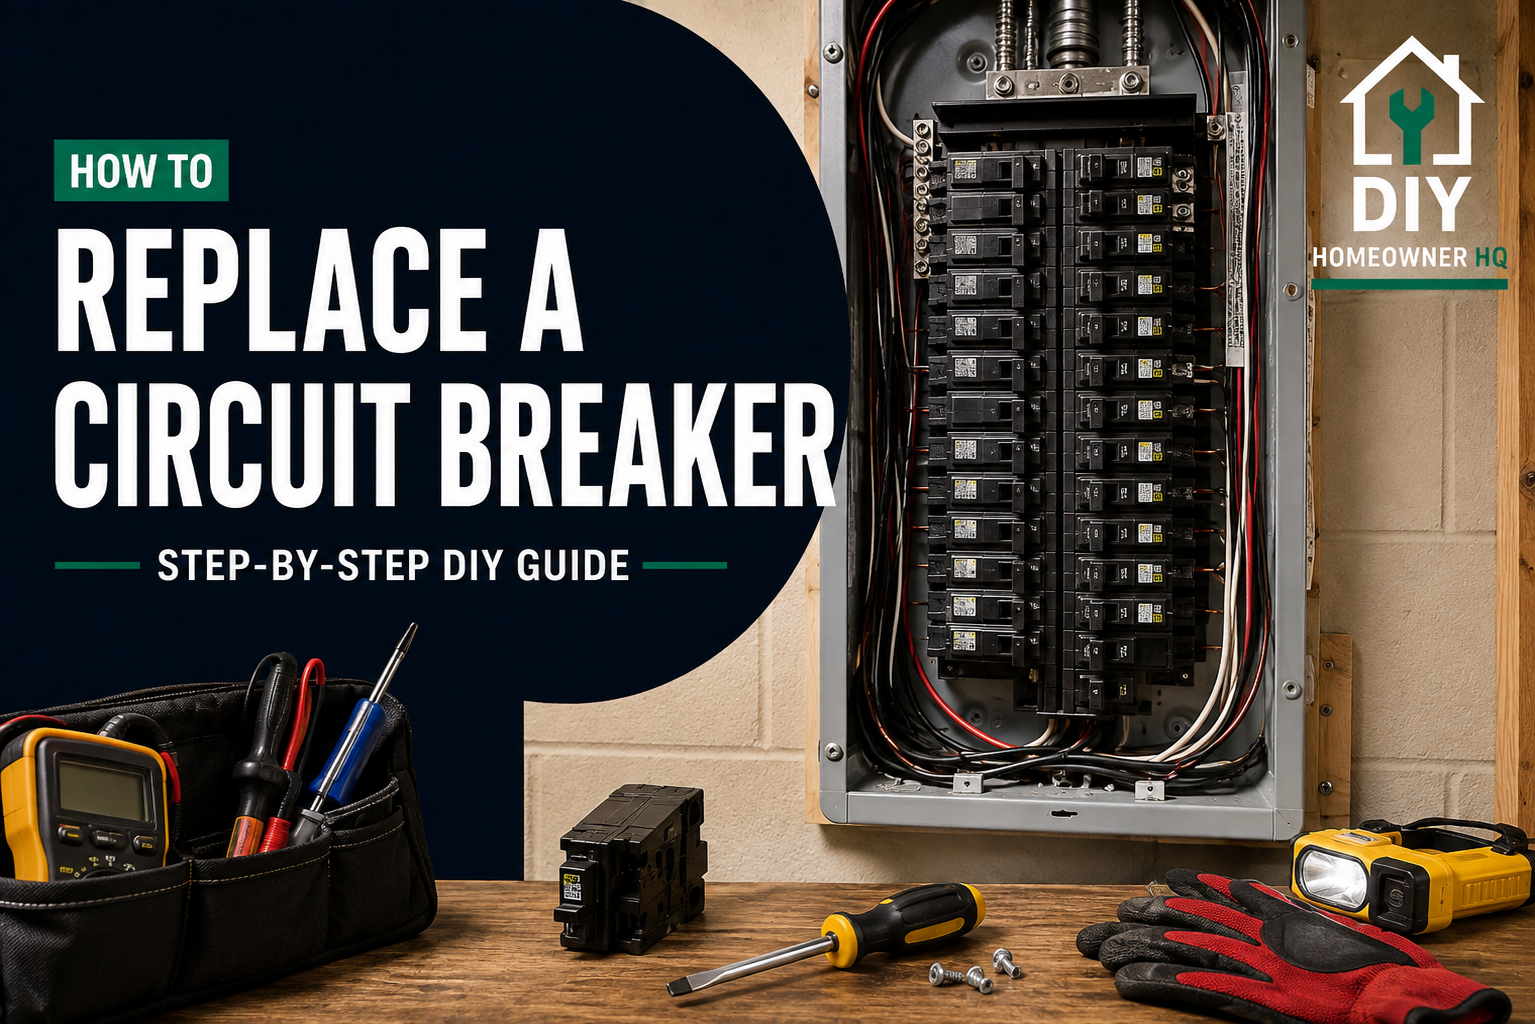
Safety First
Replacing a circuit breaker means working inside your home’s electrical panel, where parts of the panel can remain dangerously energized even when the main breaker is turned off.
Turn off the main breaker before removing the panel cover or touching any branch-circuit wiring. Use a properly rated voltage tester or multimeter to verify that the area you’ll be working on is de-energized.
Never touch the service entrance wires, main lugs, or other components on the incoming utility side of the main breaker. These can remain live and can cause severe injury or death.
Only install a breaker that is specifically approved for your electrical panel and matches the required amperage and circuit type. If you cannot clearly identify the energized portions of the panel or safely verify the circuit is de-energized, call a licensed electrician.
Time
30-60 Minutes
Difficulty
Advanced
Cost
$10-$60
🧰 Tools & Materials
Tools
- Insulated screwdriver
- Non-contact voltage tester
- Multimeter or two-pole voltage tester
- Flashlight or headlamp
- Wire stripper, if needed
- Safety glasses
Materials
- Correct replacement circuit breaker approved for your specific panel
- Electrical panel directory labels, if needed
Before You Buy
Identify the Correct Replacement Breaker
Circuit breakers are not universally interchangeable. The replacement must be a type specifically listed or approved for use with your electrical panel.
Before buying a breaker, check:
- Panel manufacturer and model
- Breaker type or series
- Circuit amperage
- Number of poles
- Whether the circuit requires a standard, GFCI, AFCI, or dual-function breaker
The new breaker’s amperage should normally match the breaker being replaced. Never increase the breaker amperage simply because the old breaker keeps tripping. The breaker must be properly sized for the circuit wiring and load.
💡 Pro Tip: Take clear photos of the panel label and existing breaker before shopping. The panel label is more important than simply finding a breaker that physically looks like it will fit.
Before You Start
A breaker that trips isn’t automatically bad.
Before replacing it, consider why it’s tripping. Common causes include:
- Too many devices running on the circuit
- A short circuit
- A ground fault
- Damaged wiring
- A failing appliance
- A loose connection
If the breaker trips immediately every time you reset it, don’t repeatedly reset it. There may be a problem elsewhere in the circuit that needs to be diagnosed first.
Step 1: Shut Down the Circuit and Main Breaker
Turn off or unplug appliances and electronics supplied by the circuit.
Switch the breaker you’re replacing to OFF.
Next, turn off the main breaker to shut down the branch circuits in the panel.
Remember that turning off the main breaker does not necessarily de-energize the entire panel. The service conductors and terminals supplying the main breaker can remain energized.
What You Should See: Most of the home’s power should shut off after the main breaker is switched off.
If Yours Looks Different: If your panel doesn’t have a main disconnect or you’re unsure how power enters the panel, don’t continue.
Step 2: Remove the Panel Cover
Use an insulated screwdriver to carefully remove the screws securing the panel cover or dead front.
Support the cover as you remove the final screws. Panel covers can be heavier and more awkward than they look.
Carefully pull the cover straight away without allowing it to contact components inside the panel.
What You Should See: Rows of breakers should now be visible along with the branch-circuit wiring.
Keep your hands and tools away from the service entrance conductors and main terminals.
💡 Pro Tip: Put the panel screws somewhere safe immediately. They’re surprisingly easy to lose while you’re concentrating on the electrical work.
Step 3: Verify the Circuit Is De-Energized
Do not assume that turning off the main breaker made the area safe.
Use an appropriately rated tester or multimeter to verify the branch-circuit breaker terminal you’ll be working on is de-energized.
Be aware that parts of the panel may still be live.
What You Should See: Your tester should confirm no voltage at the branch-circuit connection you’re going to work on.
If Yours Looks Different: If you detect voltage where you expected none, stop. Do not continue until you understand why.
Step 4: Disconnect the Circuit Wire
Confirm the breaker you’re removing.
Loosen the terminal screw holding the branch-circuit hot wire and carefully remove the wire from the breaker.
Keep the wire controlled and away from other terminals.
Inspect the exposed conductor.
What You Should See: The copper should be clean and undamaged without severe discoloration, melting, or burned insulation.
If Yours Looks Different: Burned insulation, melted plastic, heavy corrosion, or heat damage can indicate a larger electrical problem. Stop and have the panel inspected by an electrician.
Step 5: Remove the Old Breaker
Breaker attachment methods vary by panel.
Many residential breakers hook onto a retaining rail on one side and snap onto the energized bus connection on the other.
Following the instructions for your specific panel, carefully release the breaker and remove it without contacting surrounding components.
Do not pry aggressively or force the breaker.
What You Should See: The breaker should release from the panel without damaging the bus connection underneath it.
Problem: The breaker won’t come out.
Stop and verify how that particular breaker is retained. Different panel designs use different mounting methods, and forcing it can damage the panel.
Step 6: Inspect the Breaker Position
Before installing the replacement, visually inspect the area where the breaker connects to the panel.
Look for:
- Burning
- Discoloration
- Pitting
- Melted plastic
- Corrosion
- Other obvious damage
What You Should See: The connection area should look clean and intact.
If Yours Looks Different: If the bus connection is burned, heavily discolored, melted, or damaged, do not install the new breaker and energize the panel. Have a licensed electrician evaluate the damage.
Step 7: Install the New Breaker
Confirm one more time that the replacement breaker is approved for the panel and has the correct rating.
Place the breaker in the OFF position.
Following the manufacturer’s instructions for your panel, engage the breaker with its retaining point and seat it into position.
It should fit securely without excessive force.
What You Should See: The new breaker should align evenly with the breakers around it and remain firmly seated.
💡 Pro Tip: A breaker physically fitting into a panel does not mean it’s approved for that panel. Always verify compatibility using the panel labeling and manufacturer information.
Step 8: Reconnect the Circuit Wire
Insert the branch-circuit conductor into the new breaker’s terminal according to the manufacturer’s instructions.
Make sure the conductor is fully seated with the correct amount of exposed copper.
Tighten the terminal to the manufacturer’s specified torque using the appropriate tool.
Do not leave loose strands or excess exposed copper outside the terminal.
What You Should See: The wire should be securely captured by the terminal without damaged insulation or excessive bare conductor showing.
Problem: The wire is too short to comfortably reach the breaker.
Don’t stretch the wire or leave it under tension. The wiring may need to be properly extended using an approved method.
Step 9: Reinstall the Panel Cover
Before replacing the cover, inspect the work area one last time.
Make sure:
- The breaker is securely installed
- The wire is properly connected
- No tools or loose hardware remain inside the panel
- Wires aren’t positioned where the cover could pinch them
Carefully reinstall the panel cover and tighten its screws.
Keep the new breaker switched OFF for now.
Step 10: Restore Power and Test
Stand to the side of the panel and turn the main breaker back on.
Then switch the replacement breaker ON.
Check the circuit and verify that the lights, outlets, or appliances it supplies operate normally.
What You Should See: The breaker should remain on and the circuit should operate normally.
Problem: The new breaker trips immediately.
Turn it back OFF. Do not keep resetting it. The breaker may be responding to a short circuit, ground fault, wiring problem, or faulty device that needs further diagnosis.
🛑 Common Mistakes to Avoid
- Assuming the entire panel is dead because the main breaker is off
- Touching service entrance conductors or main terminals
- Installing a breaker that isn’t approved for the panel
- Increasing the breaker amperage to stop nuisance tripping
- Replacing a breaker without investigating why it was tripping
- Working without verifying voltage
- Leaving the terminal connection loose
- Failing to tighten the terminal to the manufacturer’s specified torque
- Ignoring burned or damaged areas inside the panel
- Repeatedly resetting a breaker that immediately trips
❓ FAQs
How do I know if a circuit breaker is actually bad?
Possible signs include a breaker that won’t reset, won’t stay mechanically latched, feels unusually hot, shows visible damage, or has been properly diagnosed as defective. Frequent tripping can also indicate a problem elsewhere in the circuit rather than a bad breaker.
Can I replace a 15-amp breaker with a 20-amp breaker?
Not simply because you want more capacity. Breaker size must match the circuit’s wiring and other requirements. Increasing breaker size without confirming the circuit is designed for it can create a fire hazard.
Can I use a different brand of breaker if it fits?
Not necessarily. Use a breaker specifically listed or classified for use in your particular panel. Physical fit alone isn’t enough.
Why does my new breaker keep tripping?
The circuit may be overloaded or have a short circuit, ground fault, damaged wiring, or faulty appliance. AFCI and GFCI breakers can also trip because they’re detecting the type of fault they’re designed to protect against.
Is the electrical panel completely safe when the main breaker is off?
No. In many residential panels, the incoming utility conductors and terminals feeding the main breaker remain energized even with the main breaker switched off.
Should a circuit breaker feel warm?
Some warmth can occur under load, but a breaker that becomes unusually hot, smells burned, buzzes, or shows discoloration should be investigated.
📞 When to Call a Professional
Call a licensed electrician if:
- You aren’t comfortable working inside an electrical panel
- You can’t positively identify the correct replacement breaker
- You cannot safely verify the branch circuit is de-energized
- The panel has no accessible main disconnect
- You find burned, melted, corroded, or damaged components
- The new breaker immediately trips
- The breaker or panel is unusually hot
- You hear buzzing or crackling
- You discover damaged wiring
- The panel itself appears damaged or deteriorated
Electrical panels contain potentially lethal energized components, even when the main breaker is switched off. If you’re uncertain about any part of the job, this is a project where calling an electrician is the safer choice.
Related DIY Guides
How to Replace a Standard Electrical Outlet