
Safety First
Labeling an electrical panel only requires operating the breaker handles and updating the circuit directory. Never remove the panel cover or touch any wiring or internal components. Keep your hands dry and stand on a dry surface. If you notice burning smells, buzzing, sparks, unusual heat, corrosion, or damaged breakers while working at the panel, stop and call a licensed electrician.
Time
30-60 Minutes
Difficulty
Easy
Cost
$0-$15
🔧 Tools
- Permanent marker or pen
- Flashlight or phone flashlight
- Notepad or phone for taking notes
- Optional: plug-in outlet tester
- Optional: second person to help identify lights and outlets
📦 Materials
- Electrical panel circuit directory or blank replacement directory
- Optional: small adhesive labels
⚠️ Signs Your Electrical Panel Needs Better Labels
Your electrical panel may need to be labeled or updated if:
- Breakers are completely unlabeled
- Labels are faded or difficult to read
- Breakers are labeled with vague descriptions such as “lights” or “plugs”
- Rooms have been remodeled or circuits have changed
- The directory does not match what the breakers actually control
- You regularly have to guess which breaker controls an outlet, light, or appliance
A clear panel directory makes future repairs and emergencies much easier to handle.
📝 Before You Start
Walk through the house and make a quick list of the major rooms, appliances, and electrical areas you expect to find.
Turn on several lights and have a phone charger, lamp, or outlet tester available for checking receptacles.
If possible, have another person move through the house while you operate the breakers. This can make the process considerably faster.
Keep refrigerators, freezers, computers, medical equipment, security systems, and other sensitive or important equipment in mind before switching circuits off.
💡 Pro Tip: Take a clear photo of the existing panel directory before changing anything. Even inaccurate labels may provide useful clues while you map the circuits.
Step 1: Inspect the Existing Panel Directory
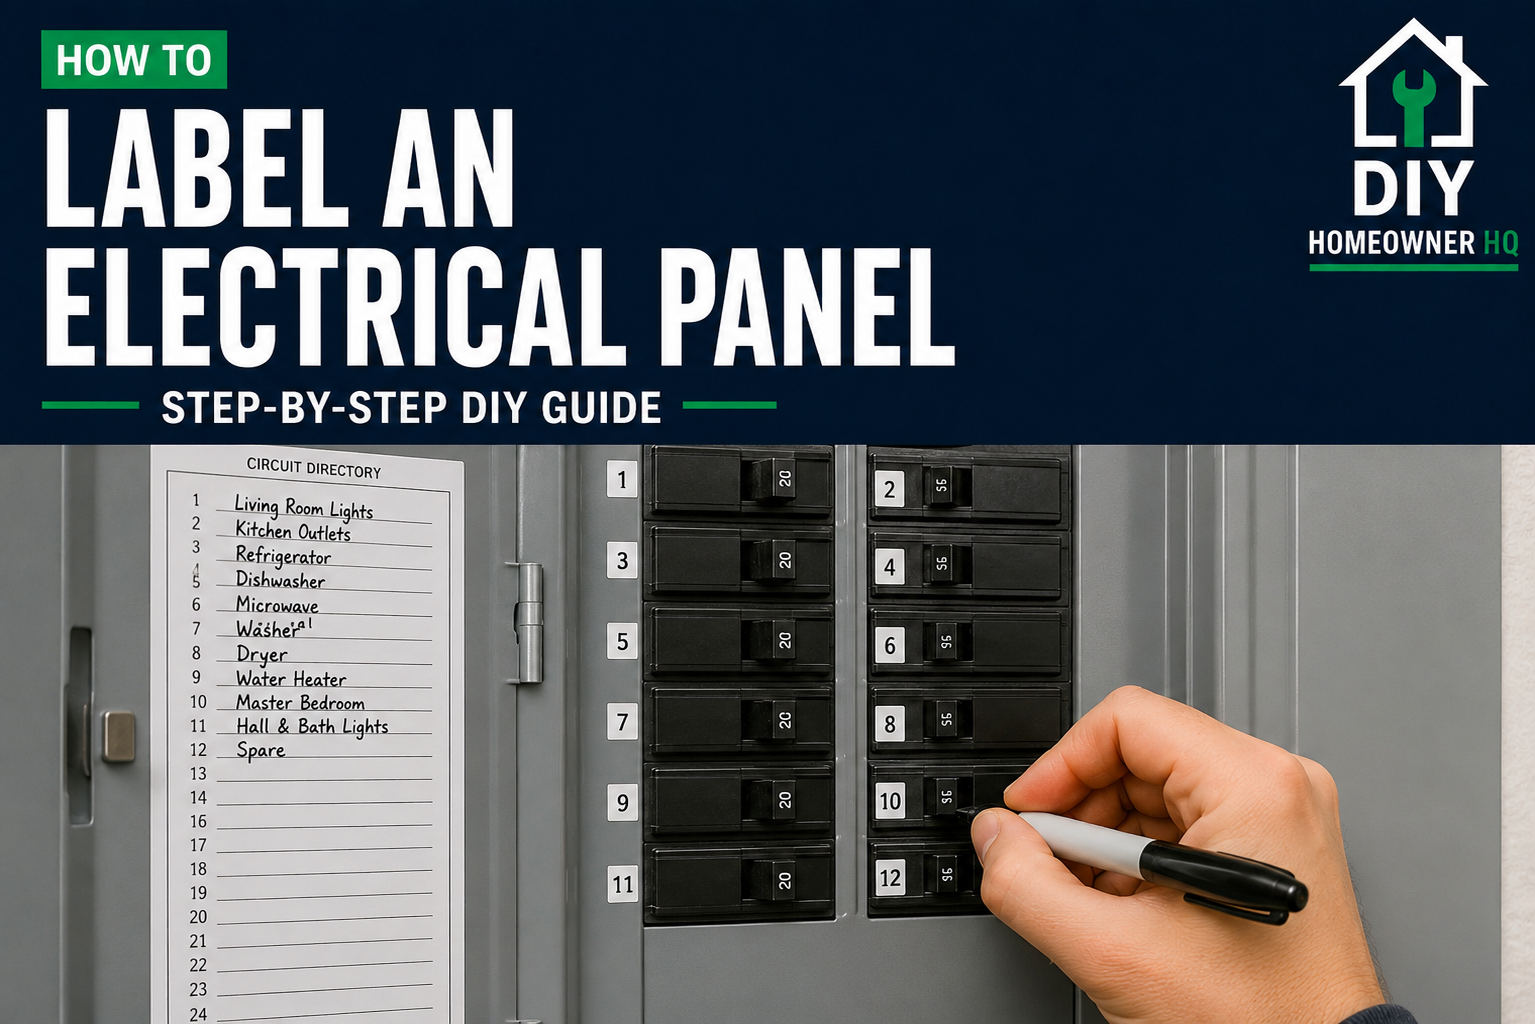
Open the electrical panel door and read the existing circuit directory.
Do not remove the metal panel cover.
Look for breaker numbers and compare them with the corresponding spaces on the directory.
Make note of labels that are missing, unclear, or obviously outdated.
What You Should See: Each breaker position should correspond with a numbered or designated space on the panel directory.
If Yours Looks Different: Some older panels use handwritten labels beside the breakers instead of a formal directory. You can still map the circuits, but keep your labeling organized and easy to understand.
Step 2: Start With One Breaker
Choose one standard branch-circuit breaker to identify.
Avoid randomly switching multiple breakers at the same time. Working one breaker at a time makes it much easier to determine exactly what each circuit controls.
Switch the selected breaker OFF using only its handle.
Never remove the panel cover or touch anything behind it.
Step 3: Check Which Lights Lost Power
Walk through the house and check the lights that were previously turned on.
Write down every room or fixture that lost power.
A single breaker may control lighting in more than one room.
What You Should See: One or more lights should no longer operate after the breaker is switched OFF.
If Yours Looks Different: If none of the lights are affected, the breaker may primarily control outlets, an appliance, or another load.
Step 4: Check the Outlets
Use a small lamp, phone charger, or plug-in outlet tester to check receptacles in the affected area.
Do not assume every outlet in one room is on the same circuit. It is common for different receptacles or lighting within the same room to be supplied by different circuits.
Write down the outlets controlled by the breaker.
If you discover an outlet that remains dead after the circuit is restored, see How to Fix an Outlet That Isn’t Working for additional troubleshooting.
Step 5: Identify Dedicated Appliances
Some breakers serve one major appliance or piece of equipment rather than several lights and outlets.
Common examples include:
- Electric ranges
- Dryers
- Water heaters
- Dishwashers
- Garbage disposals
- HVAC equipment
- Microwaves
- Sump pumps
Do not repeatedly cycle sensitive equipment simply for testing if its circuit can be confidently identified another way.
What You Should See: Dedicated circuits should be labeled according to the specific appliance or equipment they serve.
Step 6: Turn the Breaker Back On
Once you have identified what the breaker controls, move it firmly back to the ON position.
Verify that power returns to the lights, outlets, or equipment you tested.
What You Should See: The breaker should remain firmly ON and power should return normally.
If Yours Looks Different: If the breaker trips when you restore power, leave it OFF rather than repeatedly resetting it. Follow How to Reset a Tripped Circuit Breaker if the breaker has simply tripped, but repeated tripping requires further investigation.
Step 7: Write a Clear Circuit Description
Write a short but specific description in the corresponding position on the panel directory.
Good labels include:
- Kitchen Counter Outlets
- Primary Bedroom Lights & Outlets
- Upstairs Bathroom
- Dishwasher
- Garage Outlets
- Living Room Lights
Avoid vague descriptions such as:
- Plugs
- Lights
- Upstairs
- Misc.
- Spare
If one breaker serves multiple areas, include the most useful identifying information that fits on the directory.
Step 8: Repeat for the Remaining Breakers
Continue through the panel one breaker at a time.
Identify the affected lights, outlets, appliances, or equipment and update the directory before moving to the next breaker.
Take your time. Accuracy is more important than finishing quickly.
💡 Pro Tip: Work systematically from the top of the panel downward so you don’t accidentally skip breakers or record a circuit in the wrong directory position.
Step 9: Verify the Completed Directory
After you’ve mapped the circuits, review the entire directory.
Make sure each description lines up with the correct breaker and that another homeowner could understand the labels without needing an explanation.
Take a clear photo of the finished directory and keep it on your phone for future reference.
What You Should See: A clean, readable directory with specific descriptions for the circuits you’ve identified.
🔎 Troubleshooting / Common Problems
Problem: One breaker appears to control several unrelated areas.
Solution: This isn’t necessarily unusual, particularly in older homes. List the major areas controlled by the circuit as clearly as space allows.
Problem: You can’t determine what a breaker controls.
Solution: Leave it temporarily marked as unidentified rather than guessing. It may serve equipment that isn’t currently running, an exterior circuit, or another less obvious load.
Problem: An outlet still has power after the room’s breaker is turned off.
Solution: The outlet is likely supplied by another circuit. Never assume all outlets in the same room are on one breaker.
Problem: A breaker trips while you’re mapping circuits.
Solution: Do not repeatedly switch it back on. If the breaker continues to trip, the circuit may have an electrical problem that needs further diagnosis.
❌ Common Mistakes to Avoid
- Removing the electrical panel cover
- Guessing what a breaker controls
- Using vague labels such as “lights” or “outlets”
- Assuming an entire room is supplied by one circuit
- Switching several breakers off simultaneously
- Forgetting to restore a breaker after testing
- Cycling sensitive appliances unnecessarily
- Writing a circuit description beside the wrong breaker number
- Covering manufacturer information or safety labels with stickers
💡 Pro Tips
💡 Pro Tip: Having two people makes this job much faster. One person can operate the breaker while the other checks lights and outlets throughout the house.
💡 Pro Tip: Once the panel is properly labeled, keep a photo of the directory on your phone. You’ll have a reference even if you’re troubleshooting somewhere else in the house.
❓ FAQs
Does every breaker need to be labeled?
A complete, accurate directory is the goal. Clear labeling makes it much easier to shut off the correct circuit for repairs, maintenance, or emergencies.
Can one breaker control more than one room?
Yes. Especially in older homes, one branch circuit may serve portions of several rooms.
Can one room have more than one circuit?
Absolutely. Lights and outlets may be separated, and kitchens, bathrooms, garages, and other areas frequently contain multiple circuits.
Should I label unused breakers as spare?
Only label a breaker as spare if you know it is actually unused. Don’t assume a breaker controls nothing simply because you couldn’t immediately identify its load.
Can I remove the panel cover to trace the wires?
No. You do not need to remove the panel cover to label circuits. Components inside an electrical panel can remain energized even when individual branch breakers are switched off.
What should I do if a breaker keeps tripping while I’m labeling the panel?
Stop resetting it and leave the affected circuit off until the cause is identified. Repeated tripping can indicate an overload, short circuit, ground fault, defective appliance, or another electrical problem.
📞 When to Call a Professional
Call a licensed electrician if:
- You would need to remove the panel cover to identify a circuit
- You notice burning smells or discoloration
- The panel or a breaker feels unusually hot
- You hear buzzing, crackling, or popping
- You see sparks
- A breaker repeatedly trips
- Breakers or the panel appear damaged
- There is moisture or corrosion around the panel
- You cannot safely determine what an important circuit controls
Labeling the panel should involve only operating the breaker handles and checking what loses power. Anything requiring access to the wiring inside the panel should be left to a qualified electrician.
🔗 Related DIY Guides
How to Reset a Tripped Circuit Breaker
How to Replace a Circuit Breaker