
Safety First
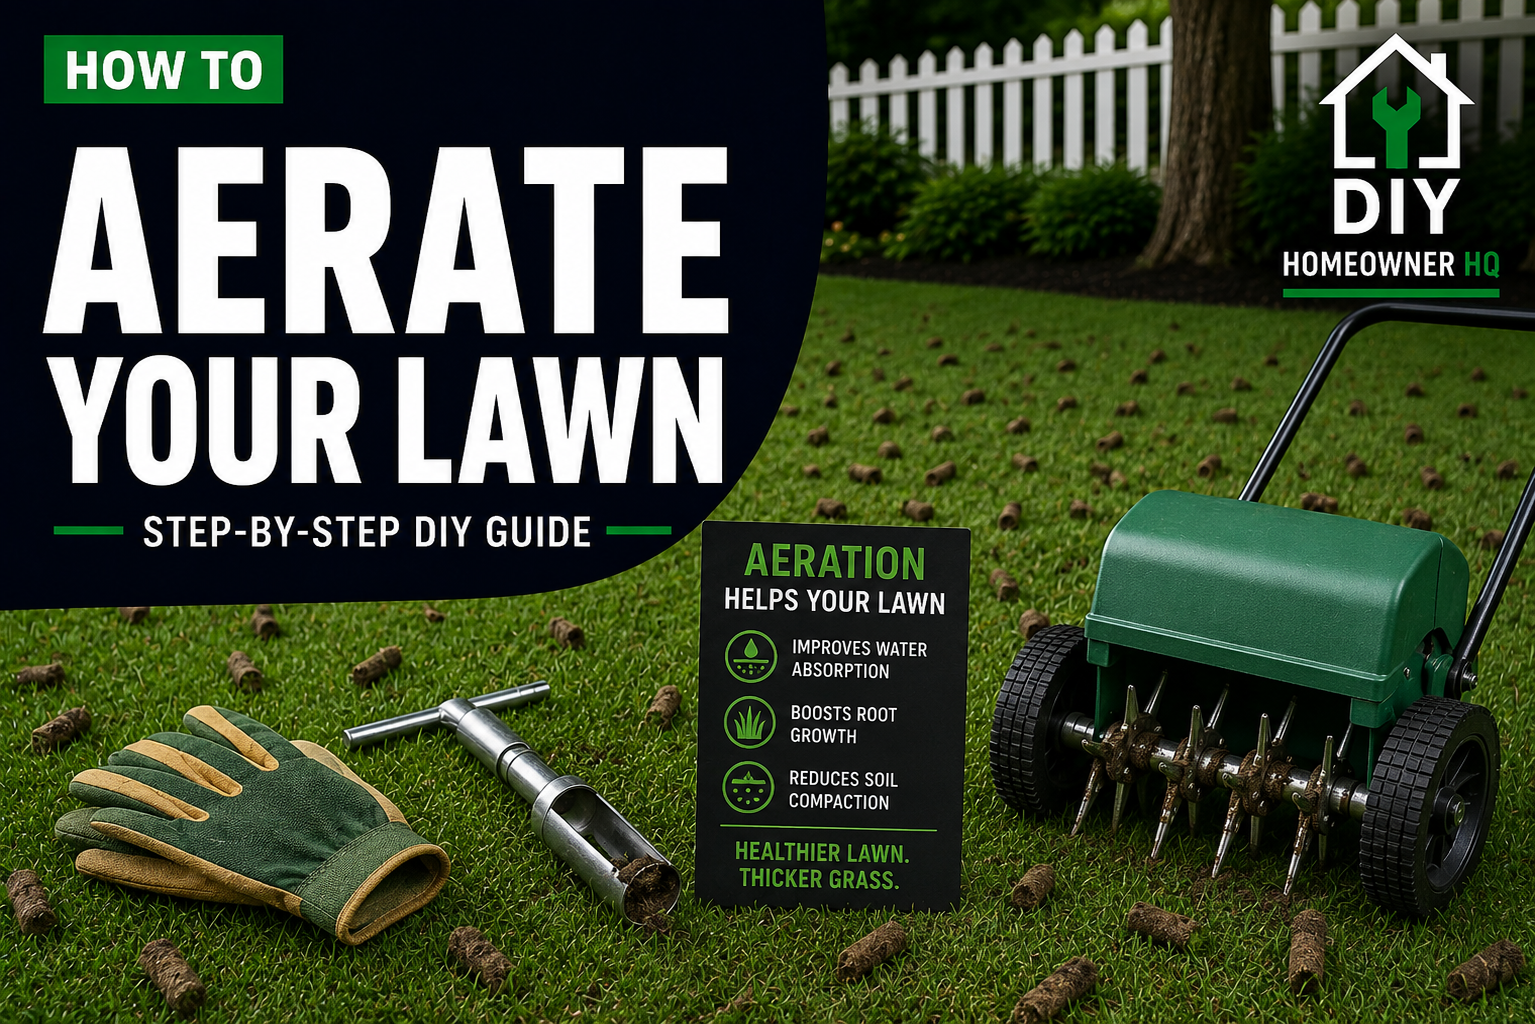
Wear sturdy closed-toe shoes, work gloves, and eye protection while aerating. If you’re using a powered core aerator, keep hands and feet away from the tines and shut the machine off completely before clearing plugs, making adjustments, or inspecting the tines.
Before you begin, locate and mark sprinkler heads, shallow irrigation lines, invisible dog fences, landscape lighting wires, and other buried obstacles that could be damaged by the aerator.
Time
1-3 Hours
Difficulty
Moderate
Cost
$50-$100
🧰 Tools & Materials
Tools
- Core aerator — powered rental machine or manual core aerator
- Lawn mower
- Garden hose and sprinkler
- Lawn marking flags
- Rake — optional
- Work gloves
- Sturdy closed-toe shoes
- Eye protection
Materials
- Grass seed — optional if overseeding after aeration
- Lawn fertilizer — optional if fertilizing after aeration
Before You Buy
For most lawns, choose a core aerator, also called a plug aerator, rather than a spike aerator.
A core aerator removes small plugs of soil from the lawn, creating openings that allow air, water, and nutrients to reach the root zone while relieving soil compaction.
A spike aerator simply pushes holes into the soil. It can provide some temporary openings, but it doesn’t remove soil and generally isn’t as effective for relieving significant compaction.
For a small lawn or isolated compacted area, a manual core aerator may be enough.
For an average or large lawn, renting a powered core aerator will save considerable time and effort.
Before You Start
Aeration works best when the soil is moist but not saturated.
If the ground is extremely dry and hard, water the lawn the day before aerating if needed. You want the aerator’s tines to penetrate the soil easily without turning the lawn into mud.
Mow the lawn before aerating if the grass is unusually tall, but don’t scalp it.
Most importantly, walk the entire lawn and mark:
- Sprinkler heads
- Irrigation valve boxes
- Shallow irrigation lines you know about
- Invisible dog fence boundaries
- Landscape lighting
- Drain covers
- Tree roots that protrude above the soil
- Other obstacles the aerator could strike
Aerator tines can damage these items quickly.
💡 Pro Tip: If you’re planning to overseed, aerating immediately beforehand can create excellent seed-to-soil contact. Have your seed ready so you can move directly into How to Overseed a Lawn after aerating.
Step 1: Check the Soil Moisture
Before unloading or starting the aerator, test several areas of the lawn.
Push a screwdriver several inches into the soil.
It should penetrate with moderate resistance. If the ground is so hard that you can barely push the screwdriver in, the aerator may struggle to pull good plugs.
If your shoes sink into soft soil or water comes to the surface when you step down, it’s too wet.
Wait until conditions improve rather than tearing up a saturated lawn.
What You Should See: Moist soil that’s firm enough to walk on but soft enough for the aerator’s tines to penetrate.
If Yours Looks Different: If the lawn is extremely dry, water it and try again later. If it’s soggy, give it time to drain.
Step 2: Make Your First Pass
Start the core aerator according to the manufacturer’s instructions.
Begin along one edge of the lawn and move across it in relatively straight passes.
Let the machine do the work. Don’t try to force it forward faster than it wants to travel.
Powered aerators can be surprisingly heavy, especially when turning. Slow down before reaching the end of each pass and give yourself enough room to maneuver.
Avoid making tight turns with the tines fully engaged if the machine’s instructions recommend lifting or disengaging them first.
What You Should See: Small cylindrical plugs of soil being pulled from the lawn and deposited on top of the grass.
If Yours Looks Different: If you’re only seeing shallow marks with few actual plugs, the soil may be too dry, the tines may not be penetrating deeply enough, or the machine may need adjustment.
💡 Pro Tip: Don’t worry about making the lawn look messy. Those little soil plugs scattered everywhere are exactly what you want to see.
Step 3: Make Additional Passes Over Compacted Areas
One pass may be enough for lightly compacted areas, but heavily traveled sections can benefit from additional coverage.
Pay particular attention to:
- Paths people regularly walk across
- Areas where children frequently play
- Sections where equipment travels
- Thin areas with hard soil
- Places where water has difficulty soaking into the ground
For heavily compacted sections, make another pass in a different direction so the aeration holes are distributed more evenly.
Don’t repeatedly run over healthy soil simply because more holes seem better. The goal is to relieve compaction without unnecessarily tearing up the lawn.
What You Should See: Aeration holes distributed throughout the lawn, with additional holes in the areas that needed the most attention.
If Yours Looks Different: If one section remains extremely hard even after aeration, the soil may have a deeper compaction or drainage problem that aeration alone won’t correct.
Step 4: Carefully Aerate Around Obstacles
Slow down as you approach the sprinkler heads and other obstacles you marked earlier.
Leave enough clearance that the aerator tines can’t strike them.
For tight areas around landscaping, trees, walkways, or irrigation equipment, it may be safer to leave a small section untouched or use a manual core aerator.
Never attempt to run a powered aerator directly over a known sprinkler head just to avoid leaving a small unaerated patch.
What You Should See: The majority of the lawn evenly aerated while marked obstacles remain untouched.
If Yours Looks Different: If you accidentally strike an irrigation component, stop and inspect it before continuing. Don’t assume it’s fine simply because you can’t immediately see damage.
Step 5: Leave the Soil Plugs on the Lawn
When you’re finished, you’ll probably have hundreds or even thousands of little soil plugs scattered across the grass.
Leave them there.
As the plugs dry, mowing, watering, rain, and normal lawn activity will gradually break them apart and return the soil and organic material to the lawn.
There’s usually no reason to rake them up.
What You Should See: Small plugs roughly resembling short pieces of soil scattered throughout the grass.
If Yours Looks Different: Very short plugs aren’t necessarily a failure, but consistently shallow plugs can indicate hard or dry soil that prevented proper penetration.
💡 Pro Tip: The lawn isn’t going to look its best immediately after aeration. Give the plugs some time to break down before judging the finished appearance.
Step 6: Overseed Thin Areas if Needed
Aeration creates a good opportunity to address a thin lawn because some grass seed can settle into the newly created openings and make better contact with the soil.
If the entire lawn is thin, this may be a good time to overseed it.
Follow the complete process in How to Overseed a Lawn rather than simply throwing seed across the lawn and hoping it grows.
If you only have a few completely bare areas, treat those separately using How to Fix Bare Spots in a Lawn.
What You Should See: Seed distributed evenly over the areas you’re trying to thicken rather than concentrated in piles.
If Yours Looks Different: If the lawn is already dense and healthy, there’s no requirement to overseed just because you aerated.
Step 7: Fertilize if Your Lawn Needs It
Aeration can also be a convenient time to fertilize because water and nutrients can more easily reach the soil.
But don’t automatically fertilize just because you aerated.
Your lawn’s fertilizer needs depend on its grass type, soil, season, and previous applications.
If fertilizer is appropriate, follow the product label carefully and use the process in How to Fertilize Your Lawn.
Avoid applying extra fertilizer in an attempt to make the lawn recover faster.
What You Should See: Fertilizer distributed evenly according to the product’s recommended application rate.
If Yours Looks Different: If the lawn is drought-stressed, dormant, diseased, or otherwise struggling, determine what’s wrong before adding fertilizer.
Step 8: Water and Let the Lawn Recover
After aeration, return to your normal watering practices unless you’ve also overseeded or applied a product that requires a different watering schedule.
If you’ve overseeded, the new seed will require more frequent moisture while it germinates. Follow the watering guidance in the overseeding process rather than your normal established-lawn schedule.
Avoid heavy traffic across freshly seeded areas.
The aeration holes will gradually close and the soil plugs will break apart on their own.
What You Should See: The lawn gradually returning to its normal appearance while the plugs disappear over the following days and weeks.
If Yours Looks Different: If large sections become muddy, torn up, or heavily rutted, the soil may have been too wet when you aerated.
🛑 Common Mistakes to Avoid
- Using a spike aerator for heavily compacted soil: A core aerator physically removes soil plugs and is generally the better choice for relieving compaction.
- Aerating bone-dry ground: Hard soil can prevent the tines from penetrating deeply enough.
- Aerating saturated soil: A heavy machine can rut and damage a soggy lawn.
- Forgetting to mark sprinkler heads: Aerator tines can damage irrigation components.
- Making aggressive turns with the tines engaged: This can tear up the turf.
- Raking up all the soil plugs: They’re supposed to remain on the lawn and break down naturally.
- Aerating at the wrong time for your grass: Aeration is best performed while the grass is actively growing and able to recover.
- Assuming aeration fixes every lawn problem: Disease, insects, shade, poor drainage, incorrect watering, weeds, and soil problems may require different solutions.
Troubleshooting
Problem: The aerator isn’t pulling good soil plugs.
Check the soil moisture first. Extremely dry ground is one of the most common reasons for poor penetration. Also inspect the machine setup and tines according to its instructions.
Problem: The aerator keeps bouncing across the lawn.
The soil may be too hard or dry. Stop rather than repeatedly running the machine over soil it can’t penetrate properly.
Problem: The lawn looks terrible after aerating.
Some temporary mess is normal. Soil plugs, holes, and slightly disturbed grass are expected. The appearance should improve as the plugs break apart and the turf recovers.
Problem: The aerator is tearing up the grass when I turn.
Slow down before turning and follow the machine’s instructions for disengaging or lifting the tines. Tight turns with the tines engaged can rip turf.
Problem: Water still pools on the lawn after aerating.
Compaction may not be the only issue. Low spots, heavy clay soil, grading problems, or poor drainage can also cause standing water. Aeration alone won’t correct a significant drainage problem.
Problem: The lawn is still thin after aerating.
Aeration creates better growing conditions, but it doesn’t create new grass. If the existing lawn is thin, consider How to Overseed a Lawn. For isolated bare areas, follow How to Fix Bare Spots in a Lawn.
❓ FAQs
How do I know if my lawn needs aeration?
Common signs include hard soil, heavy foot traffic, thinning grass, water that has difficulty soaking into the ground, and soil that’s difficult to penetrate with a screwdriver. Compacted lawns are generally the best candidates for aeration.
What is the best time of year to aerate a lawn?
Aerate while your grass is actively growing so it can recover. Cool-season grasses are commonly aerated during their stronger growth periods in early fall or spring, while warm-season grasses are generally aerated during active late-spring or summer growth. Timing varies by grass type and climate.
Should I mow before aerating?
Usually, yes. Mowing beforehand can make the lawn easier to work on, particularly if the grass is tall. Don’t scalp the lawn.
Should I water before aerating?
If the soil is dry and hard, watering beforehand can help. The goal is moist soil, not saturated soil.
How deep should aeration plugs be?
Plug depth varies with the machine and soil conditions. What’s more important is seeing actual soil cores being removed rather than only shallow impressions in the surface.
Should I rake up the plugs after aerating?
Usually not. Leave them on the lawn and allow them to dry and break apart naturally.
Can I overseed immediately after aerating?
Yes, aeration can be an excellent time to overseed a thin lawn. Follow How to Overseed a Lawn for the complete process.
Can I fertilize after aerating?
Yes, when fertilization is appropriate for your lawn. Don’t fertilize automatically just because you’ve aerated. Follow How to Fertilize Your Lawn to determine how to apply fertilizer correctly.
Will aerating get rid of weeds?
No. Aeration is primarily used to relieve soil compaction and improve conditions for grass roots. If weeds are taking over the lawn, use How to Get Rid of Weeds in Your Lawn for the appropriate treatment process.
How often should I aerate my lawn?
There’s no reason to aerate automatically if the soil isn’t compacted. Lawns with heavy traffic or compacted soil may benefit from more regular aeration, while healthy lawns with loose soil may need it much less often.
📞 When to Call a Professional
Aerating a lawn is a manageable DIY project, especially if you’re comfortable operating rental lawn equipment.
Consider calling a lawn-care professional if:
- The lawn is very large and operating a heavy aerator isn’t practical
- You’re unable to identify the location of irrigation components or other buried obstacles
- Severe compaction returns quickly after aeration
- Large areas have persistent standing water or drainage problems
- Grass continues dying despite correcting compaction
- You suspect significant soil, disease, or insect problems
- The slope or terrain makes operating a powered aerator unsafe
If the lawn remains thin, uneven, or unhealthy after the underlying problem has been addressed, determine the cause before repeatedly aerating, fertilizing, or adding more seed.